

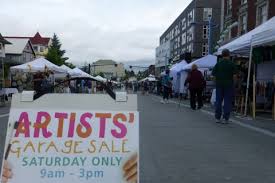
Making Lemonade - The Saga of the Artists' Garage Sale Fiasco

When Life Gives
You Lemons
Make Lemonade!
So, hey. Do you ever have one of those days when you wished you didn't get out of bed? That was my Saturday. I spent two weeks getting ready for the Schack Arts Center Artists' Garage Sale. I had my list and I checked it twice, or more than twice really! I was all packed before it was dark, the night before. That was a first for me.
Unfortunately, I forgot to put my purse on the list. We had gotten all the way down to the ferry - a 25 minute ride from our house before I realized it was missing. It had my phone and credit card reader in it! OMG!
There was no way to go home and get it and make it to the show in time to load in. I told my husband to just go home. I was so stinking mad at myself! He was the faithful driver extraordinaire. So, we headed home.
So, we decided TO MAKE LEMONADE out of a crappy situation. We decided to unpack the gear and go to the show anyway, to catch some good deals. It was still early after all. We've never been able to walk the show together. We usually tag team it. Steven goes around looking for deals and comes back to let me know what he has discovered. Sometimes I get to the deals before they are gone - like last year when I got a huge sheet of copper for $5, but sometimes I miss out.
We were able to hit the booths before the show technically opened. Some of the vendors were still setting up. One, a sweet lady from Portland, had barely started unpacking. She was ready to get rid of everything. She gave us a bunch of cool stuff, like an amazingly cool tool box.
So, to make a long story short, and in keeping with making lemonade, I've decided to offer all of my fans, whom I love and many of which found me shopping instead of vending, a great opportunity. I'm going to start listing twelve pieces of jewelry each week at GARAGE SALE PRICES. The one thing I ask of you, is that if you aren't already on my mailing list, you sign up. You'll get exclusive access to this special promotion. This is an opportunity just for my fans. You get first dibs on some really great deals. What I don't sell at the end of this promotion gets recycled.
Here's how it works...
You'll get an email once a week for 8 weeks, starting Monday, June 26th. There will be a link on a secret page on my website with the 12 pieces of jewelry available that week. Don't wait too long - whoever gets it first, gets it first. ONLY MY FANS have access to this secret page on my website. Each item on my secret page the first week is only $5 plus shipping. I will take down the listings that don't sell (if there are any), so don't dally.
Each week, a new collection will be posted to my secret page. The price will increase by $5 each week. For example: Week #1 all items are $5 each. Week #2 all items are $10 each. Week #3 all items are $15 each and so on...
As a special gift for indulging me and signing up to my mailing list, I will email you a free, downloadable print of my IT'S A JUNGLE OUT THERE tiny house. This is one of my favorite tiny house paintings. It's part of my Dream House Series. It has particular significance these days, given the political climate! Here's a sneak peak at this super cute print...

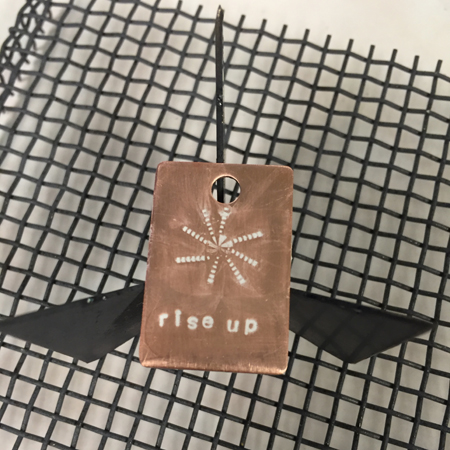
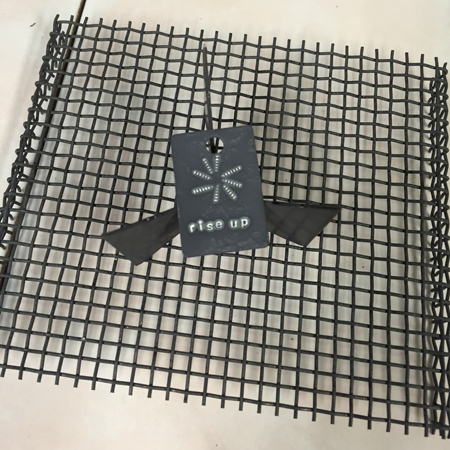
Riveting Enamel

Spring brings new energy for using old ideas in exciting new ways. Here is an example of how I connected an enameled piece to a copper back with heat rivets. The silver balls are heat rivets. Heat rivets are made from a silver wire that is heated until it balls up. If you'd like to learn how to create your own heat rivets, please check out my tutorial. This beautiful sunflower necklace is in my shop. A miniature version, inorange, red or yellow, can be found in my Etsy shop. See picture below...
Tiny sunflower necklaces
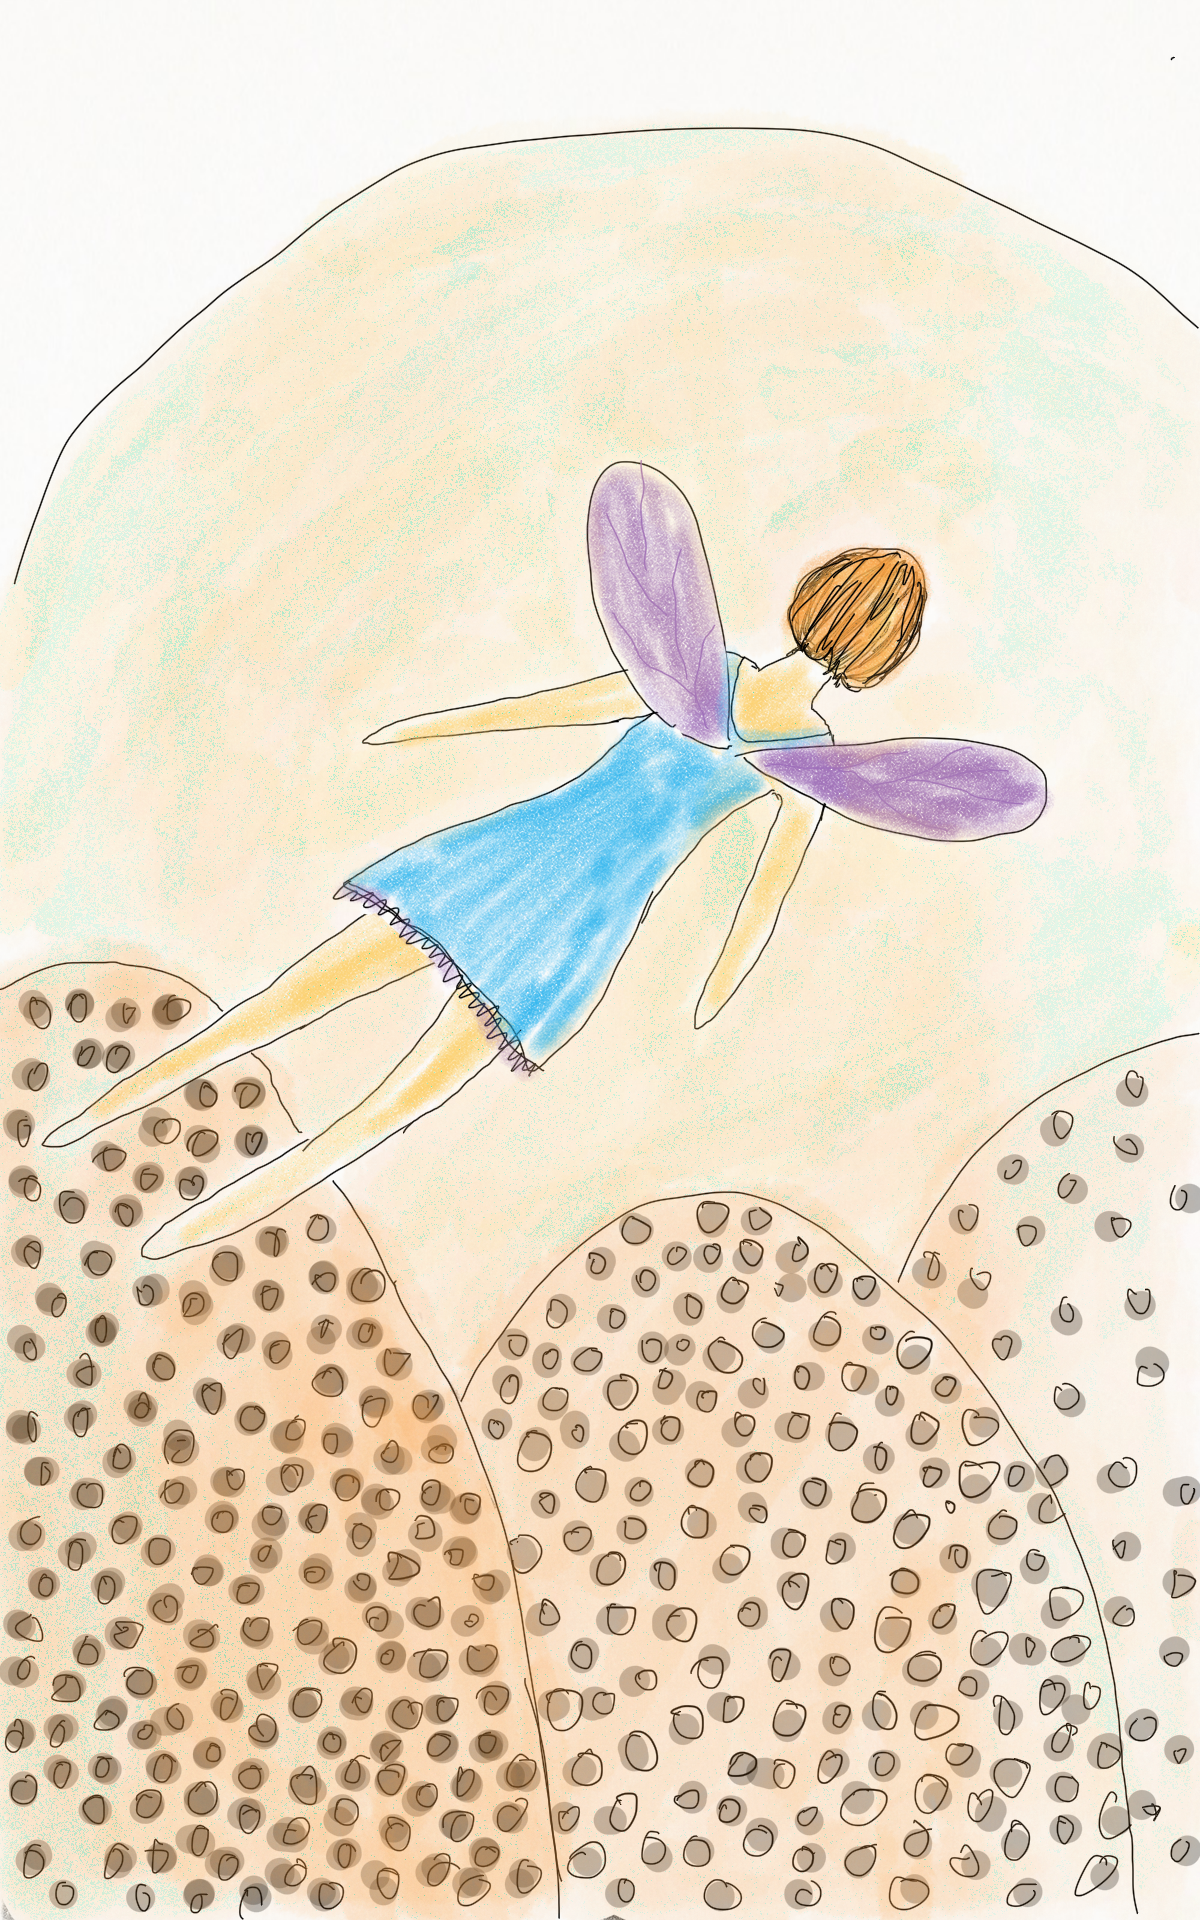
Dreams of Flying
Have you ever had a dream about flying? I've been having them all of my life. I don't recall when they started. Maybe it was after a weekend camping trip my family took to the White Mountains in Northern New Hampshire. We went up to see a friend of my folks hang glide. Ever since then, I've wanted to fly. At least that's my first recollection. I've always had a fascination and love of birds, so who knows which came first...
Have you ever had a dream about flying? I've been having them all of my life. I don't recall when they started. Maybe it was after a weekend camping trip my family took to the White Mountains in Northern New Hampshire. We went up to see a friend of my folks hang glide. Ever since then, I've wanted to fly. At least that's my first recollection. I've always had a fascination and love of birds, so who knows which came first...

Dreams of Flying
What's weird about my flying dreams is that I am always inside a house or other building. I can jump up and soar around the room, but I've never dreamed about flying outdoors. There's always been a ceiling there holding me in. I'm sure a psychologist could make some assumptions about it. It probably has something to do with a fear of some kind - like a fear of flying to a new height, metaphorically speaking. Anyway, I feel like I'm getting ready to make an outside flight. I feel like I'm ready to jump outside of myself in some new way.
I got some news today that is pushing me in a new direction - more than I'm pushing myself right now. It feels like too much, but it doesn't at the same time. Sometimes we need a little push. I've been feeling kind of restless about my work. I've been wanting to take my paintings to a new level. I've been doing more each day in my home studio, knowing that if I want to get good at this, I've got to do it more. I've got some thinking to do over the next few days. I'm hoping that I'll get some answers in my dreams...

Simple Champleve Enamel
What is champleve? It is a fairly complicated enameling technique that requires some skill with a saw blade and soldering. A design is cut from a sheet of copper or fine silver, retaining a border around it. A base plate is cut to match the shape of the outer shape of the top sheet. Then, the two pieces are soldered together with eutectic solder. Any solder that leaks out from between the two pieces must be meticulously cleaned away from the recessed areas. Then, the cells of the design are filled, much like you would do in cloisonne. In this post, I will offer you a fairly simple way to create similar effects without the use of a saw or solder.
A few years ago, I discovered that you could use metal stamps or a rolling mill to create some pretty amazing textures in metal. Getting your designs to stand out requires the application of some type of patina. Patinas work nicely, but they take time to apply and partially remove to achieve the desired effect. Plus, your design usually ends up being just black. If you want your design to have a different color, you are out of luck. Or are you?
I started playing around with liquid enamel to see if I could highlight my textures with color. What I came up with is uniquely different than what most metalsmith artists are doing today. And the cool thing about it is that you don't have to counter-enamel your piece - unless you want to apply transparent colors to the front surface of your design to further accentuate it.
Let's take a simple design, like letter stamping, and see if we can take it up a notch...

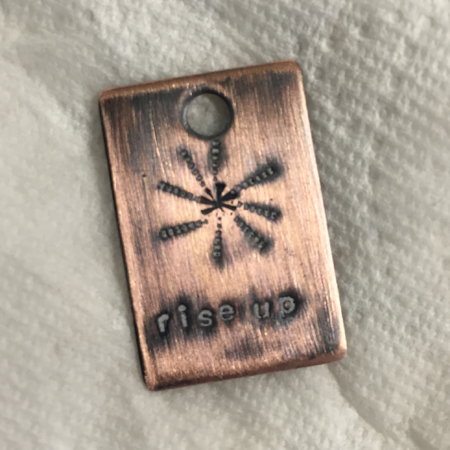
Here's the finished product. Now, I'll show you the steps...
For the purpose of this tutorial, I will show you how to use metal stamps to create your design and liquid white enamel to accent it. You can, of course, use other colors to fill in the design. I like the contrast that I get with white and a little patina after firing.

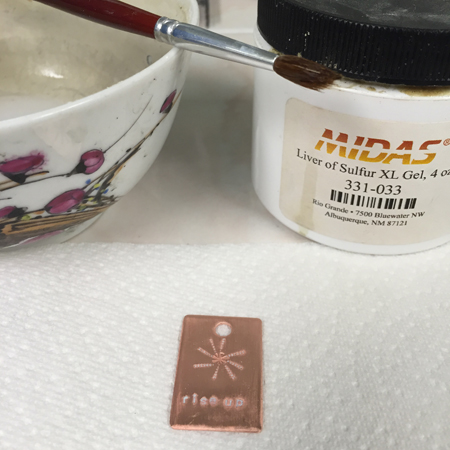
In the images above, you can see that I have applied liquid white enamel to the areas of my piece that have been stamped. After allowing the enamel to dry, I use the edge of a credit card or a piece of box board to scrape away the majority of the enamel. You want to make sure you leave the enamel in the depressions.
Clean up any residue around your stamped design with a damp paint brush. It shouldn't be wet, or you'll end up with a mess.
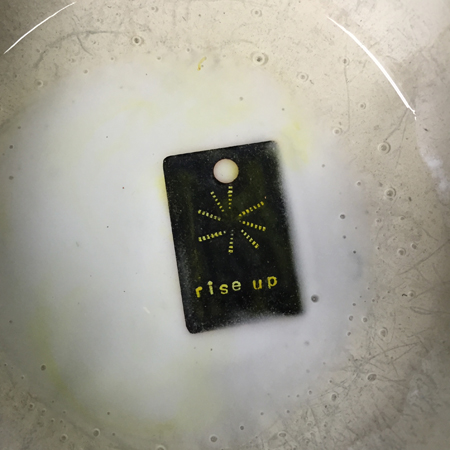
Next, fire your piece in the kiln or with a torch from the underside. The exposed copper will oxidize to a dark black. You can throw it in the pickle pot once it cools, to clean off the oxidation. Alternatively, you can sand it with some fine grade wet-dry sandpaper under running water.
After the exposed copper is clean, you can add a patina or leave it as is. I like the rustic look of the patina, so I use a little liver of sulphur to achieve the aged look. Apply the liver of sulphur as you would normally and neutralize in a baking soda and water solution. Dry completely and buff with a pro-polish pad or use some fine grade wet-dry sandpaper, as I did, to remove the patina from select areas.
Voila! There you have an easy champleve in less time than it took you to cut out a design and solder.
Now, if you want to, as I mentioned earlier, you can give your design more color and accents with some transparent enamel. It requires counter enamel to do that. Here is an example of what you can do. I have also created a design in the center of this piece using the sgraffito technique.

If you'd like to learn more about using liquid enamel to create amazing sgraffito designs, check out my sgraffito enamel designs in my shop.
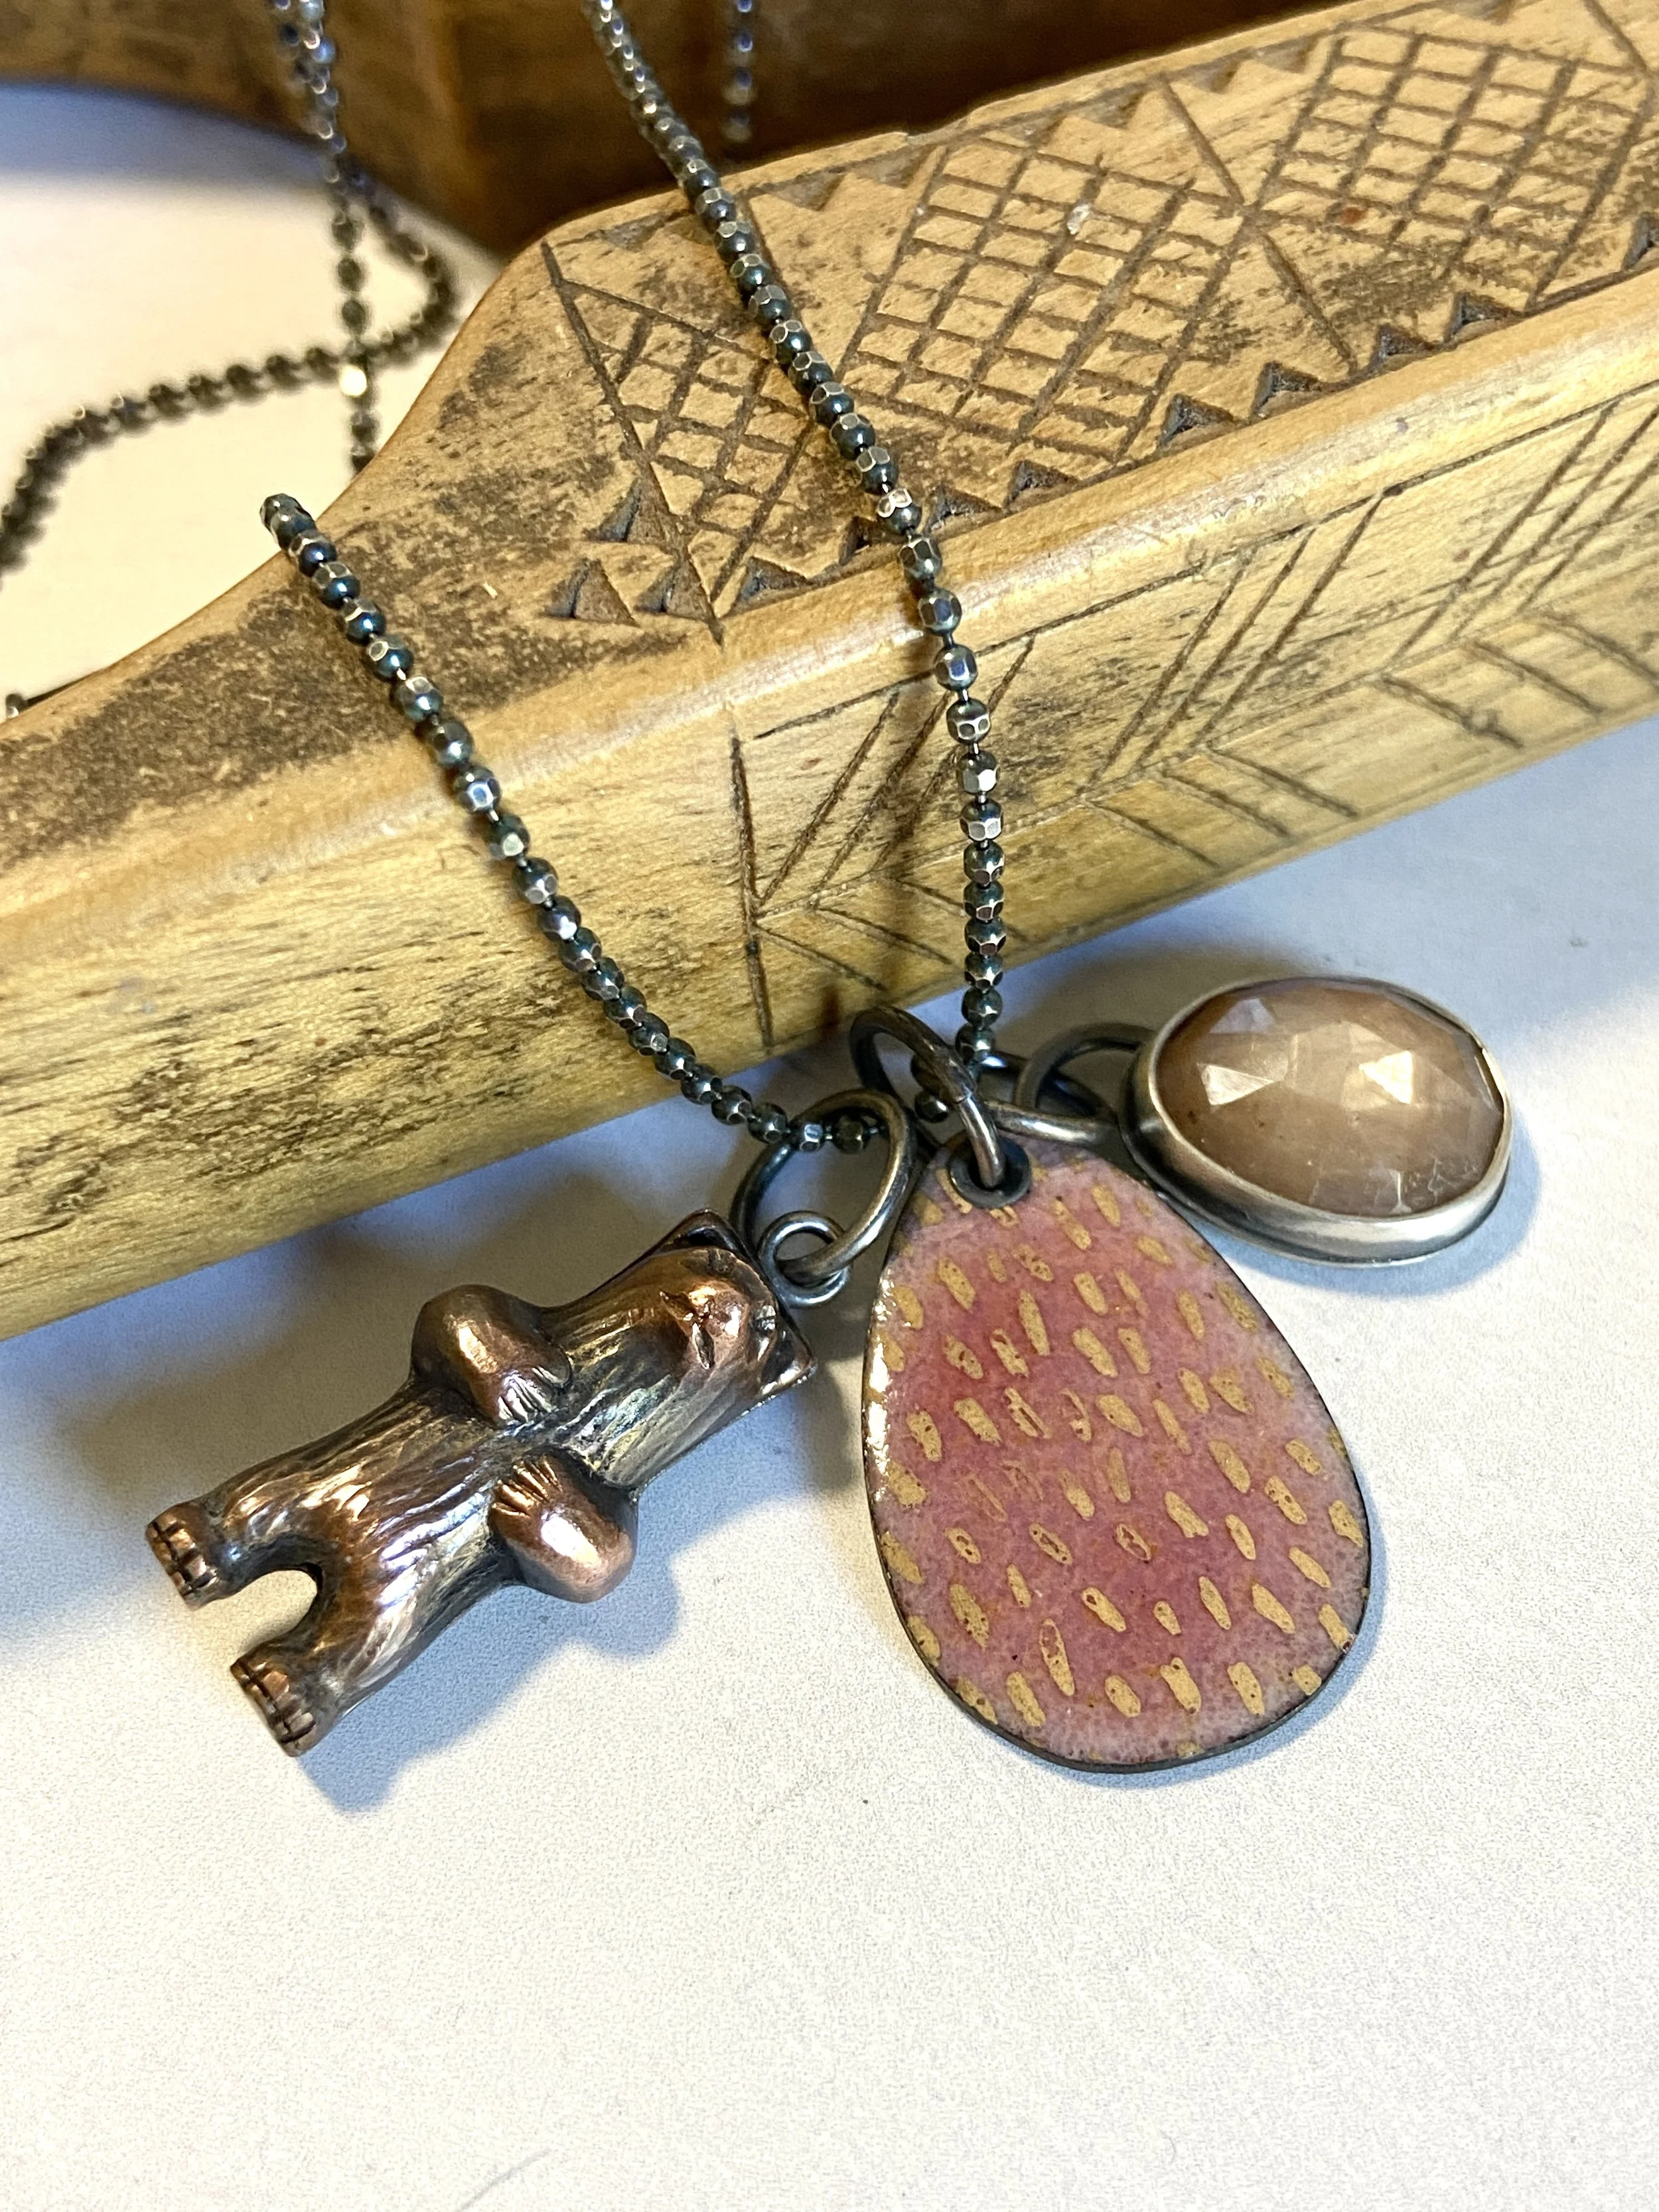
Make Your Own Charm Necklace