
Setting an Enamel Cabochon
I have had people ask me how to set an enamel cabochon. It is rather simple, so I thought I'd share the process with you today.
Here are the simple steps:
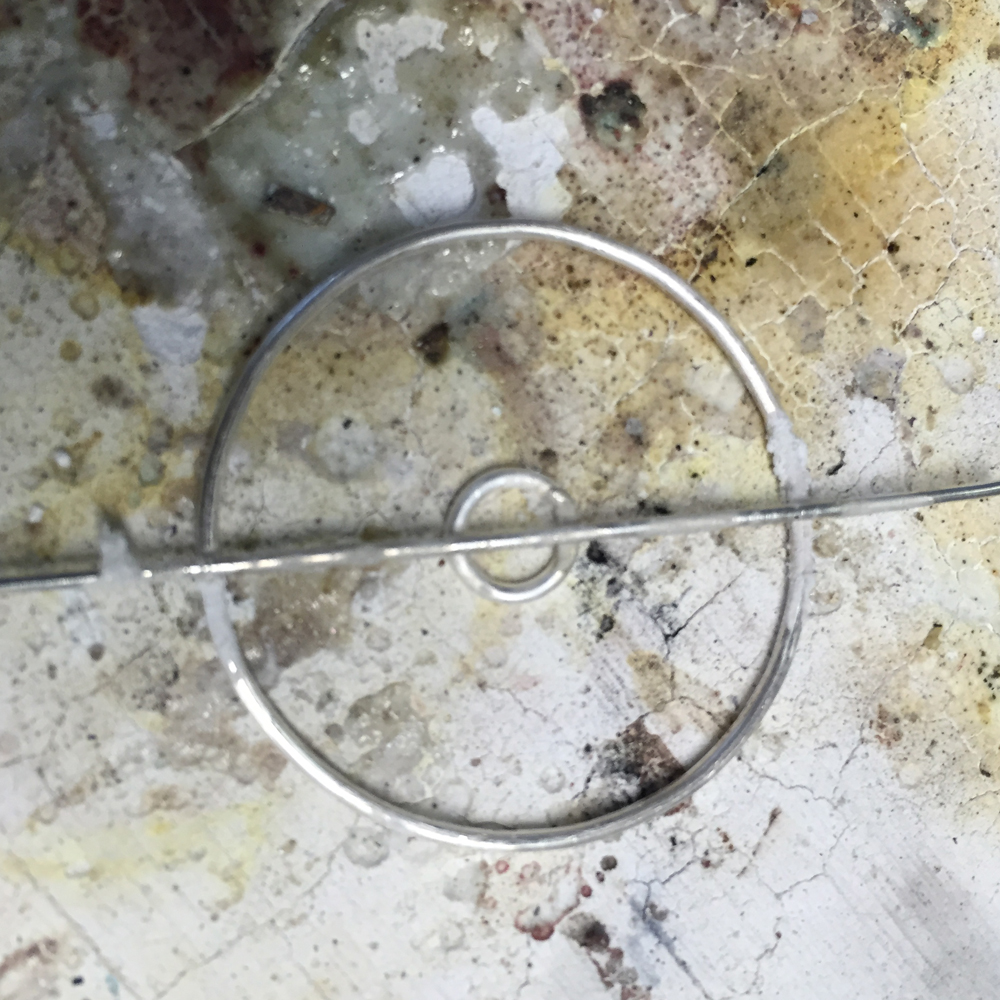
1. Form a circle in 16g sterling silver, slightly smaller than the finished size of the cabochon.

Create base for cabochon setting
Step 2 - Solder an 18g jump ring for the center of the setting. Center it inside the larger circle.

Center the soldered jump ring within the larger circle.
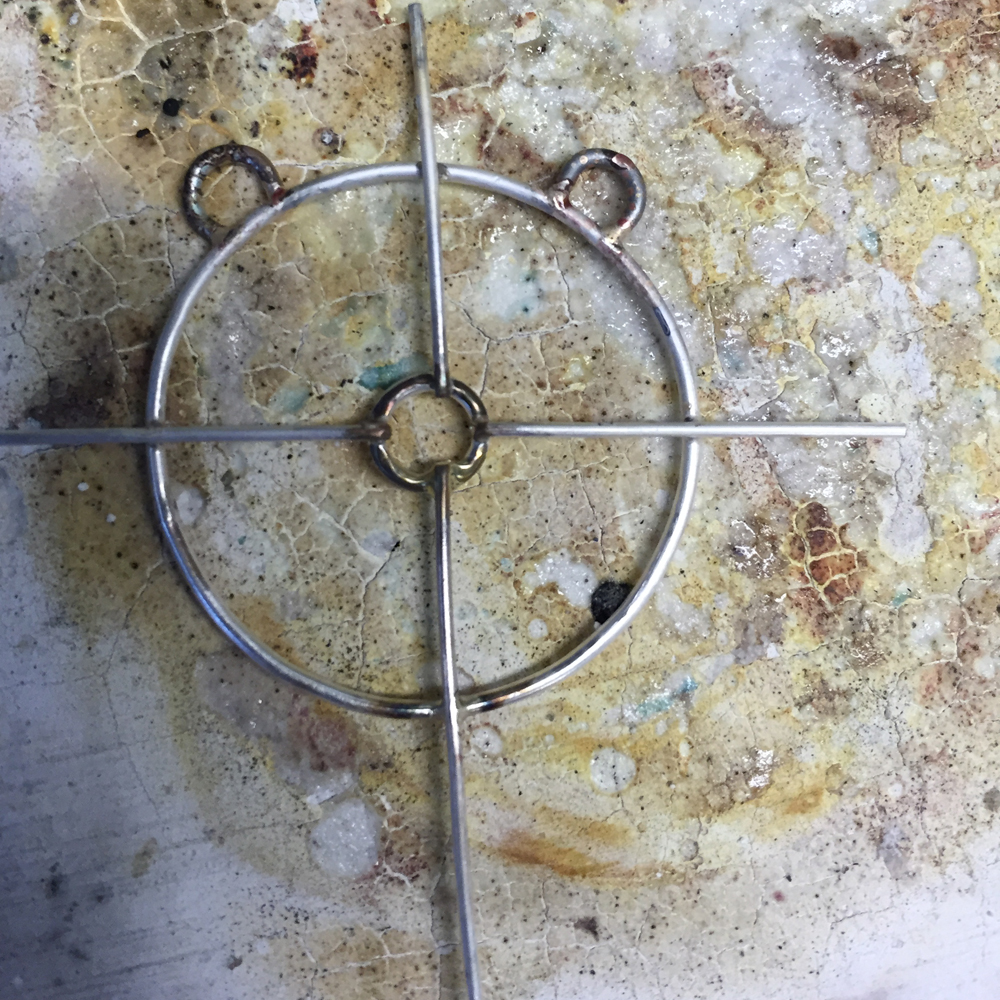
Step 3 - Cut a length of 18g sterling silver wire about a half inch wider than the total width of the circle and center it over the circle and the jump ring.
Prep first prong set.
Solder each of the crossing points of the top wire.
Step 4- Add two shorter wires that sit perpendicular to the long wire but don't cross it.

Pic solder or stick solder the additional wires onto the ring.
Step 5 - Clean up your solder joints with whatever method you prefer. I like to use silicon disks in my flex shaft.
Step 6 - Add one or two hanging loops. One would have looked better on this small cabochon, but it will flip over less with two.
Create the hanging loops with a pair of round nose pliers and 16g wire.
Step 7 - Clean up your setting and smooth the wire ends that cross into the center jump ring. These wires were cut from the center after soldering. I used my silicon polishing disk to smooth the ends so they won't catch on someone's clothing.
Step 8 - Prepare for folding over the prongs...

Center the cabochon on the wire setting.
Pick up the cabochon and the setting and gently fold over one of the prongs. Next, fold over the prong that is directly across from the first. Fold over the remaining two prongs.

The 18g wire can be bent easily with your fingers. Jut bend it over so that the cabochon doesn't wiggle. It doesn't need to lay flat at this point.
Step 9 - Cut your wires to the desired length. I like mine to be about 3 or 4 mm over the initial curve of the edge. It they are too short, your cabochon will not sit securely in the setting.
Step 10 - Using a cup burr, round the ends of each wire.
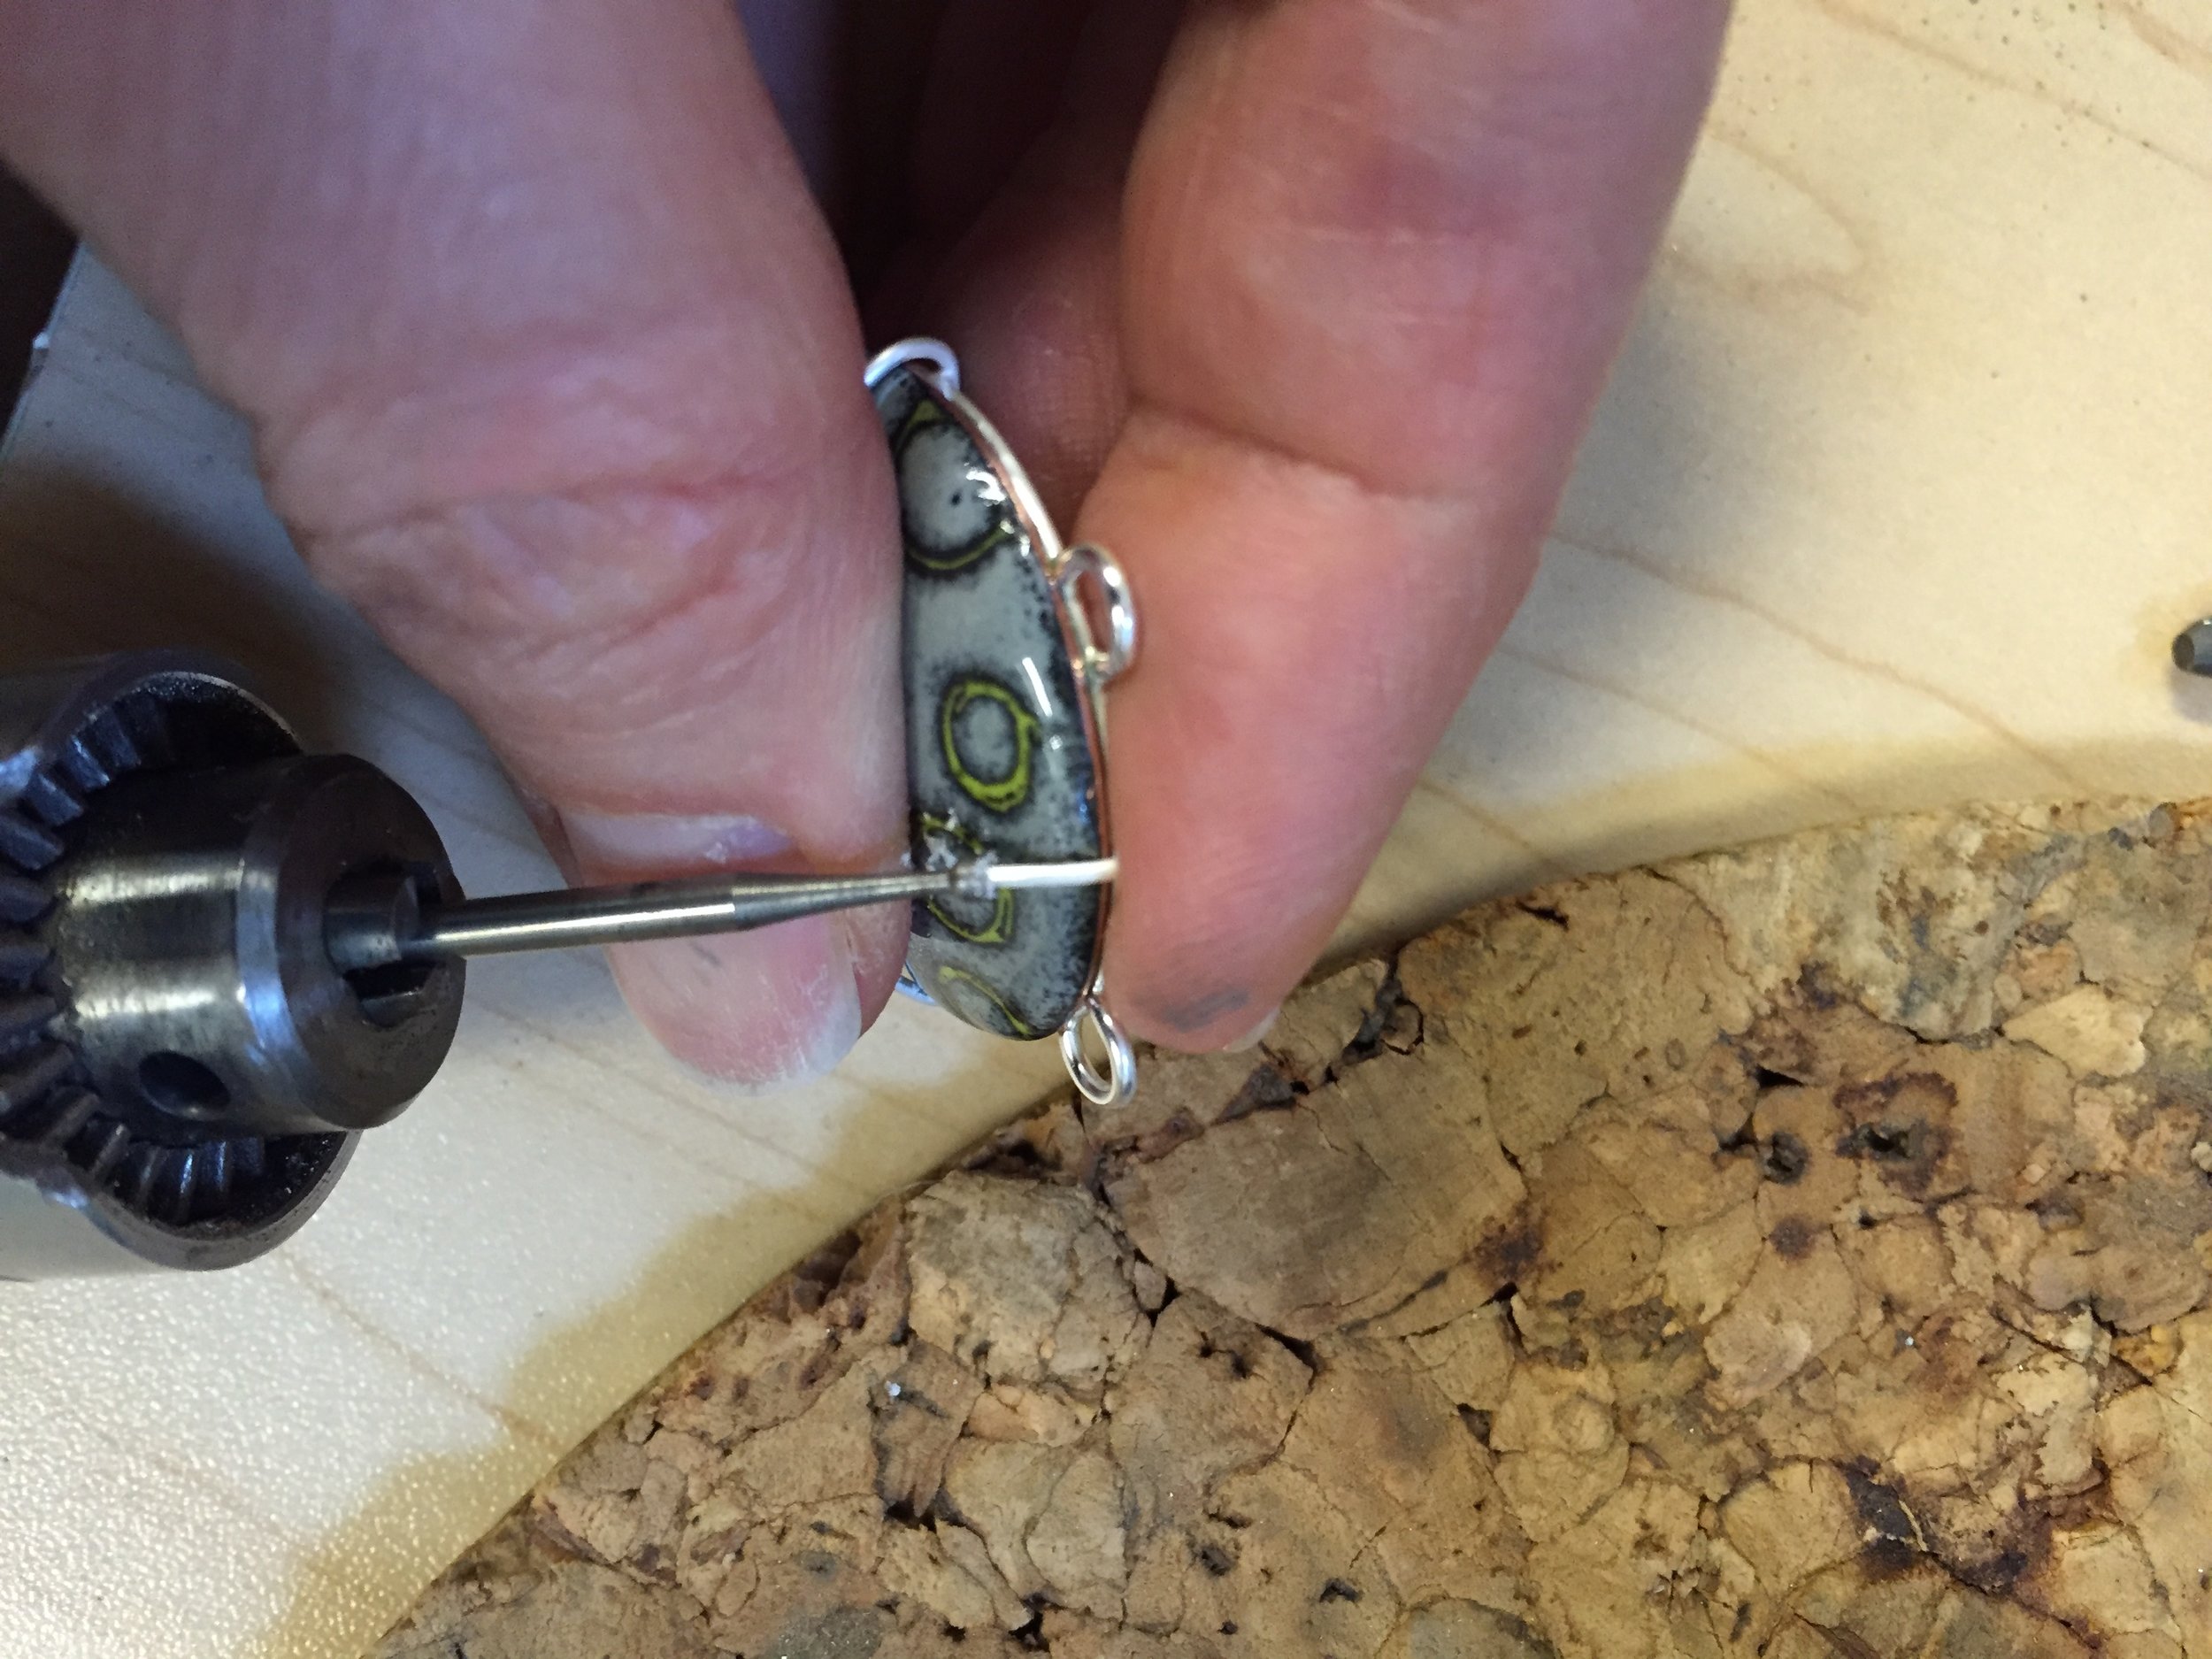
Use a little Burr Life lubricant on your cup burr to keep it from getting too hot. It prolongs the life of the tiny cutting blades inside the burr.
Step - 10Using a bezel pusher, fold the prongs over completely, allowing them to hug the curve of the cabochon. It will work harden the prongs and make them shine. You can rub the bezel pusher all over the setting to shine it up, or you can use a glass brush. Either will give the setting a nice shine. Alternatively, you can polish the entire setting before setting the cabochon. If you prefer a more rustic look, the setting can be dipped into liver of sulphur to give it a nice, rich patina.

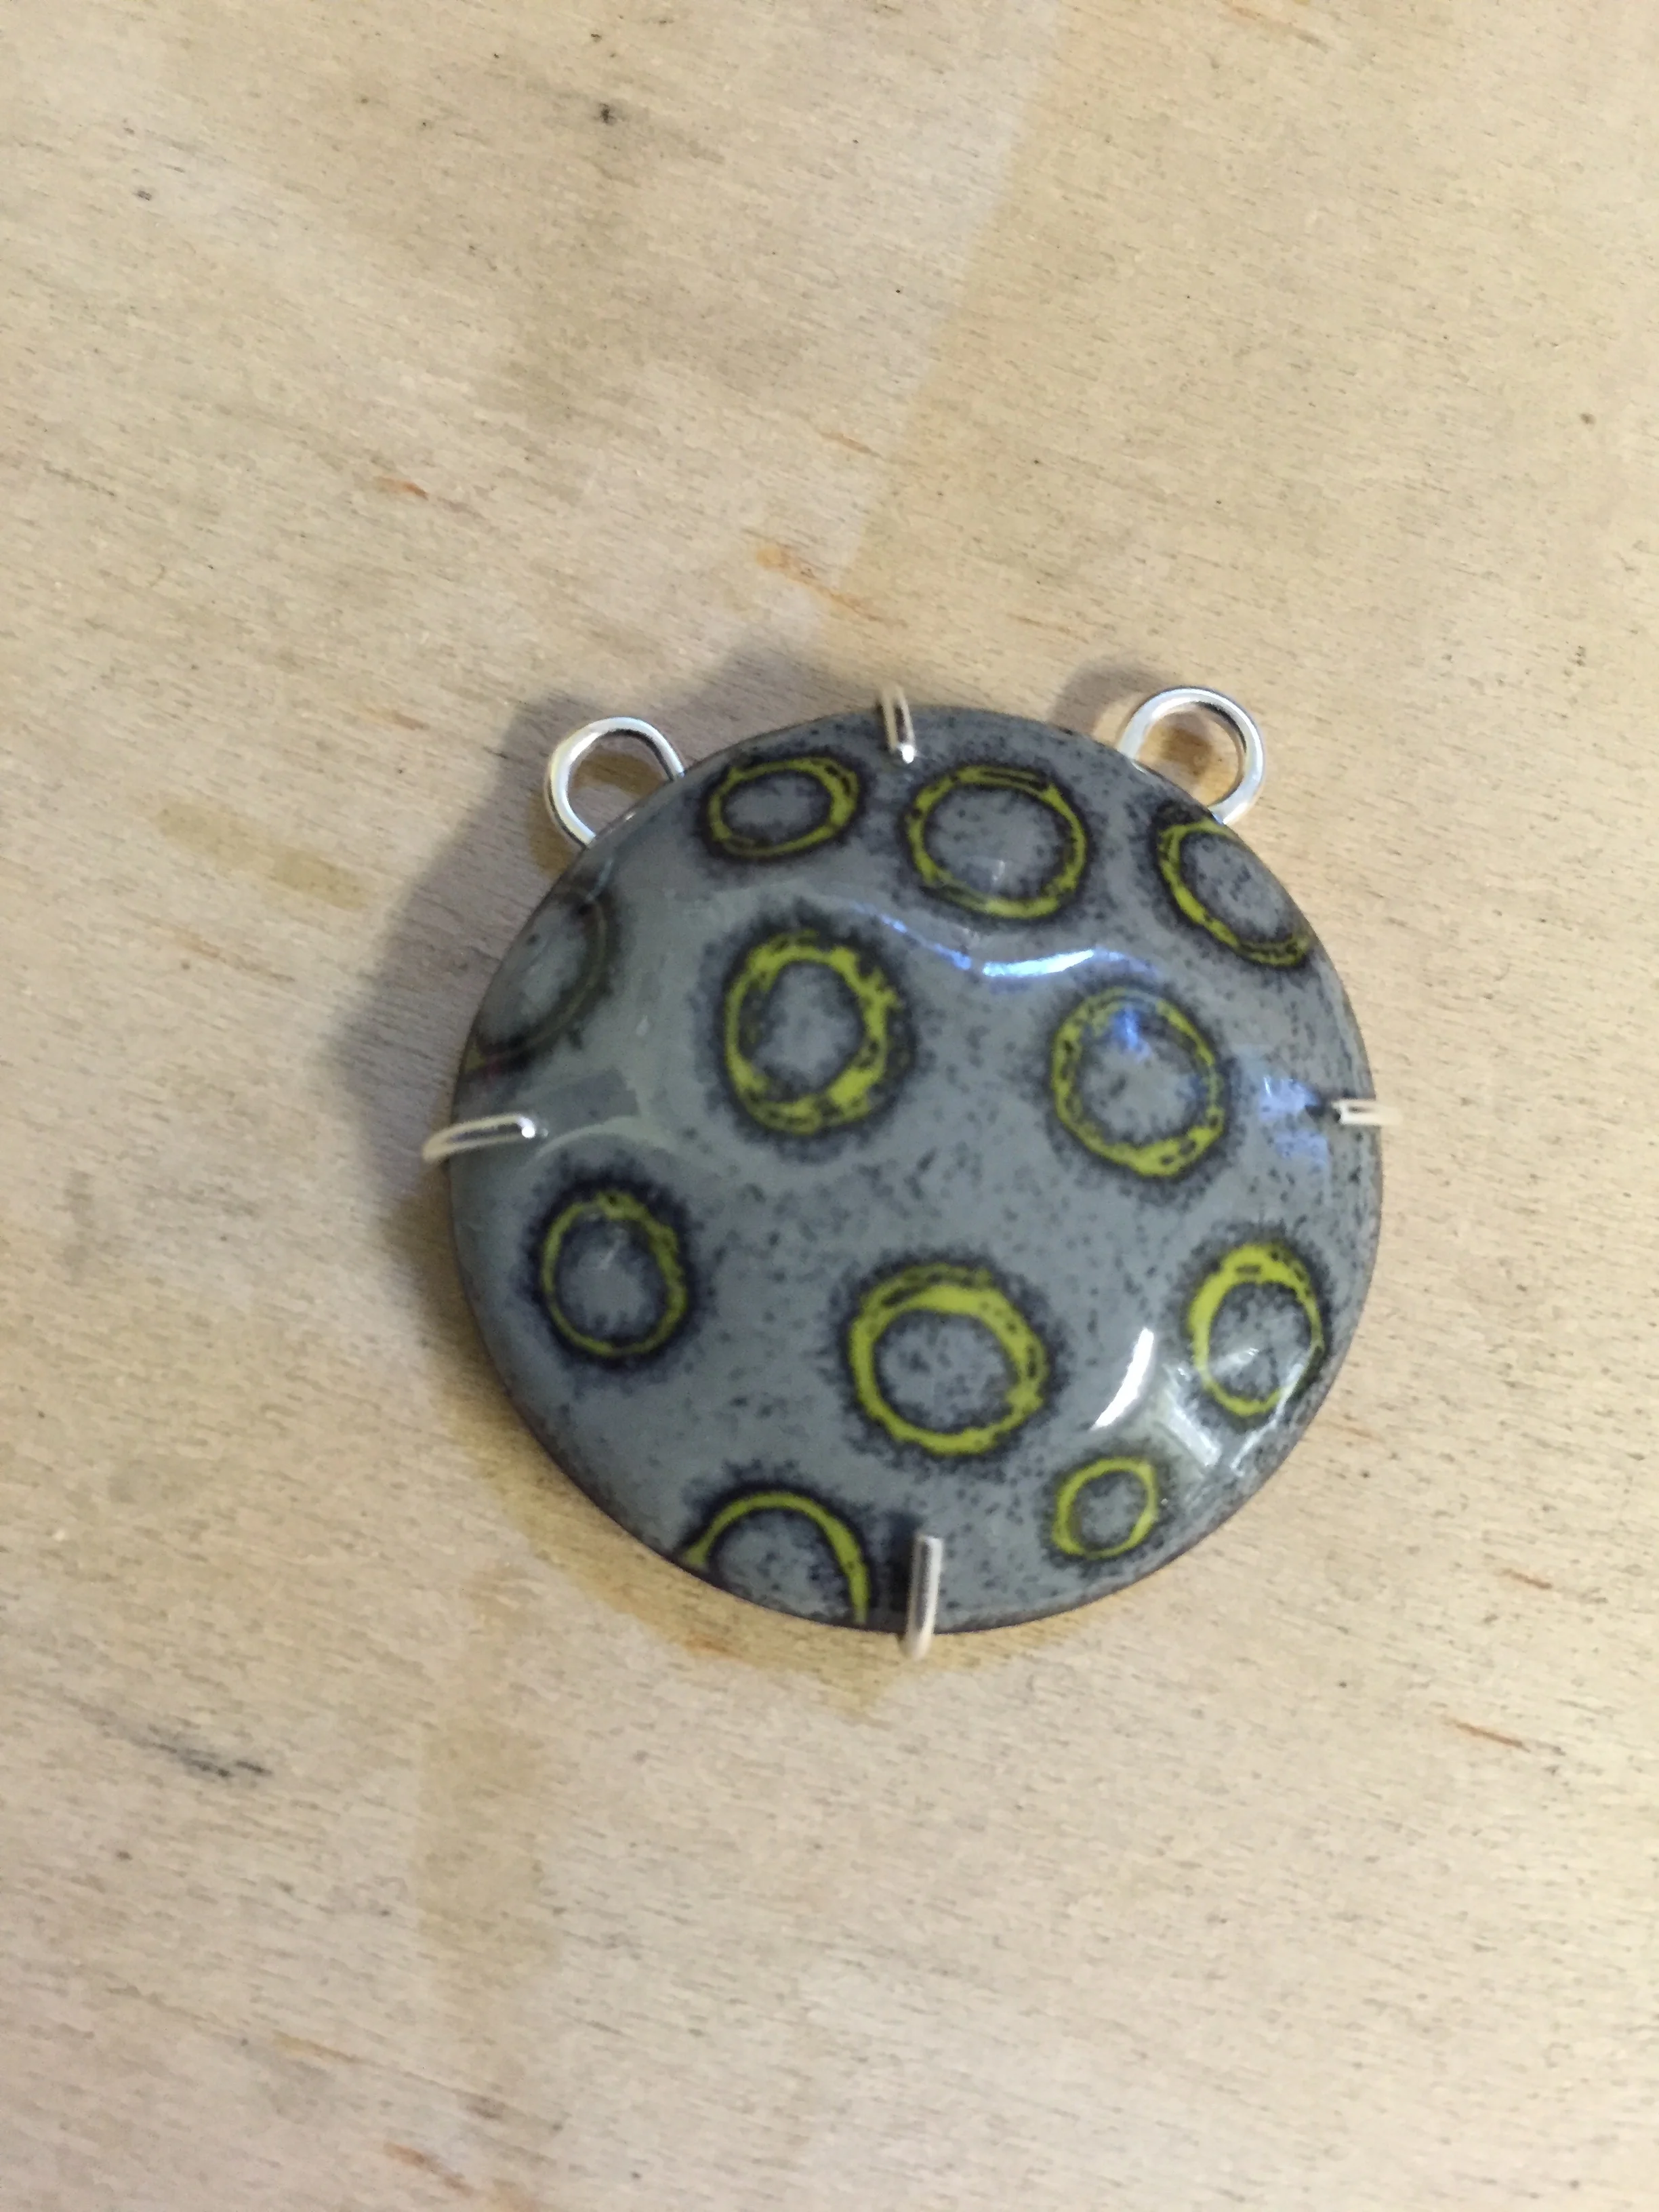
The finished setting...
The American Dream
The American Dream, as long as I can remember, was to own a house. Unfortunately, that dream has become unattainable for so many. For others, it has become their worst nightmare.
I absolutely love watching all of the tiny house shows on television, perusing the internet for tiny house designs, and imagining what it would be like to live in such a small space. I'm not sure a tiny house is for me, but there is something so addictive about the movement. I think it's the allure of being mortgage free. Being mortgage free is being free. For so many people, having a mortgage is like having a ball and chain around your ankle. It keeps us from jobs that make us happy, from traveling more, and a host of other pleasantries.
Several years ago, I created a little series of paintings that incorporated tiny enamel houses. Like so many, we were worried whether or not we would be able to keep our dream house - the one we built with our own four hands. The series was a reflection on the American Dream of owning a home. It was always our dream of building our own home. Once we achieved that goal, the economy started to unravel. My husband's job was severely affected, and so was our income. The American Dream was becoming our worst nightmare.
I went back to work as an optician to keep our home. It pays the mortgage, but that's it. I am thankful for it, but I look back on the days when my parents were young, when owning a home was so much more attainable. Will we ever achieve that balance again?
My little dream houses bring back memories for so many of the "good old days." Creating them helps me to stay positive during difficult times. I plan to continue this series, developing it over the next several months. I hope to help keep the memories alive and the dream within reach.
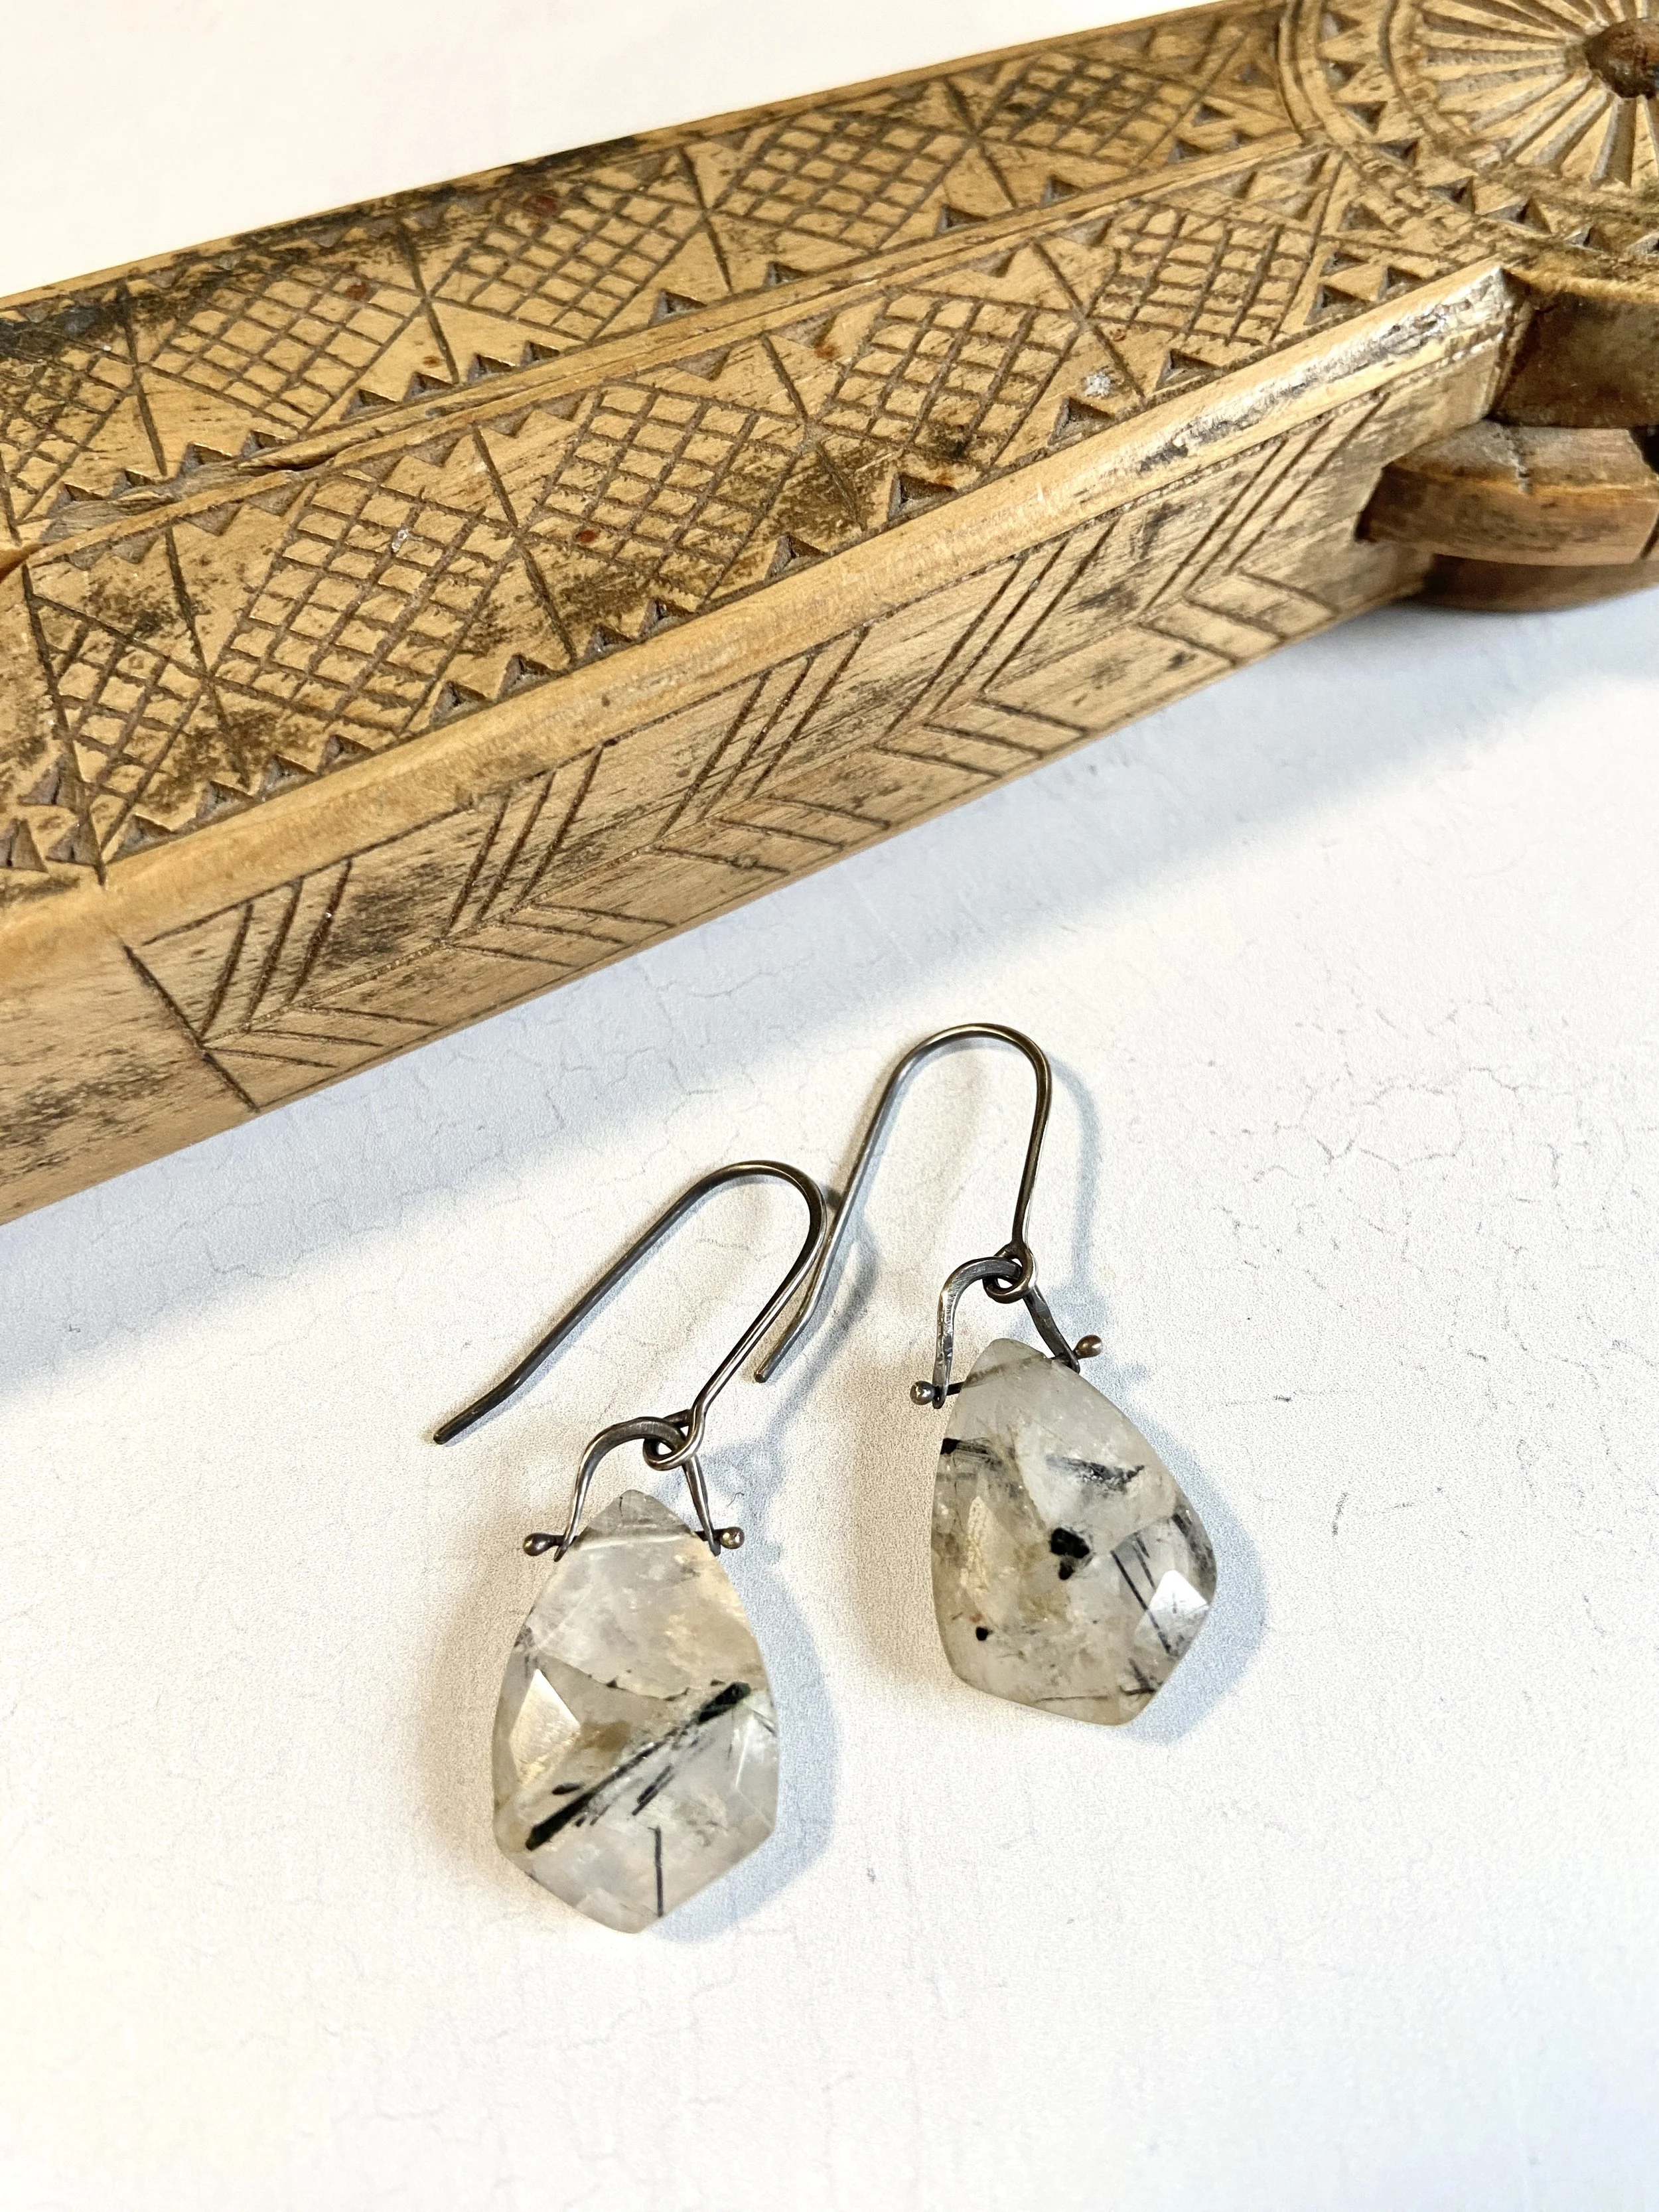
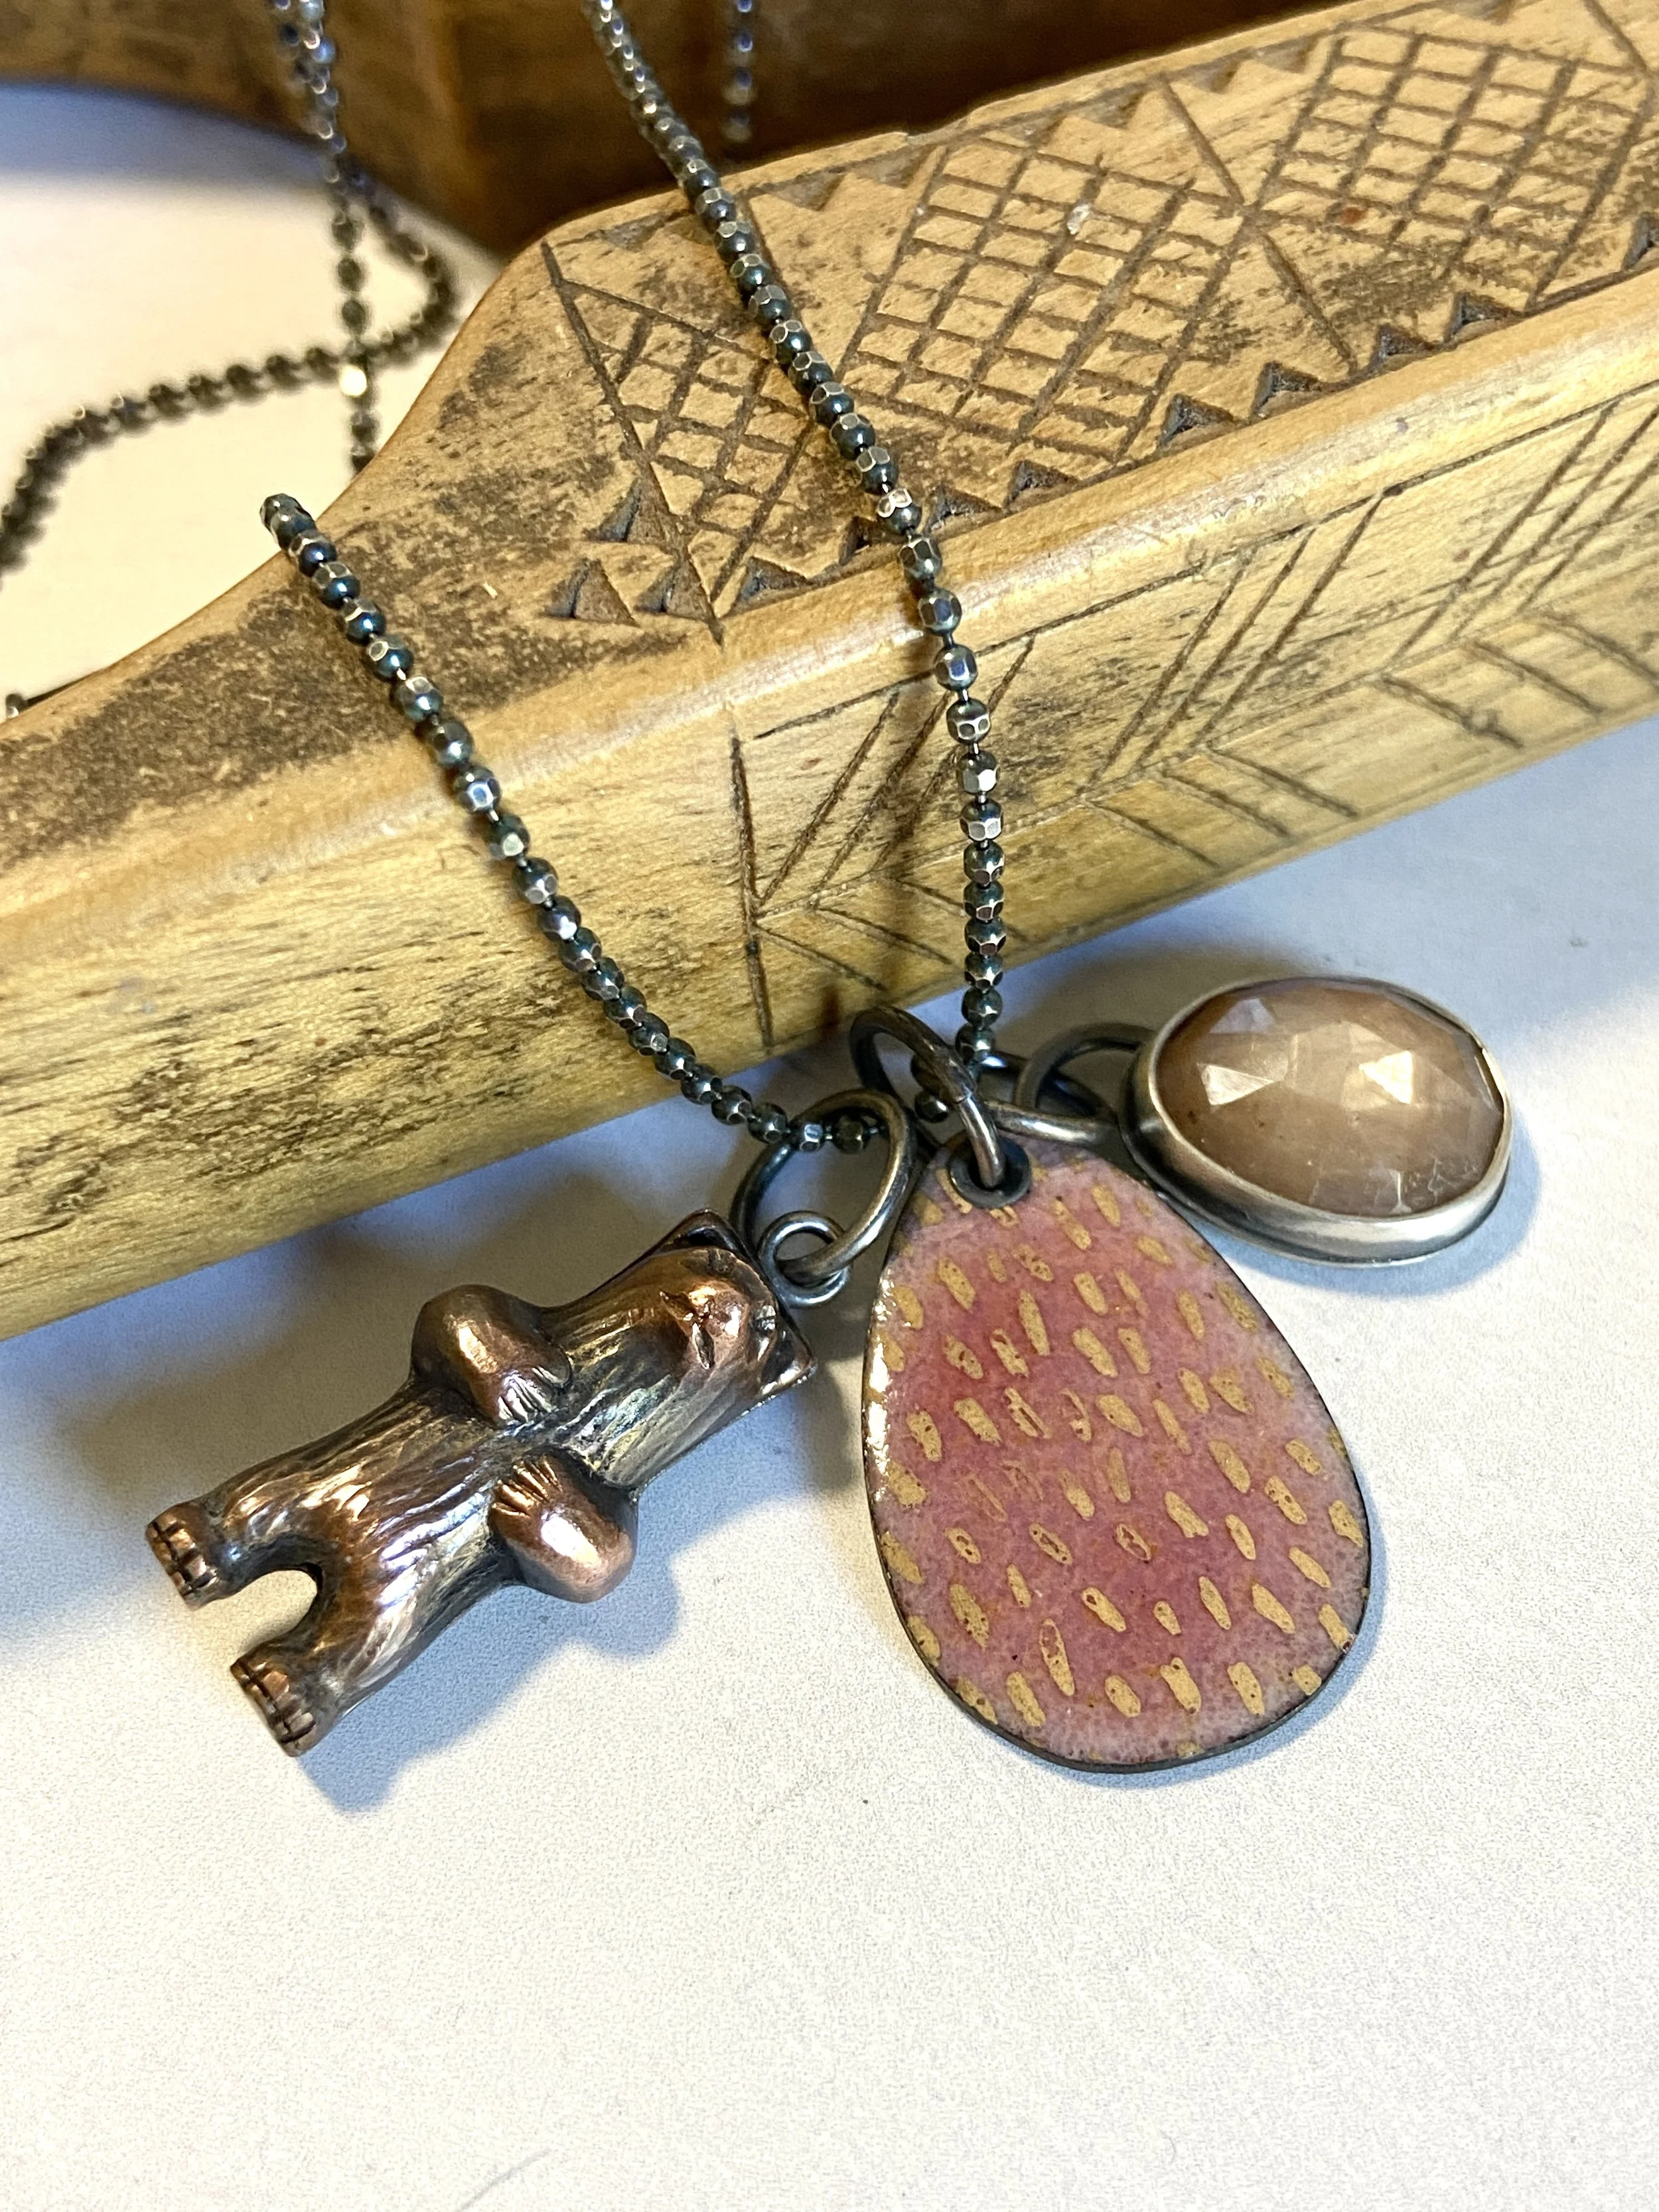
Make Your Own Charm Necklace