
Firing Gold Bearing Enamels
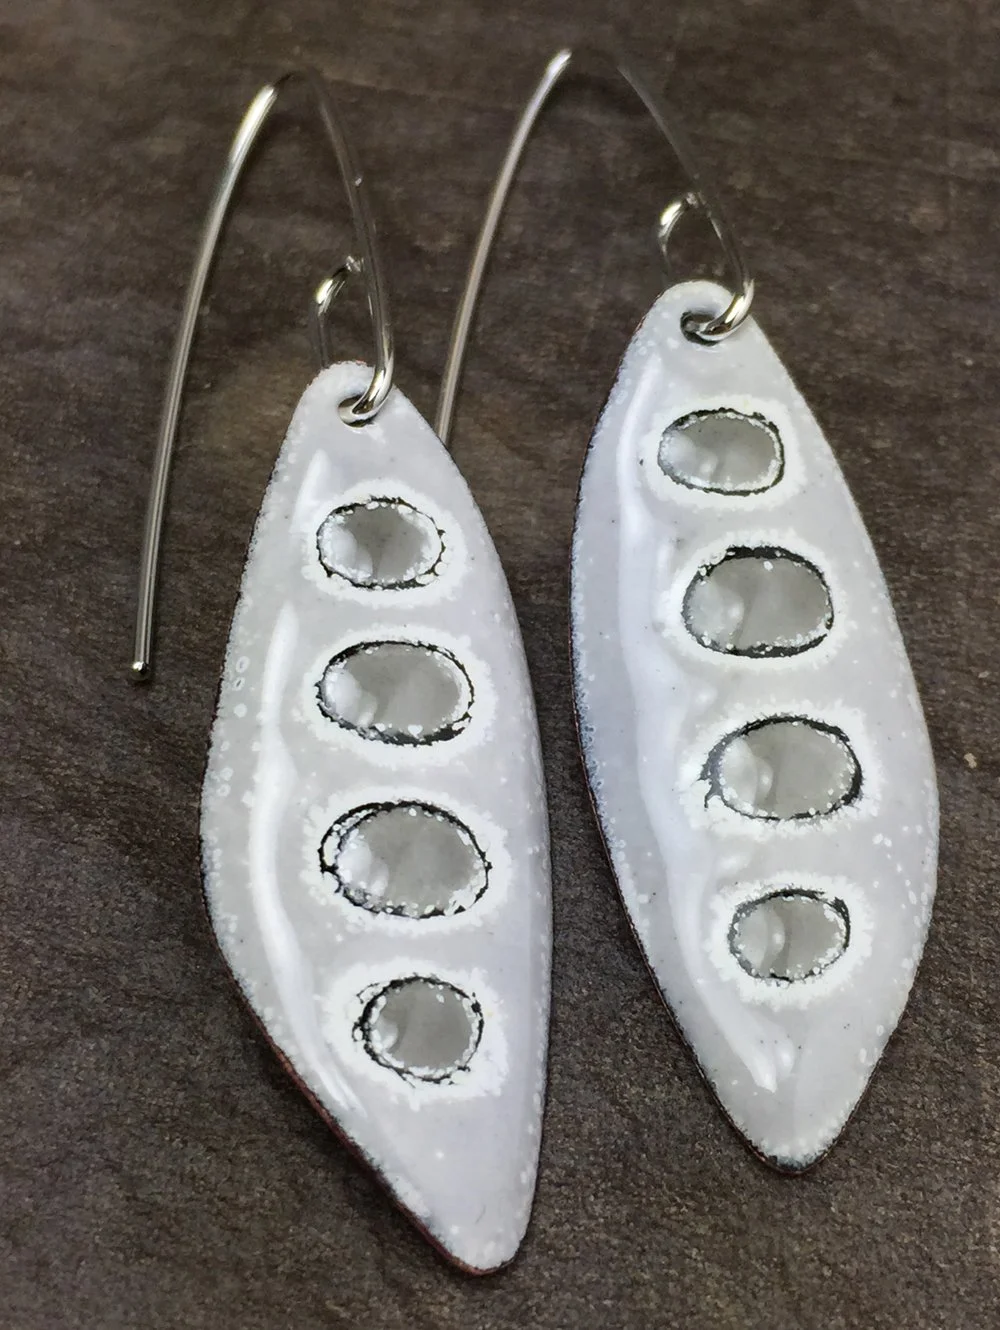
For years, I have struggled to fire Thompson Enamel purples. I even gave up on using them, until today. I was doing an internet search on the proper firing temperature for Orchid and Iris, thinking that the temp was my problem, but it turns out that these two purples are gold bearing and need to be fired over a layer of flux - 2030 over copper or 2020 over silver. The gold bearing opaque enamels are 1705, 1708, 1710, 1715, 1720, 1745, 1750, 1760, and 1780. I fired 1750 and 1760 over a layer of 2030 to maturity, making sure that all the copper oxides had cleared the enamel. It took two coats of the opaques to get a good solid color, but it was totally worth it. You can see on the results in the image below.
I found the solution to my problem on Thompson’s website, several paragraphs down under the heading: What are Cadmium and Selenium Colors? - Check it out here.
I am going to try this fix for the yellows that I have had trouble with as well, like butter yellow. Dark gray dots appear with multiple firings.
This same link has some great info about fluxes and whites, which I have found extremely helpful in the past. I guess I never read further down to catch the info about firing purples, reds, oranges and yellows. I hope this info helps you in your enameling practice. It’s great to know that the info you need to solve your enameling problems is only an internet search away. However, if you have problems that can’t be resolved by reading this, Thompson is always willing to talk you through your firing issues. Just make sure you have all the details documented before you call, like firing temp, duration, what colors you are using, what metal you are using, and the layer order of your enamel colors.
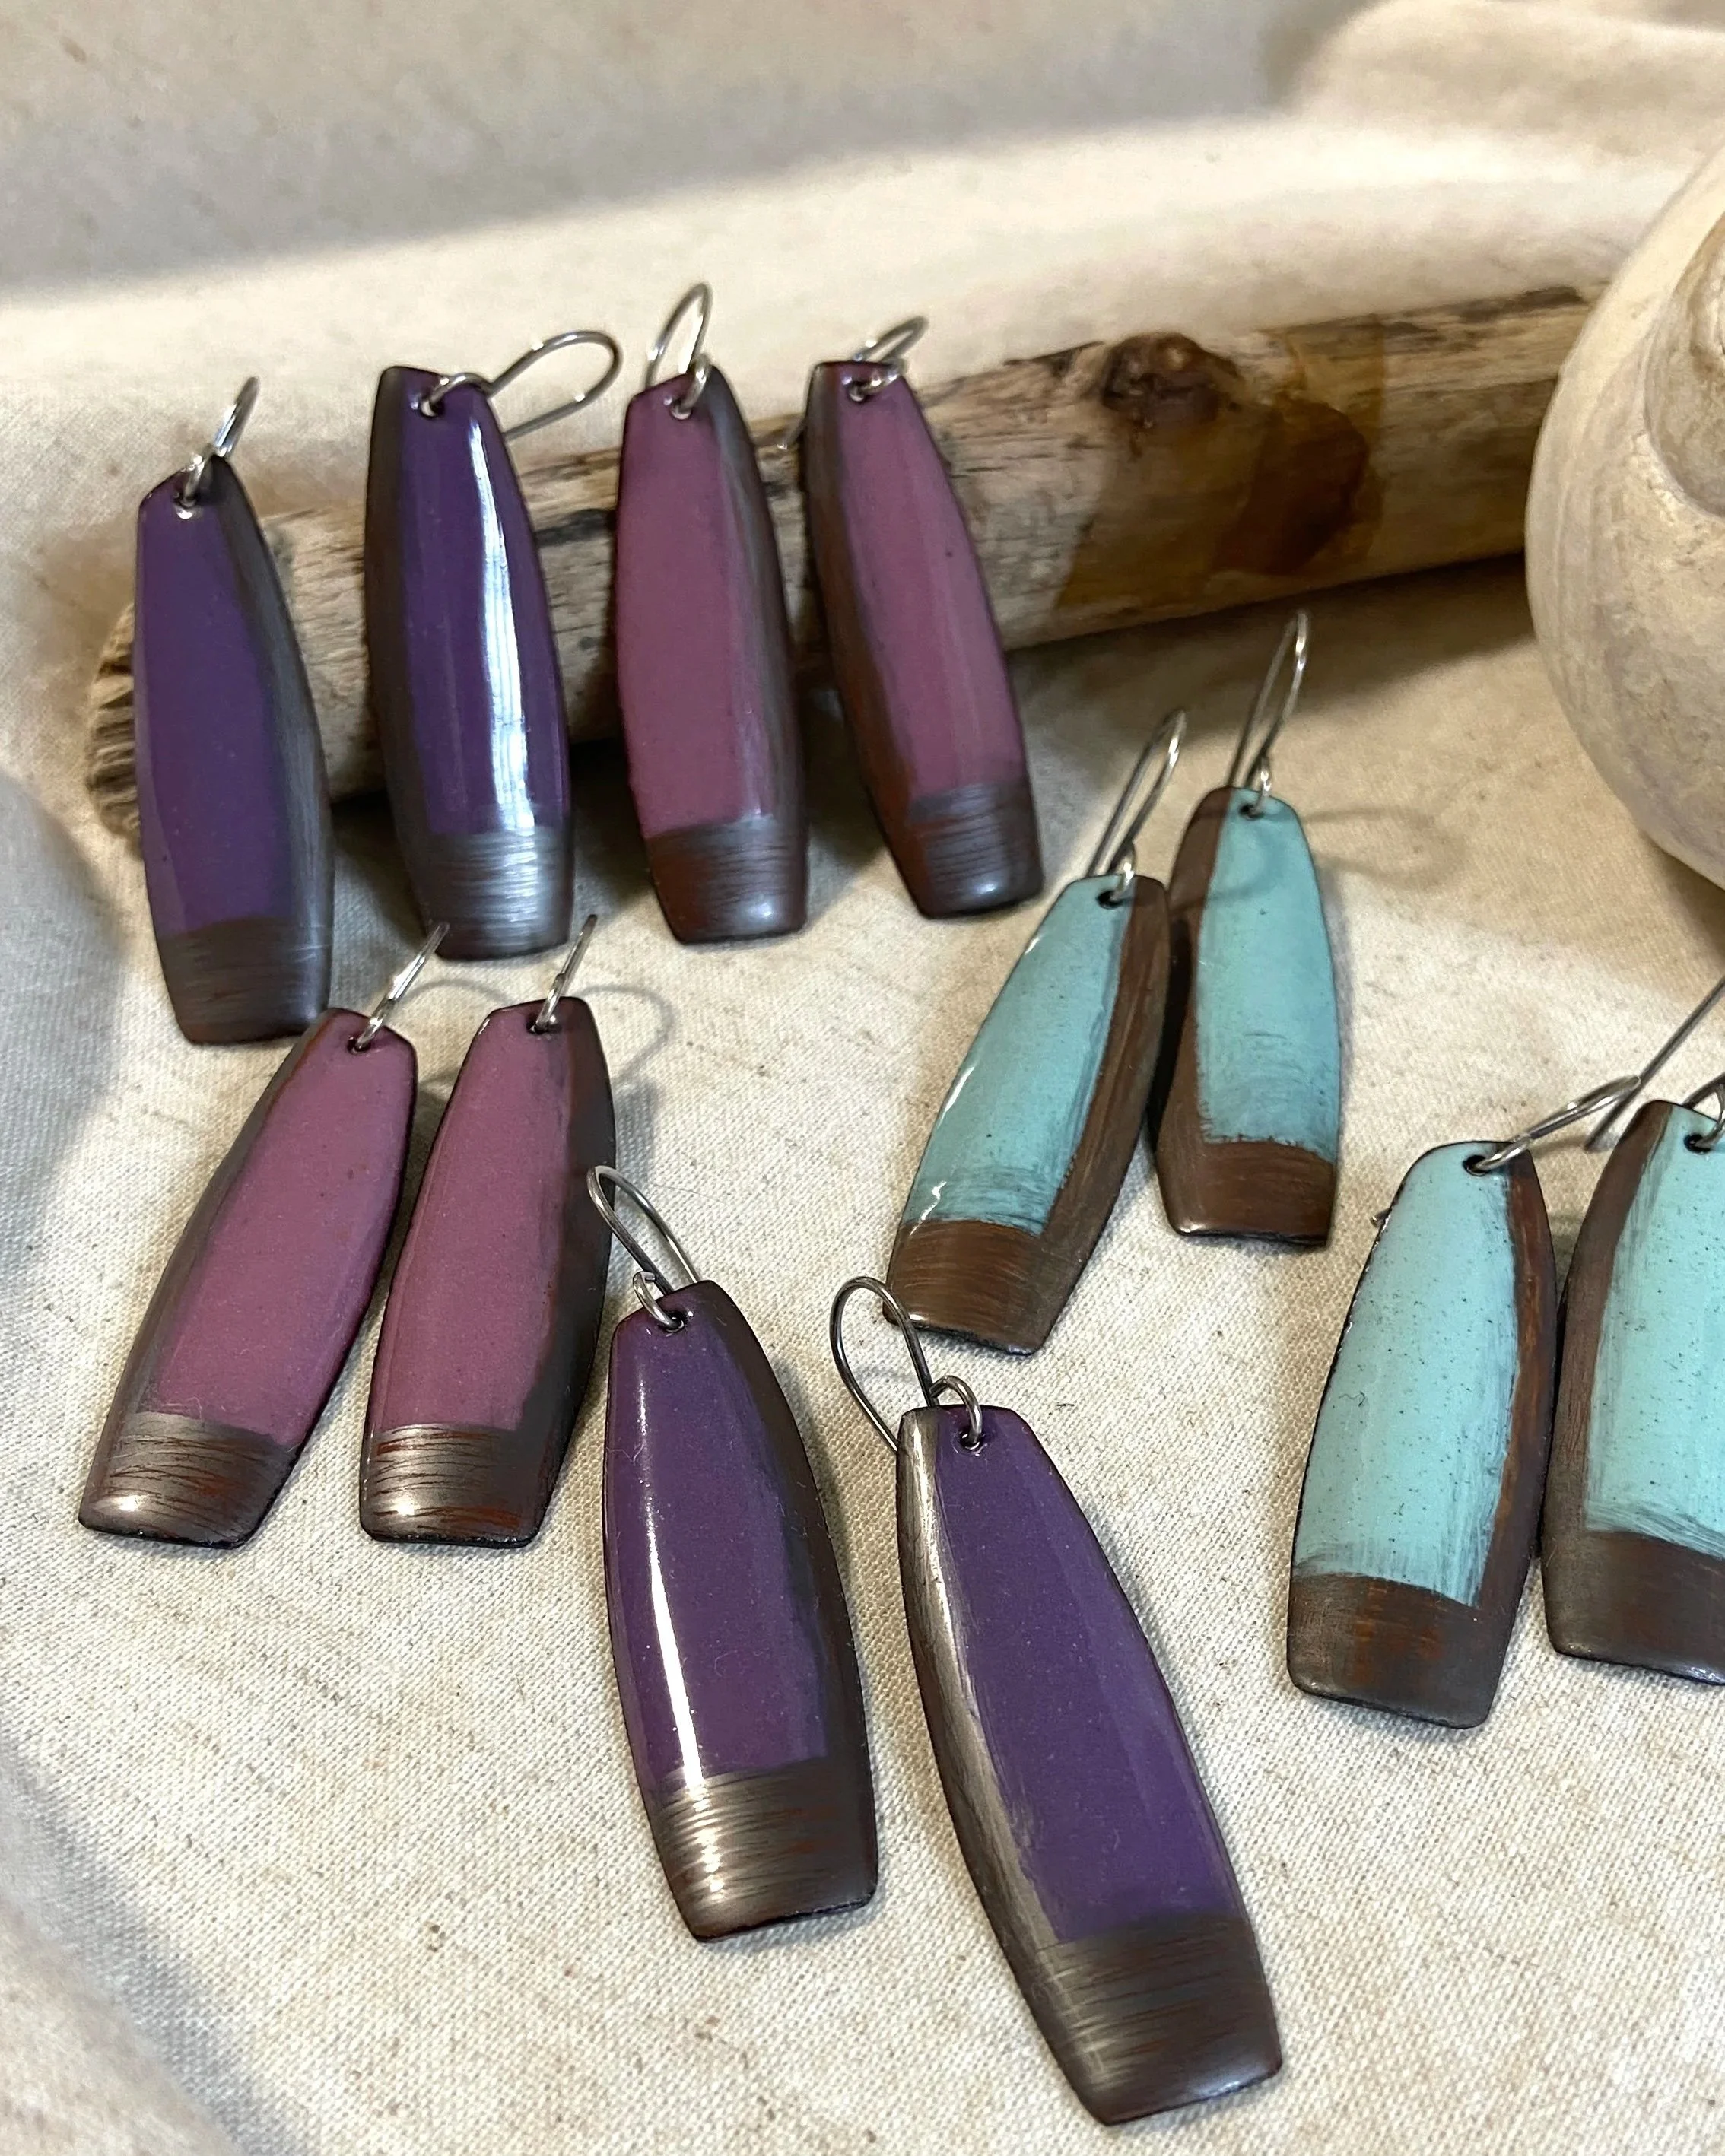
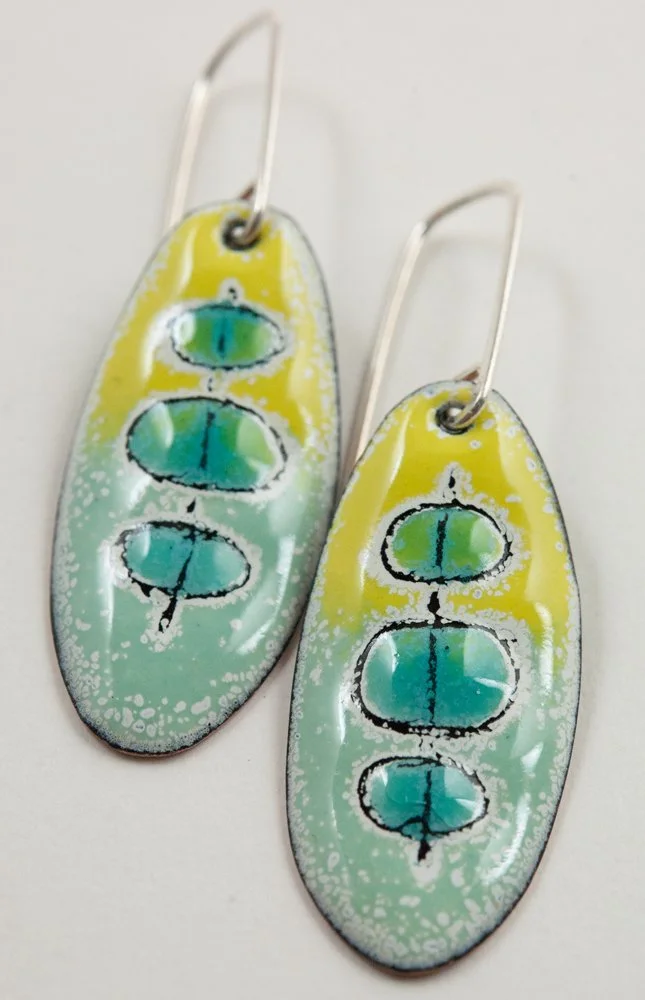
Enameled earrings in shades of purple and robin’s egg blue
Sgraffito Enamel Technique
The word sgraffito means to scratch through. When used in enameling, it can mean to scratch through dry sifted enamel, dried liquid enamel, acrylic enamel, enamel marking crayons, etc. My favorite way to use this technique utilizes both dry sifted enamels and liquid enamel.
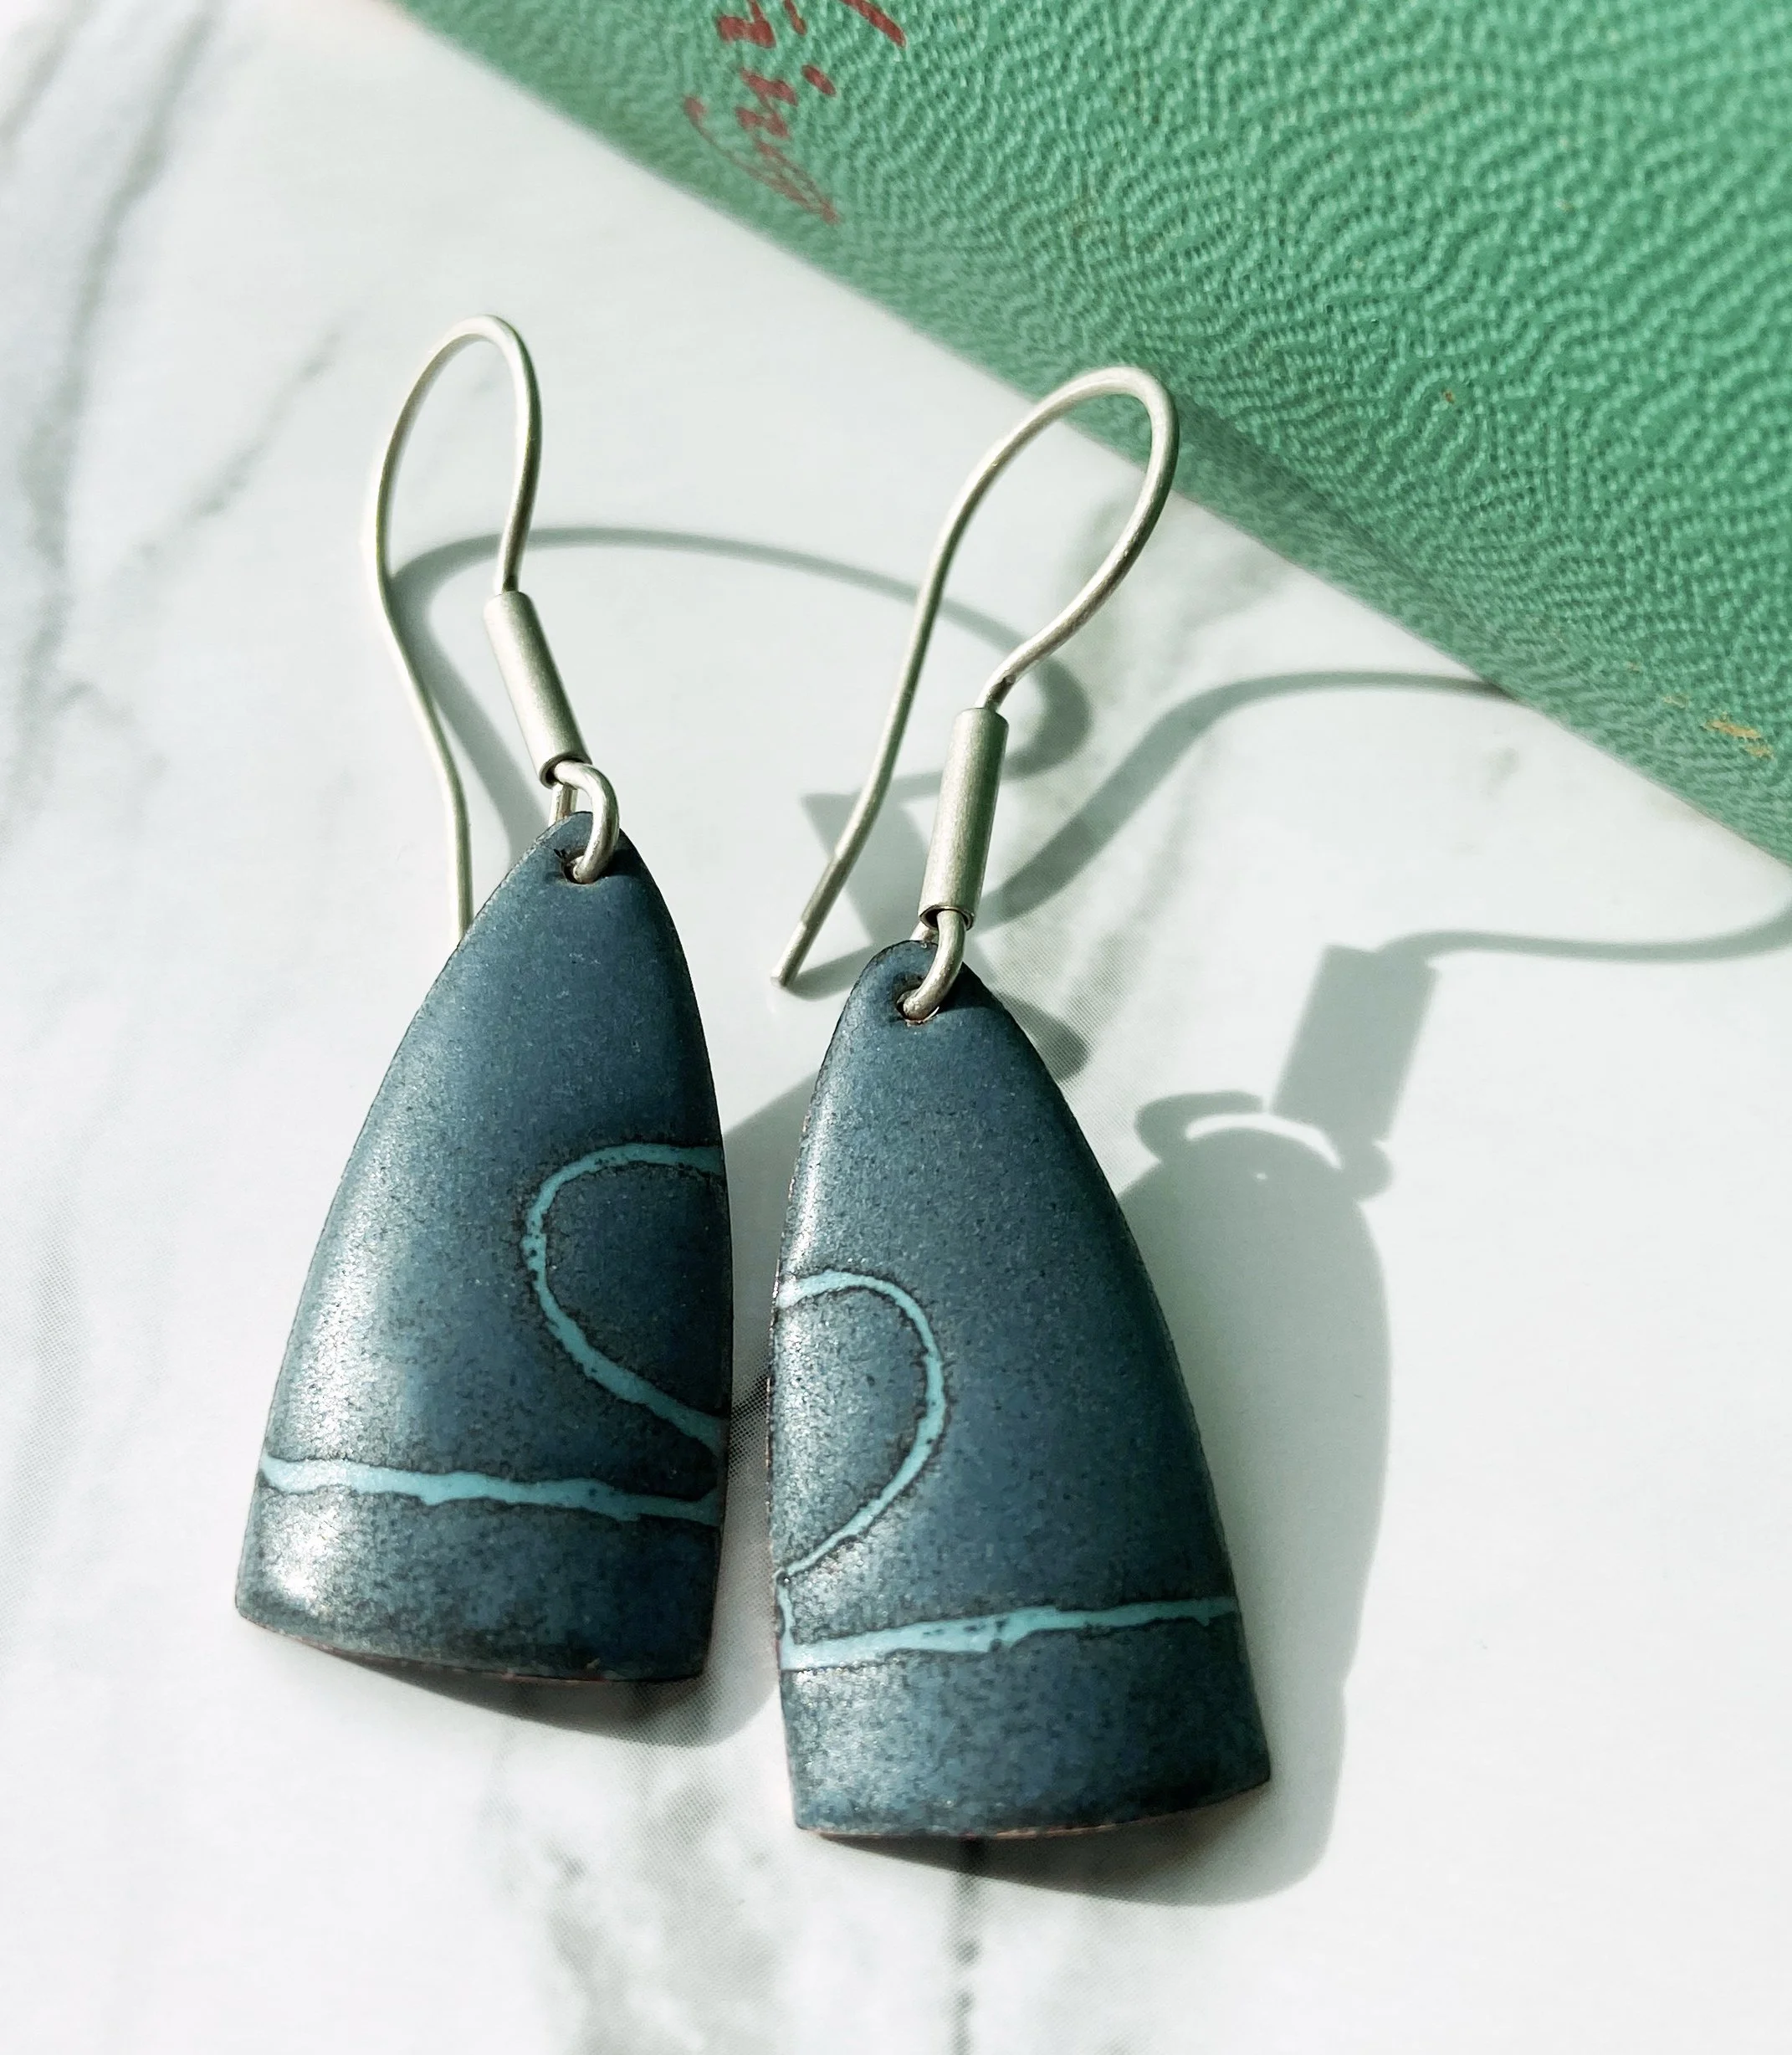
I usually apply a base layer of color, like a light blue in the case of the blue and gray earrings that you see below. After that layer is fired, it’s on to applying a layer of liquid enamel. I used black for all four pair below. Before the liquid enamel dries, I sift a layer of dry enamel powder and gently tamp it into the wet enamel with my fingers. Once this is done, it’s time for sgraffito.
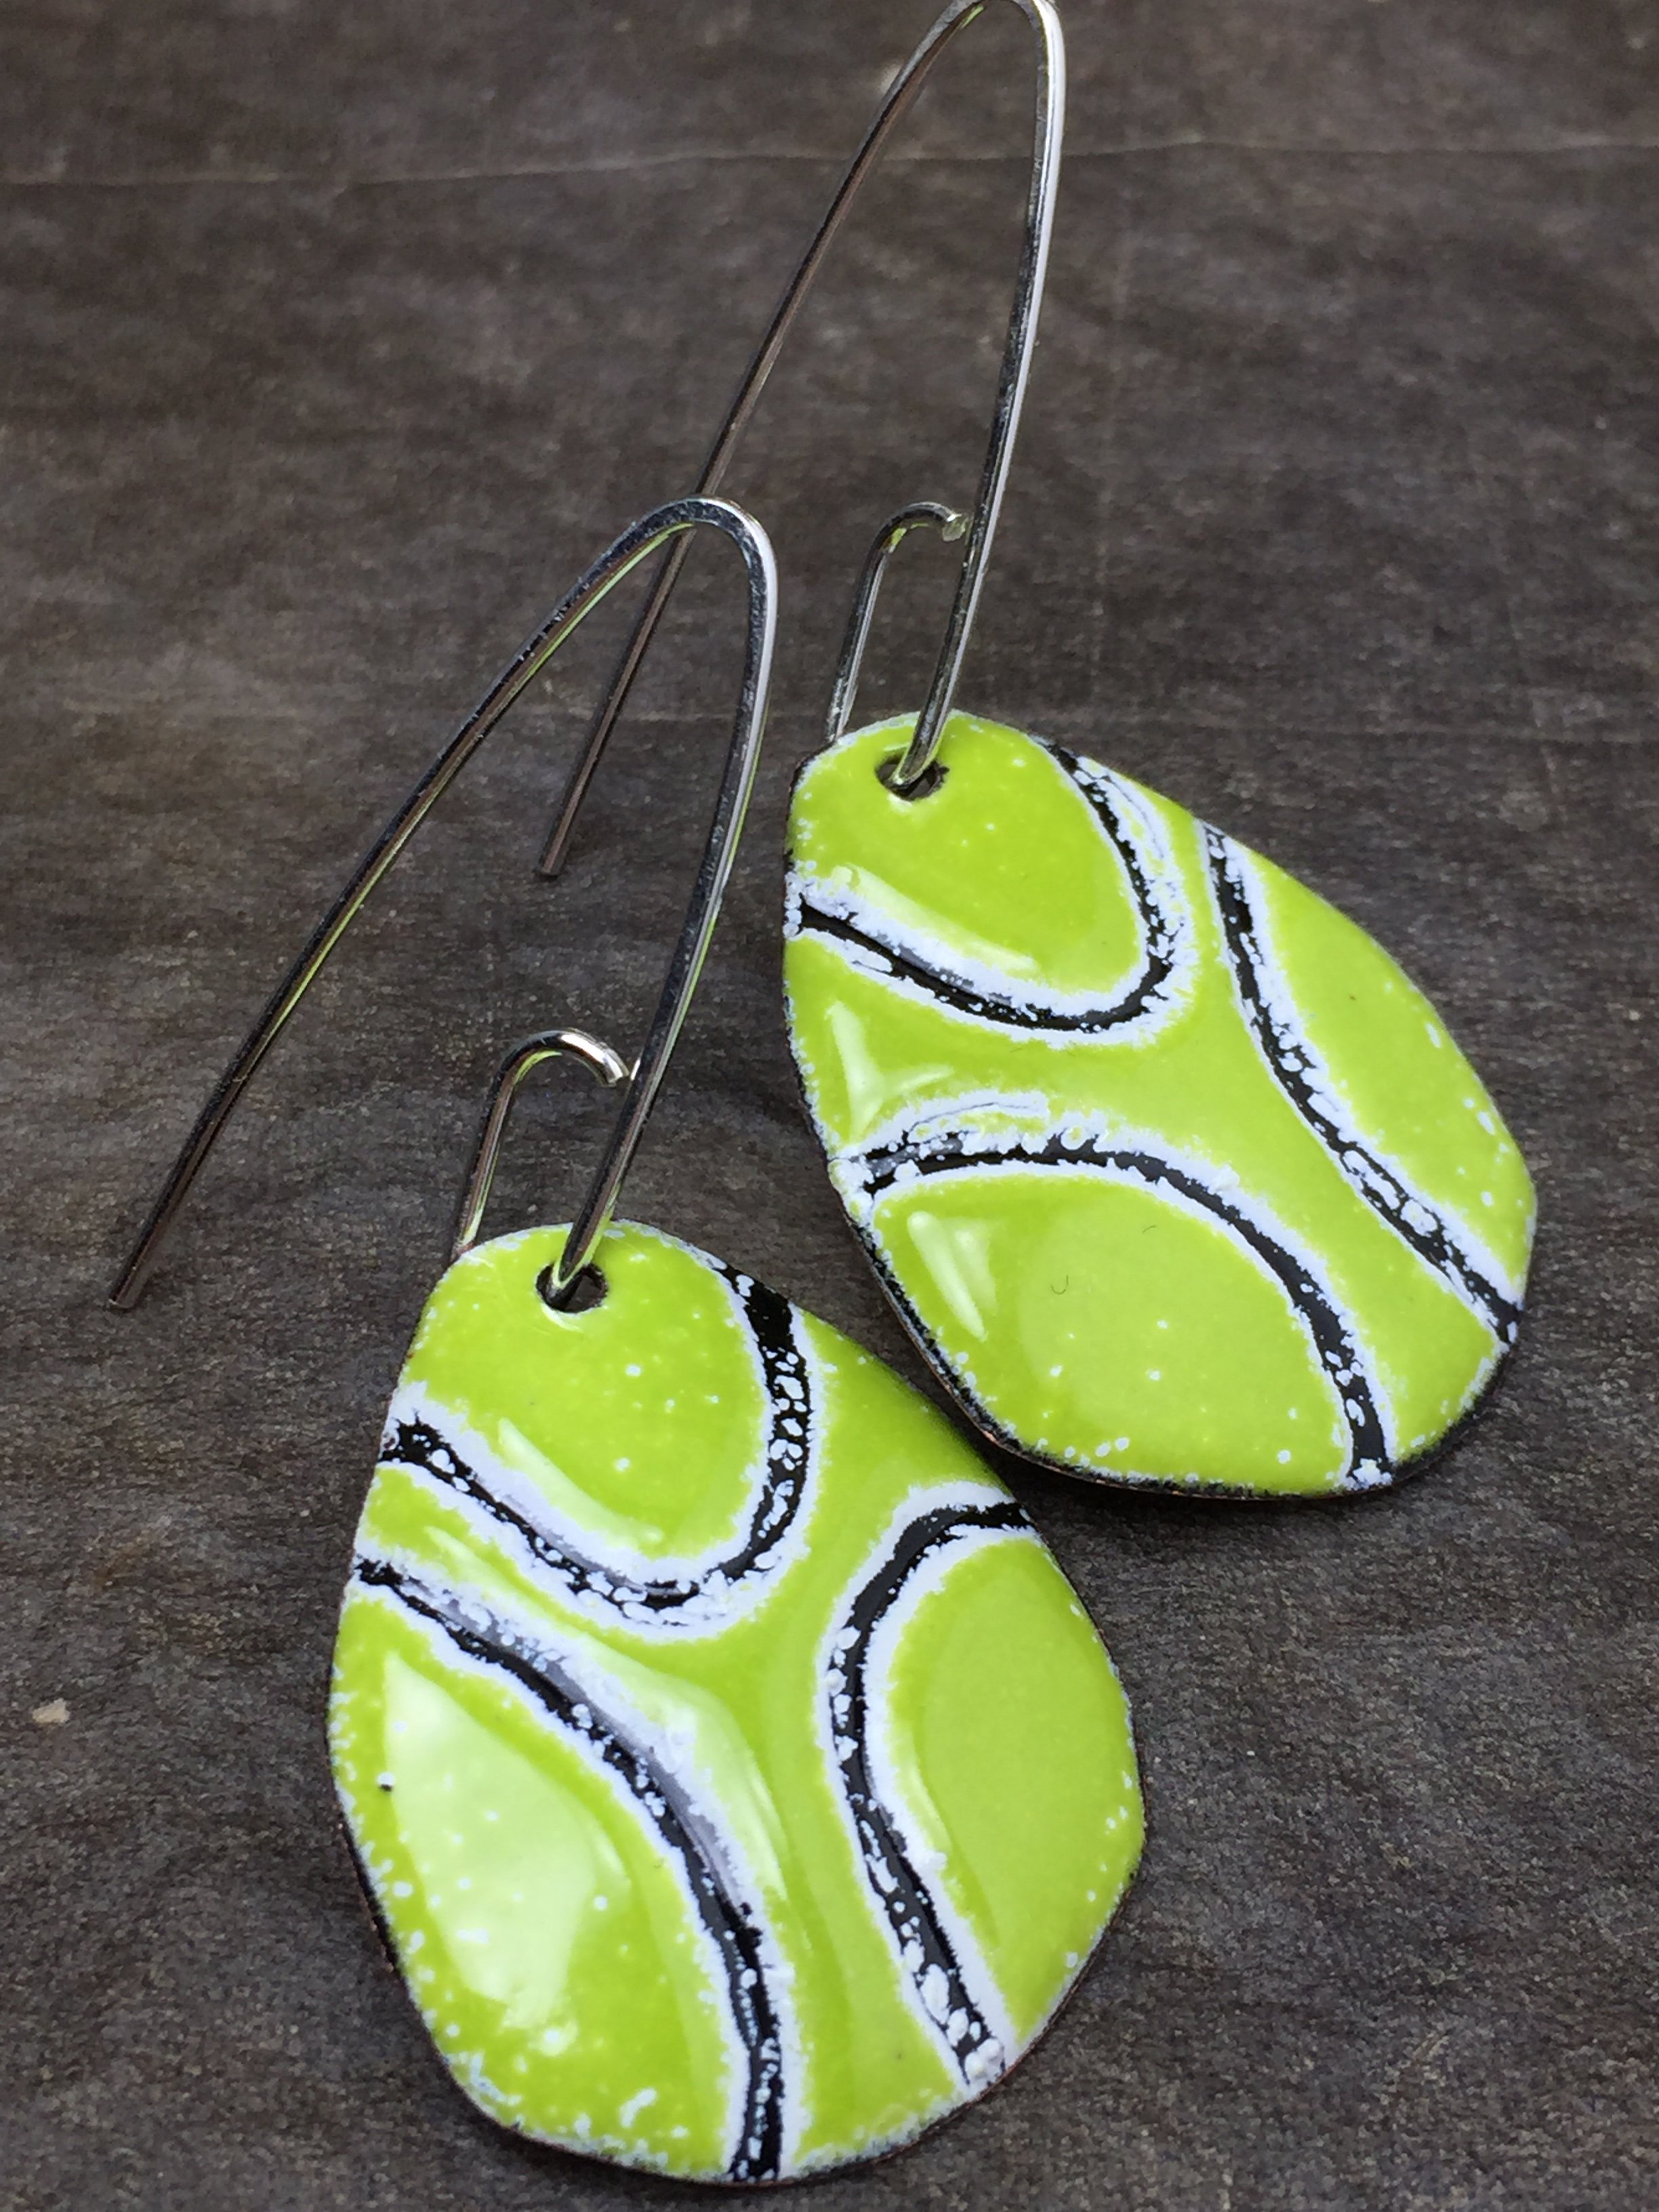
With the case of the earrings directly below, I was interested in making something that looked like a lobster buoy - thus the lines and numbers.

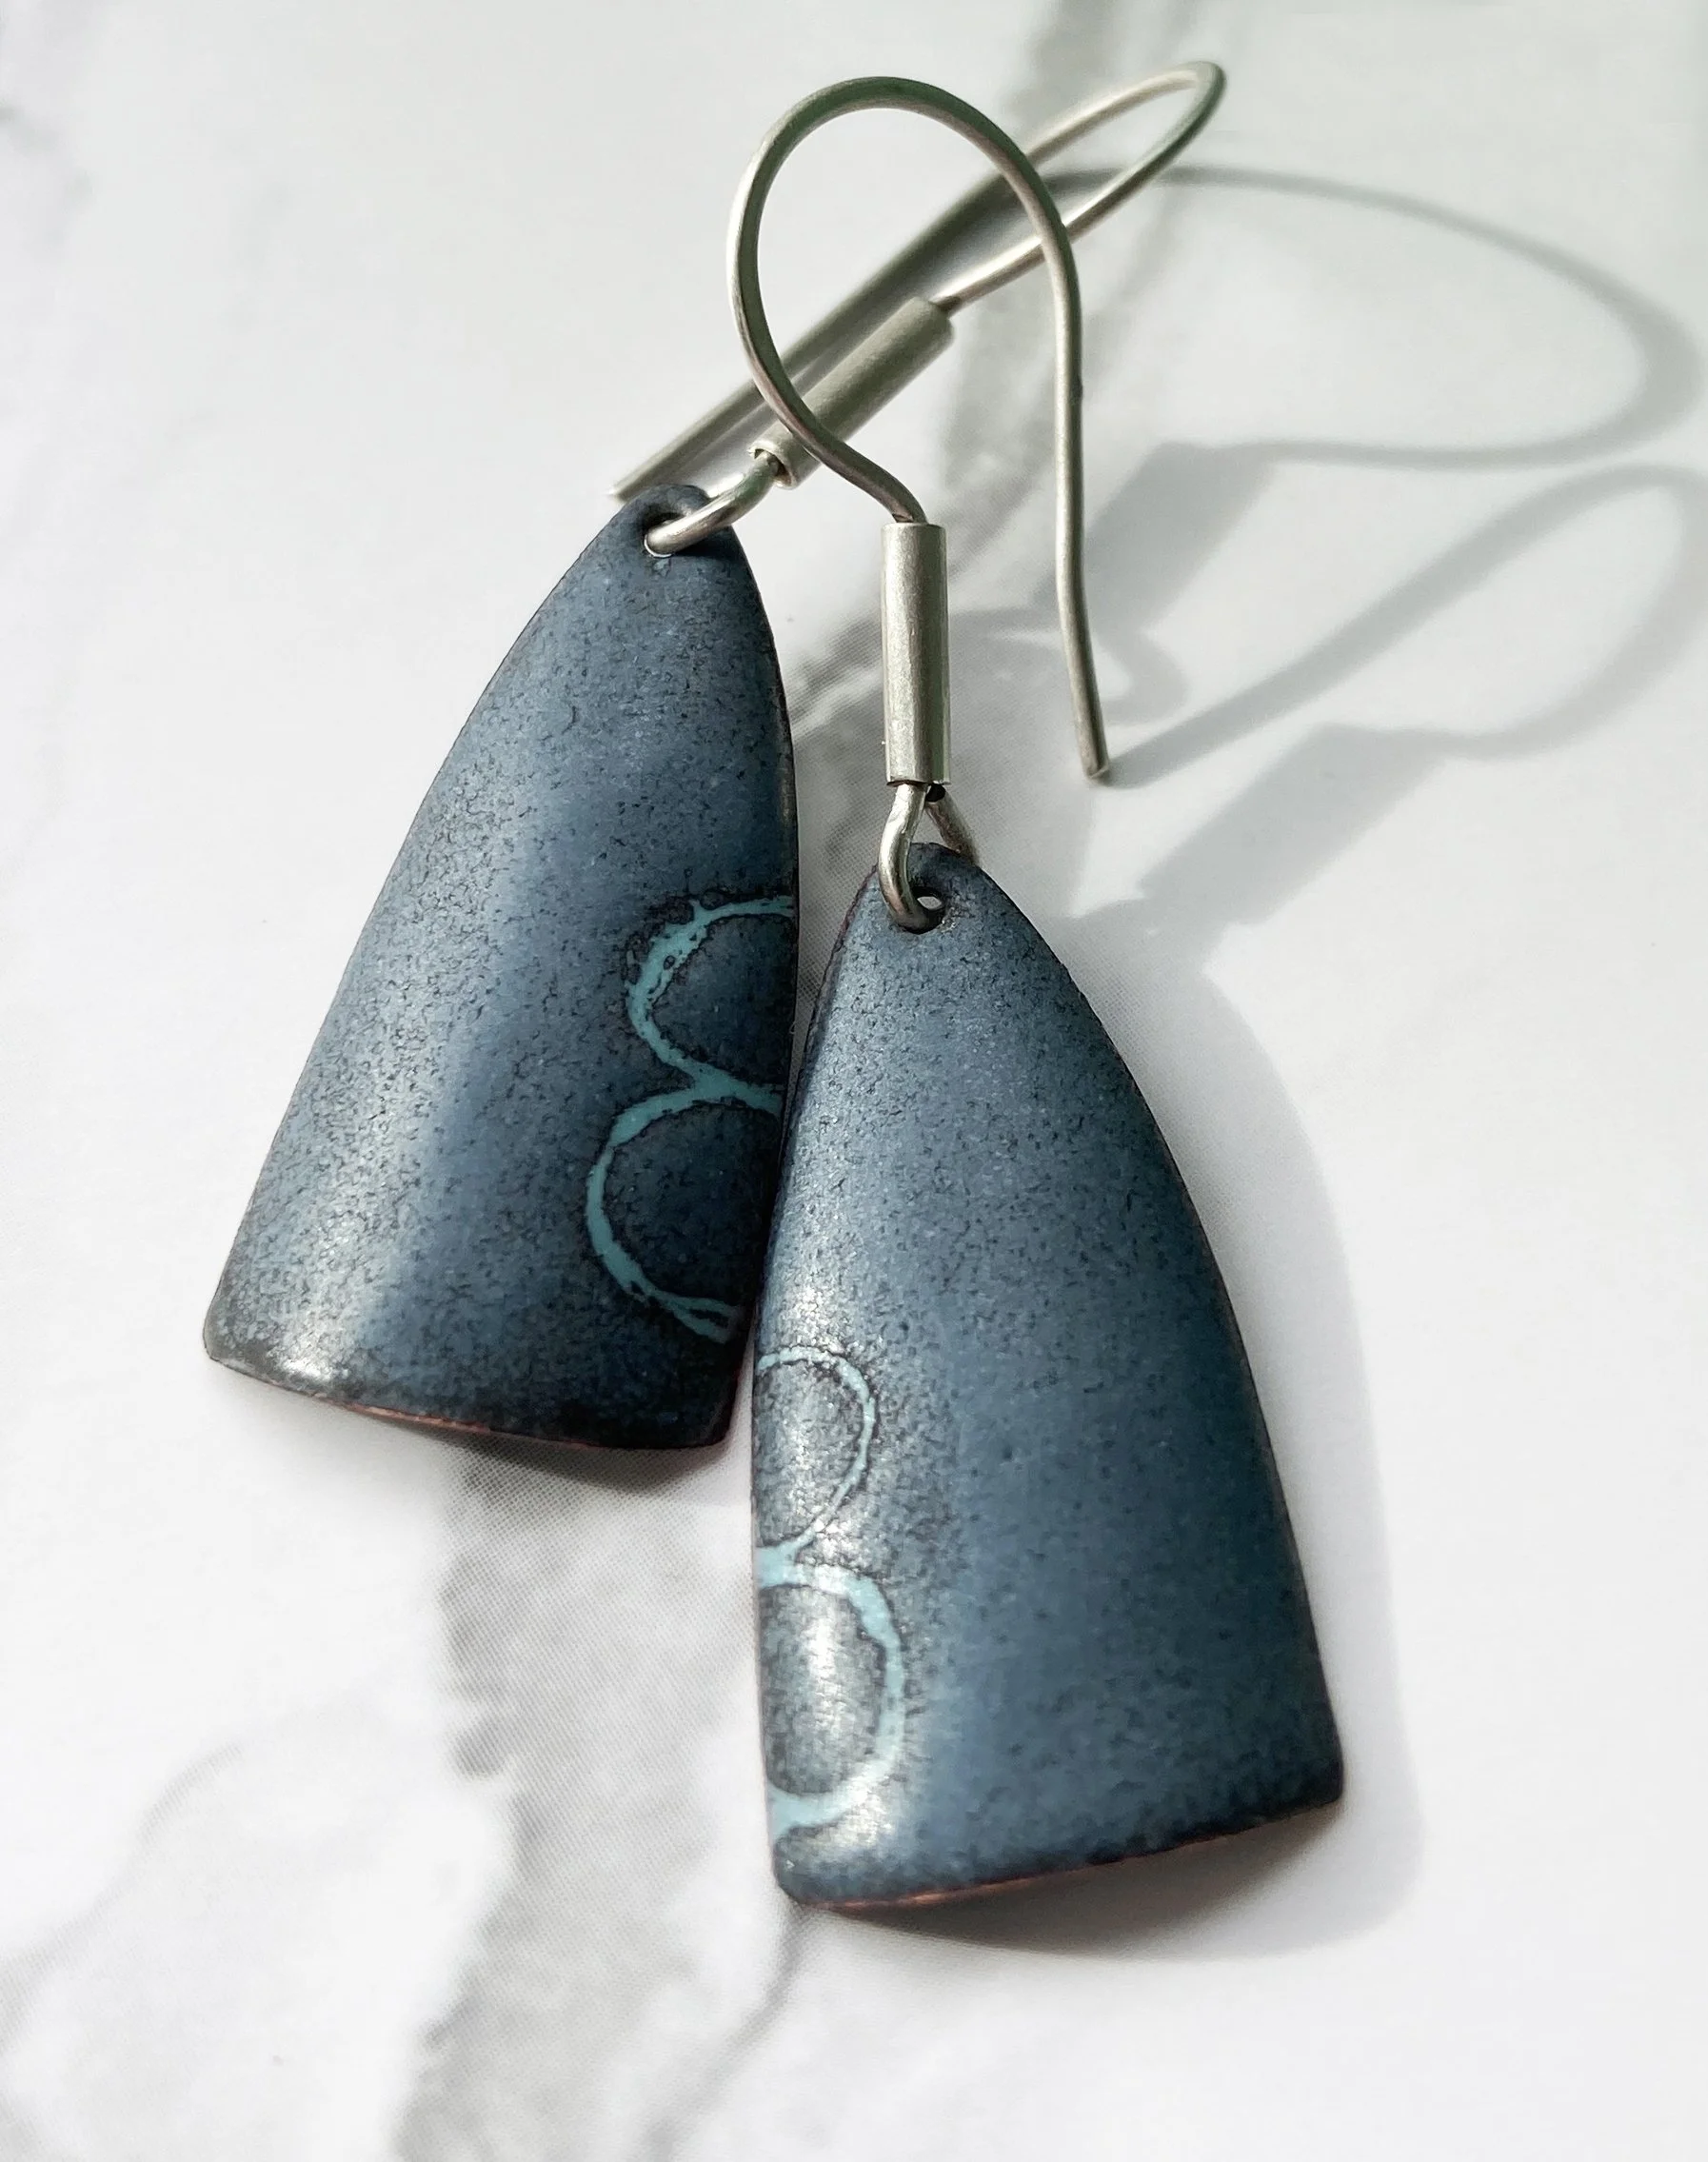

Once the sgraffito is done, it’s time for firing. The surface of the earrings above was etched to create a matte surface, but you don’t have to do that. As you see in the images below, it looks equally as nice left shiny.

You can apply opaque or transparent sifted enamels over the liquid enamel with this technique. - In the two images above right, I used a combination of both dry sifted opaque and wet packed transparent enamels. Depending on the thickness of the transparent enamel, there may be pull through (white bubbles). You can see that to a certain extent in the gray earrings. You can also see it with the opaque enamels over the white. I rather like the look.
So, as you can see, there are lots of possibilities that can be achieved using sgraffito. If you are interested in learning more, I have a few sgraffito tutorials available here. I hope you give sgraffito a try. It can really set your work apart.
Caring for Pearls
Pearls need special care. It’s not hard, but it’s important if you want your pearls to stand the test of time. Here are a few key tips…
Last on first off - put your pearls on after you have applied your makeup, perfume, hairspray, etc. Take them off before you undress.
Never wear pearls when you are doing strenuous exercise - their delicate makeup can be compromised by the acids in your sweat.
Never wear pearls when showering, swimming or doing the dishes - chlorine in water, pools and in cleaning supplies, in addition to other chemicals in cleaning products can cause their beautiful luster to wear away.
Gently wipe your pearls after removing them with a soft cotton cloth that is slightly damp to remove any perspiration, perfume, or lotion they may have come in contact with. You can use a gentle soap if necessary, but most of the time it isn’t warranted.
Store in a cotton or silk bag where air can circulate around them. They should never be stored in a plastic bag. Pearls can dry out and crack if they don’t have access to moisture.
Keep pearls away from harsh light and extreme heat.
When you follow the above guidelines, your pearls will last a lifetime. If you have any questions, don’t hesitate to comment below or send me an email via the form on my contact page.
My Fascination With Pearls
Just like people, pearls come in many shapes, sizes and different colors too. Some are smooth, and some are ridged. Some are even flat, which isn’t something you typically see.
For years, I’ve been fascinated by pearls. I remember going through my mom’s jewelry box when I was a child. The pearl necklace that my great aunt gave her when she was sixteen was a particular favorite. I often would wear it for dress up.
Pearls are timeless. They never go out of style - whether they are strung on a silk cord or paired with silver or gold. They are perfectly imperfect, and that’s what I love about them.
I am working on a collection right now that features pearls in their many forms. Keep a watch out for it. These beauties are a limited edition. Once they are gone, they are gone.
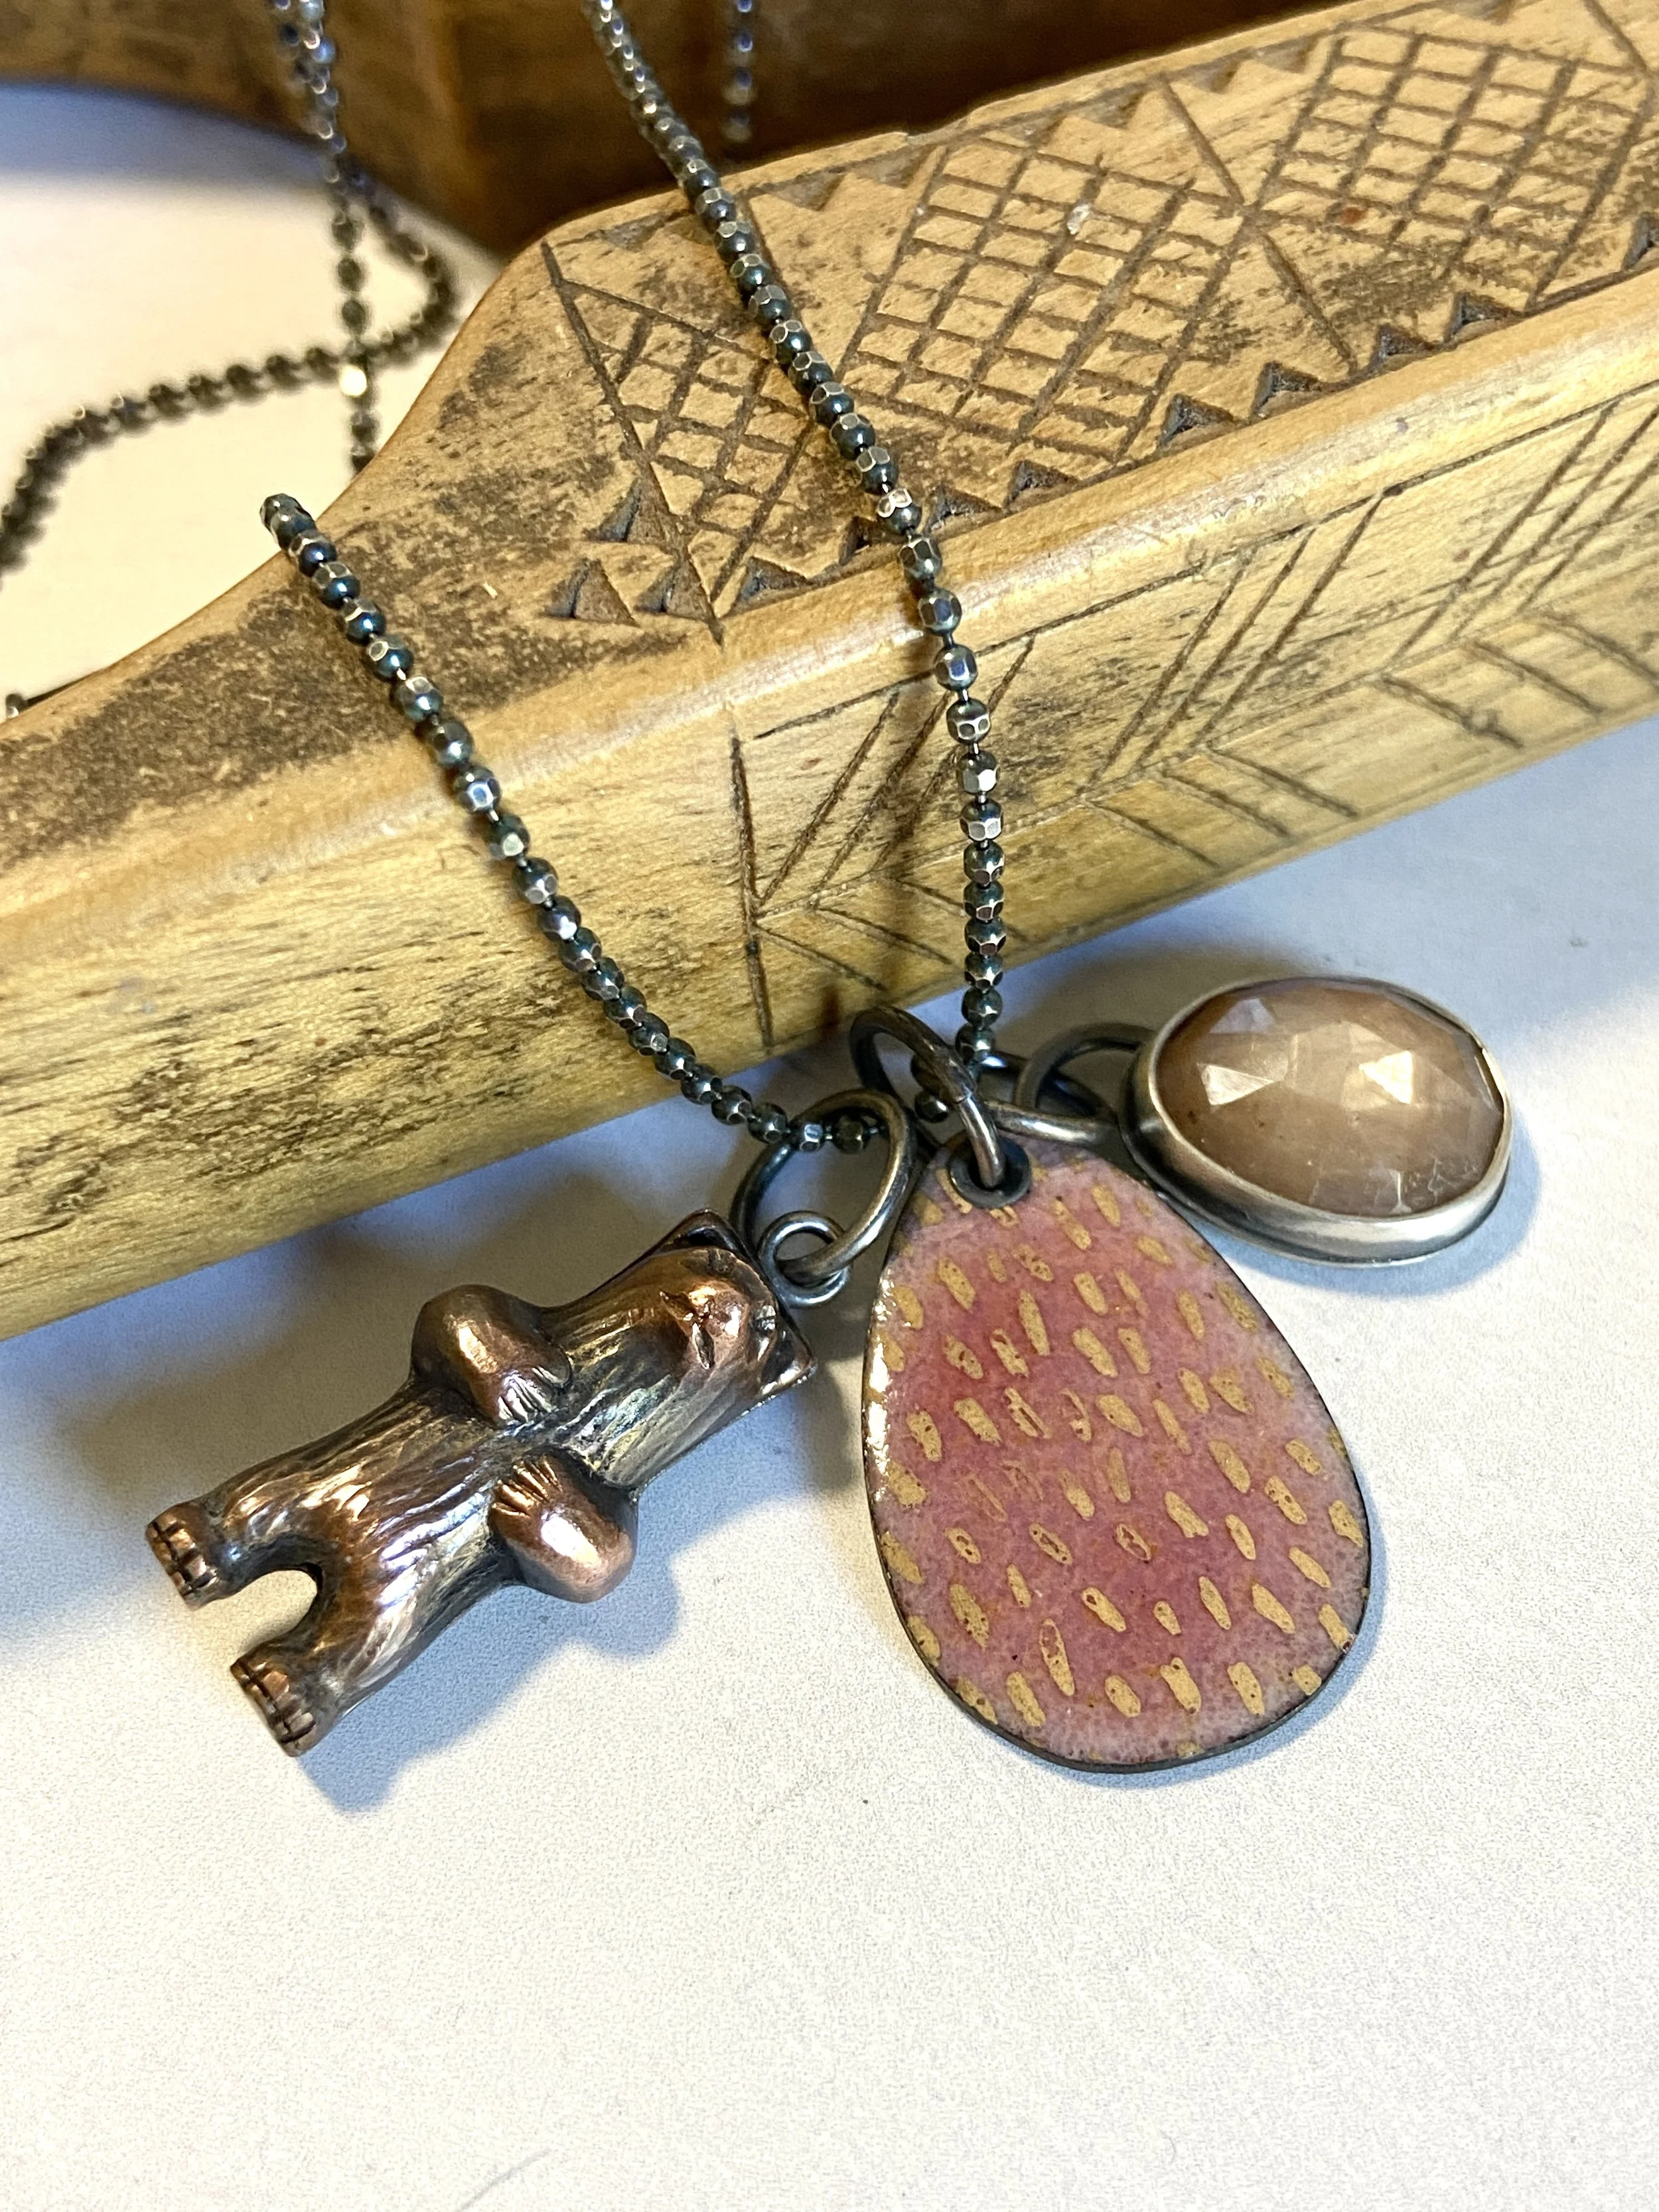
Make Your Own Charm Necklace