
Why Enamel Steel?
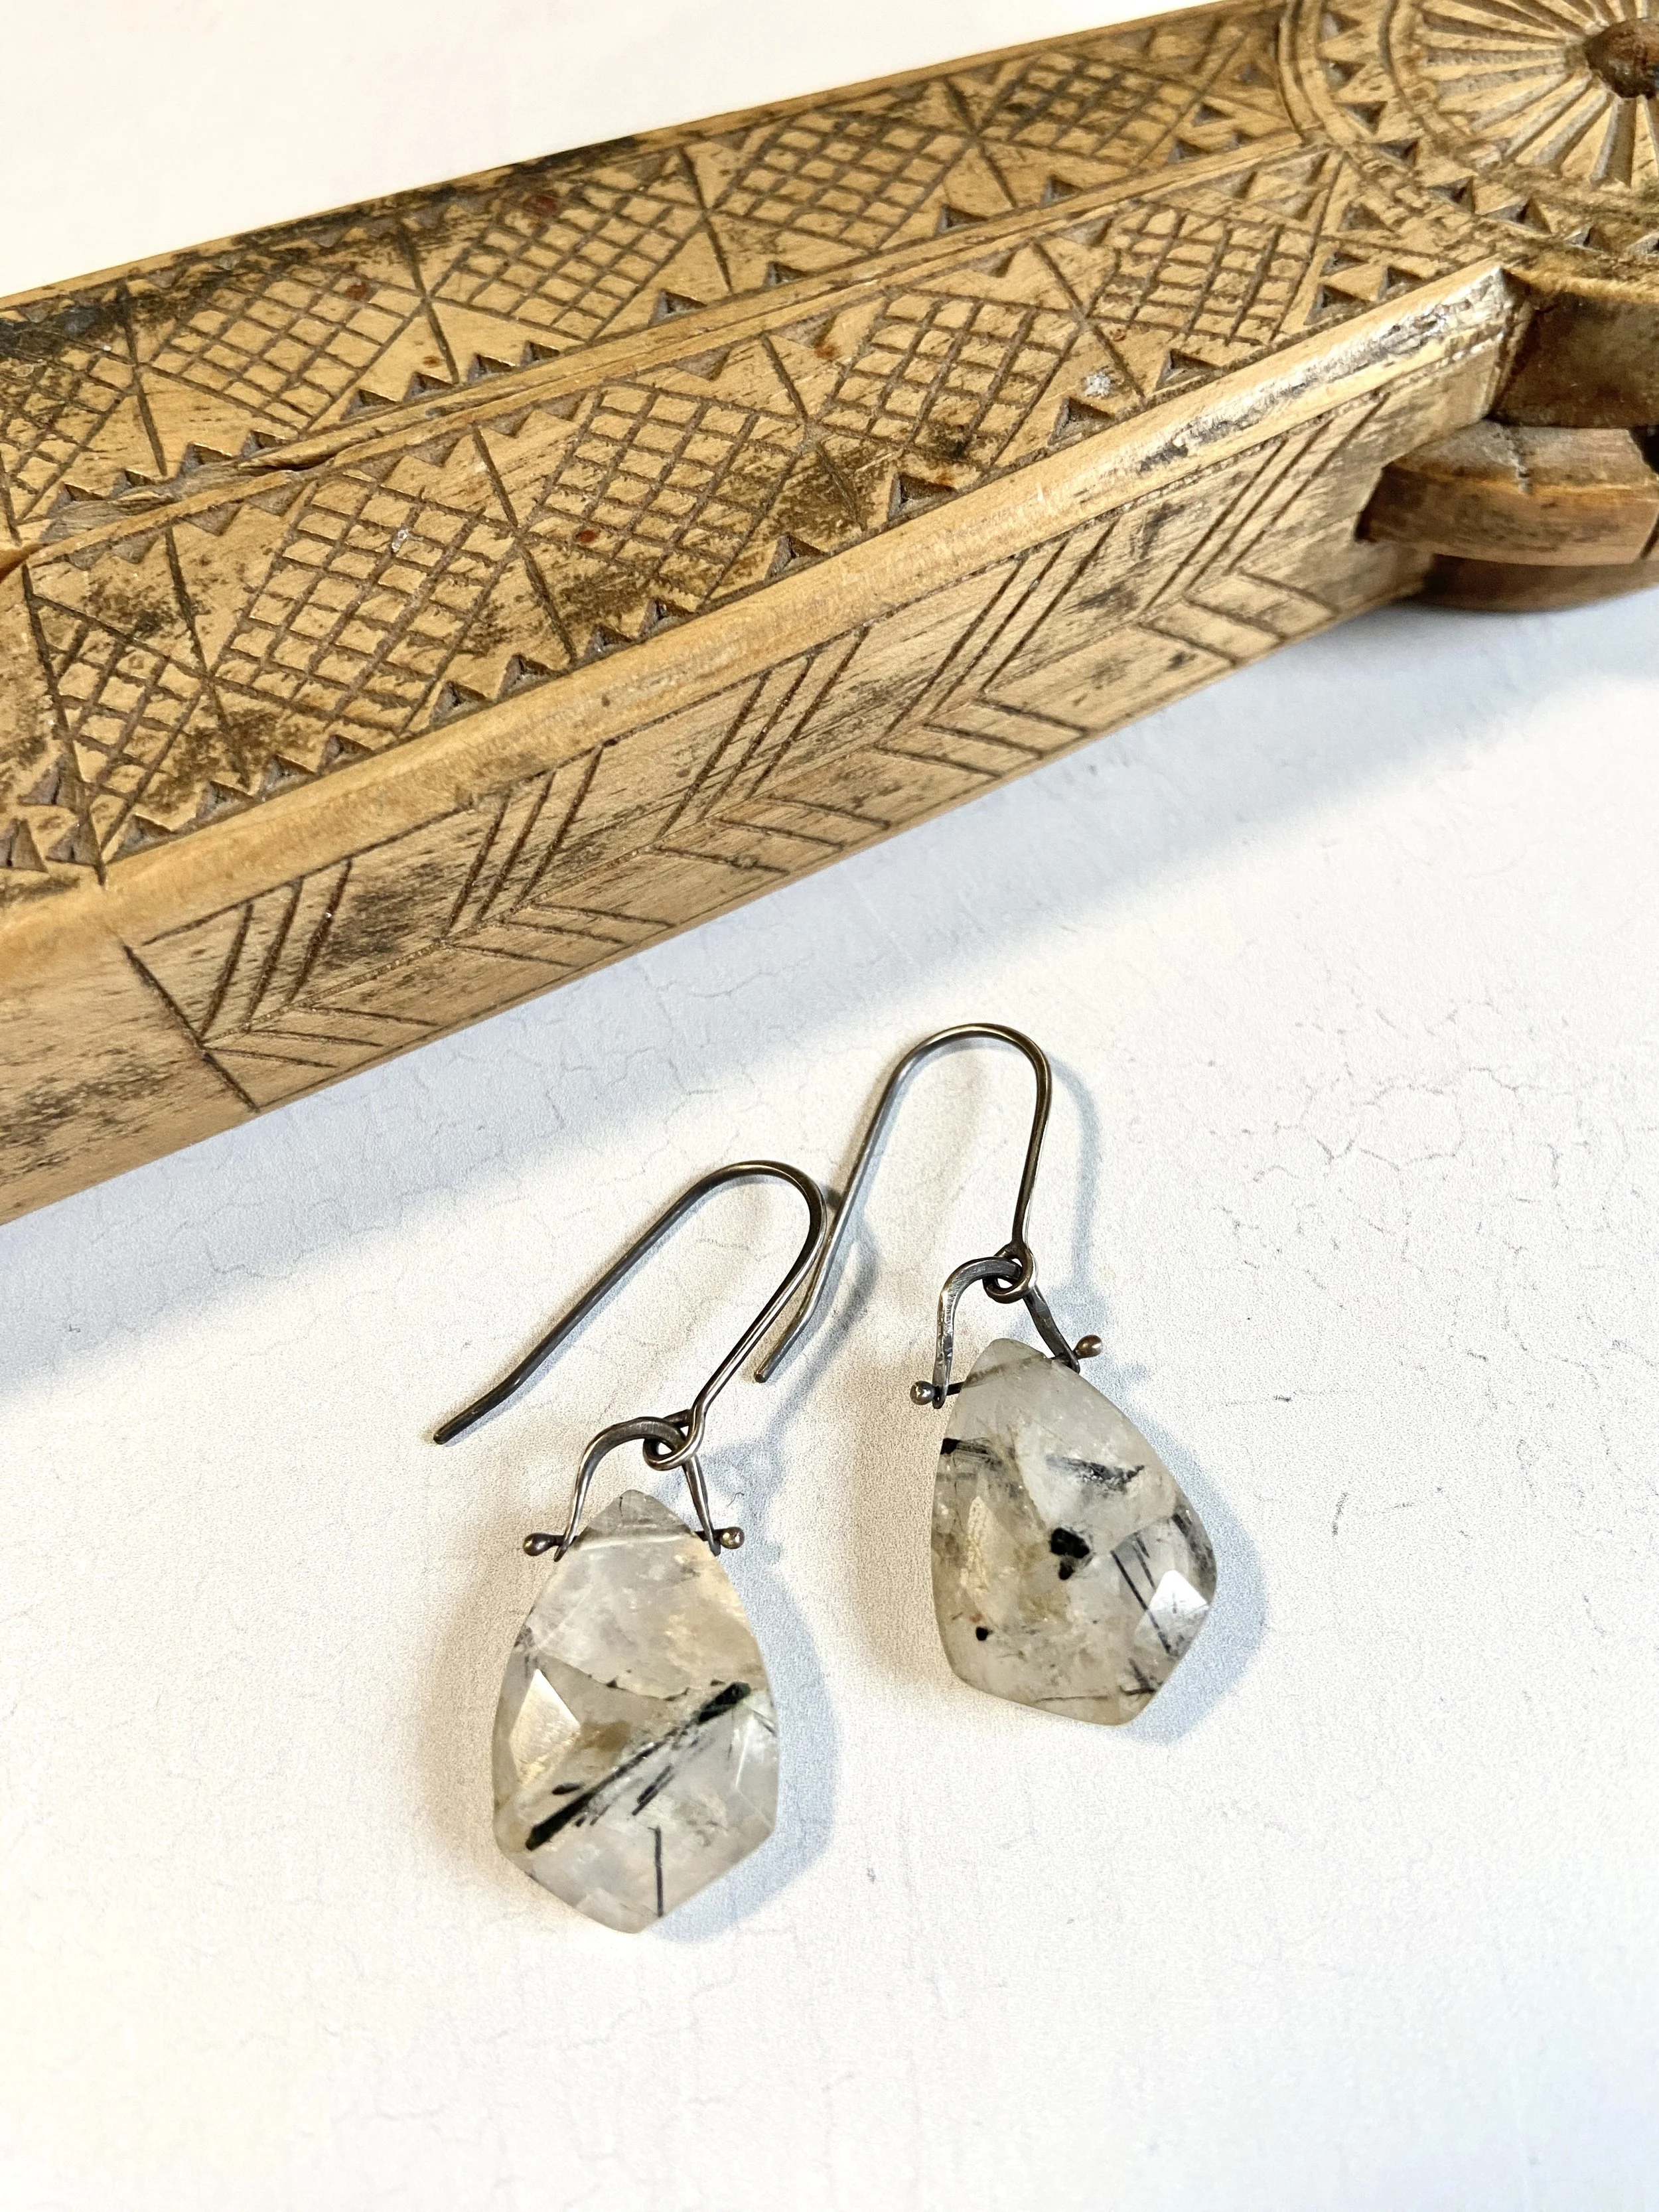
Steel is a very strong and durable material to enamel on in thin gauges. The earrings pictured below were made with 26 gauge enameling iron (a form of low carbon steel). This wouldn’t be possible with copper in that thin of a gauge because it is inherently soft, making it prone to warping and chipping. Making earrings this large and flat in copper would require using 22 gauge at a minimum, and that would make them far too heavy for the average customer.
Only certain types of steel can be successfully enameled. You want to look for low carbon steel, enameling iron or stainless steel. Thompson Enamel sells enameling iron and pre-enameled steel sheets that you can cut with snips or with a jeweler’s saw. If you go this route, please be careful. You are sawing into glass, and it shatters and splinters into the tiniest of pieces. I will typically cover both sides with masking tape, draw the image on the tape and saw. It takes a hot minute and leaves an okay edge. Since you are going to cover it anyway, this shouldn’t be a problem.
Raw steel has to have a ground coat applied to both the front and back before powdered enamels or other colors of liquid enamel can be applied. The ground coat can be found at Thompson Enamel (GC-16), Clay Art Center (RM27 Metal Frit Enamel for Steel by Ferro) or WG Ball (Steel Ground Coat 12559). Kat Cole has been successful in applying colored liquid enamel to raw enameling iron without a ground coat, but she sand blasts it first. This gives the metal a lot of tooth and a varied surface, which makes it much more successful. Since I’m relatively new to this and don’t have a sand blaster, I’m sticking with the ground coat.

If you are interested in learning more about enameling on steel, there are some really great teachers out there, like Kat Cole, Alisa Looney, and Amanda Denison. I have taken classes from all three gals and highly recommend them all. They each offer different techniques for applying enamel and for surface design. Additionally, I found a great article that dives into enameling all different types of steel by Melissa Cameron here. Definitely check it out if you want to pursue enameling steel!
I am very excited to be using steel in my new jewelry. Admittedly, there is a bit of a learning curve, and it’s a bit harder to cut with a jeweler’s saw than copper, but I really love the ability to make things that are thinner and stronger, and consequently more lightweight than their copper counterparts. Please feel free to post your questions or comments. I’m no expert, but I’ll do my best to point you in the right direction.
Rules are Meant to Be Broken

There are so many rules in enameling. They’d make your head spin. But, I’ve discovered through trial and error that some rules are meant to be broken. Rules are passed down from one artist to the next and often blindly followed. Some artists like to break the rules, and by doing so, they discover that not everything they learned is true.
Rule #1 - Always start with a clean, oil free piece of copper to enamel
I learned from Ricky Frank that this isn’t always necessary. Now, he’s been enameling a long time, so I figured is must be right. There is always a little bit of fear that goes along with breaking the rules, but I tried it for myself, and he was right. If you think about it, we use Squeege Oil to make enamel adhere to the surface of metal. It’s an oil. It burns out under the torch flame or in the kiln. However, if you are using Klyr Fire to adhere enamel to a curved surface or attempting to coat your metal with liquid enamel, it won’t stick without first cleaning the metal. Another trick I learned from Amanda Dennison, is to rub the surface of your metal with liquid enamel. It breaks the surface tension and allows the liquid enamel to stick to your metal! Other artists, like Jan Harrell, use a surfactant to increase the surface tension, which makes the enamel stick better. This is especially great when you are applying watercolor enamel, acrylic enamel or mason stains to your enamel. Alternatively, you can rub the enamel with a little rubbing alcohol on a paper towel.
Rule #2 - You have to remove all firescale in order for enamel to adhere to copper
This is another misnomer that was demystified by Ricky Frank. All you really need to do is remove loose firescale. Copper will oxidize given the right conditions, despite whether there is a surface of enamel covering it or not. So much time is wasted cleaning firescale from copper prior to enameling. Pickling the metal can cause any enamel that may be on the opposing side to permanently dull. So, give it a try. Leave that firescale and see what happens. You will be pleasantly surprised, and you’ll save yourself a lot of time and frustration along the way! The only time I really worry about removing firescale is if I am using transparent enamel directly on a metal surface.
Rule #3 - You have to use eutectic solder when soldering pieces to be enameled
This has been disproved by many artists, including Ann Havel who uses medium solder when enameling. I personally have had issues with my pieces staying soldered when enameling, but as I understand it, that is more of an issue with gravity than the type of solder. When you are enameling post earrings, as an example, it’s best not to have them sticking up in the air. The flow of the enamel and the forces of gravity will pull them over. If they are hanging down, the enamel will hold them in place. Give it a shot. It has worked for me.
Rule #4 - Your edges have to be perfectly filed before you start enameling
This may just be a rule I made for myself in the beginning but I don’t follow it any longer. The reason I don’t follow it any longer is simple. I file my edges between every firing. This may sound excessive, but it really does prevent little flakes of firescale from floating off the edges and landing on the enamel. I use a diamond file perpendicular to the edge and then file from the back at a 45 degree angle to prevent the piece from sticking to the trivet in subsequent firings.
Rule #5 - Decals have to dry overnight before firing
I discovered in my own practice that when I apply decals to enamel, once I have removed as much of the moisture as I can with a soft paper towel they need only about 15 minutes on top of the hot kiln or on a cup warmer before firing. What I do differently is to partially fire them, just until the decal melts to the surface of the enamel (when you hear the poof inside the kiln or after the decal catches fire and turns clear in the torch flame. I remove it from the kiln or torch and carefully prick any bubbles with a sharp needle and then re-fire to maturity. This has been a much more successful method for me in my practice. I have far fewer image break ups and voids in the image this way.
Experimentation is key to learning if what you have been taught all along is the only way to do something. So, don’t be afraid to try new things. Break the rules. You may discover an easier or better way to do something.
Plans for The New Year

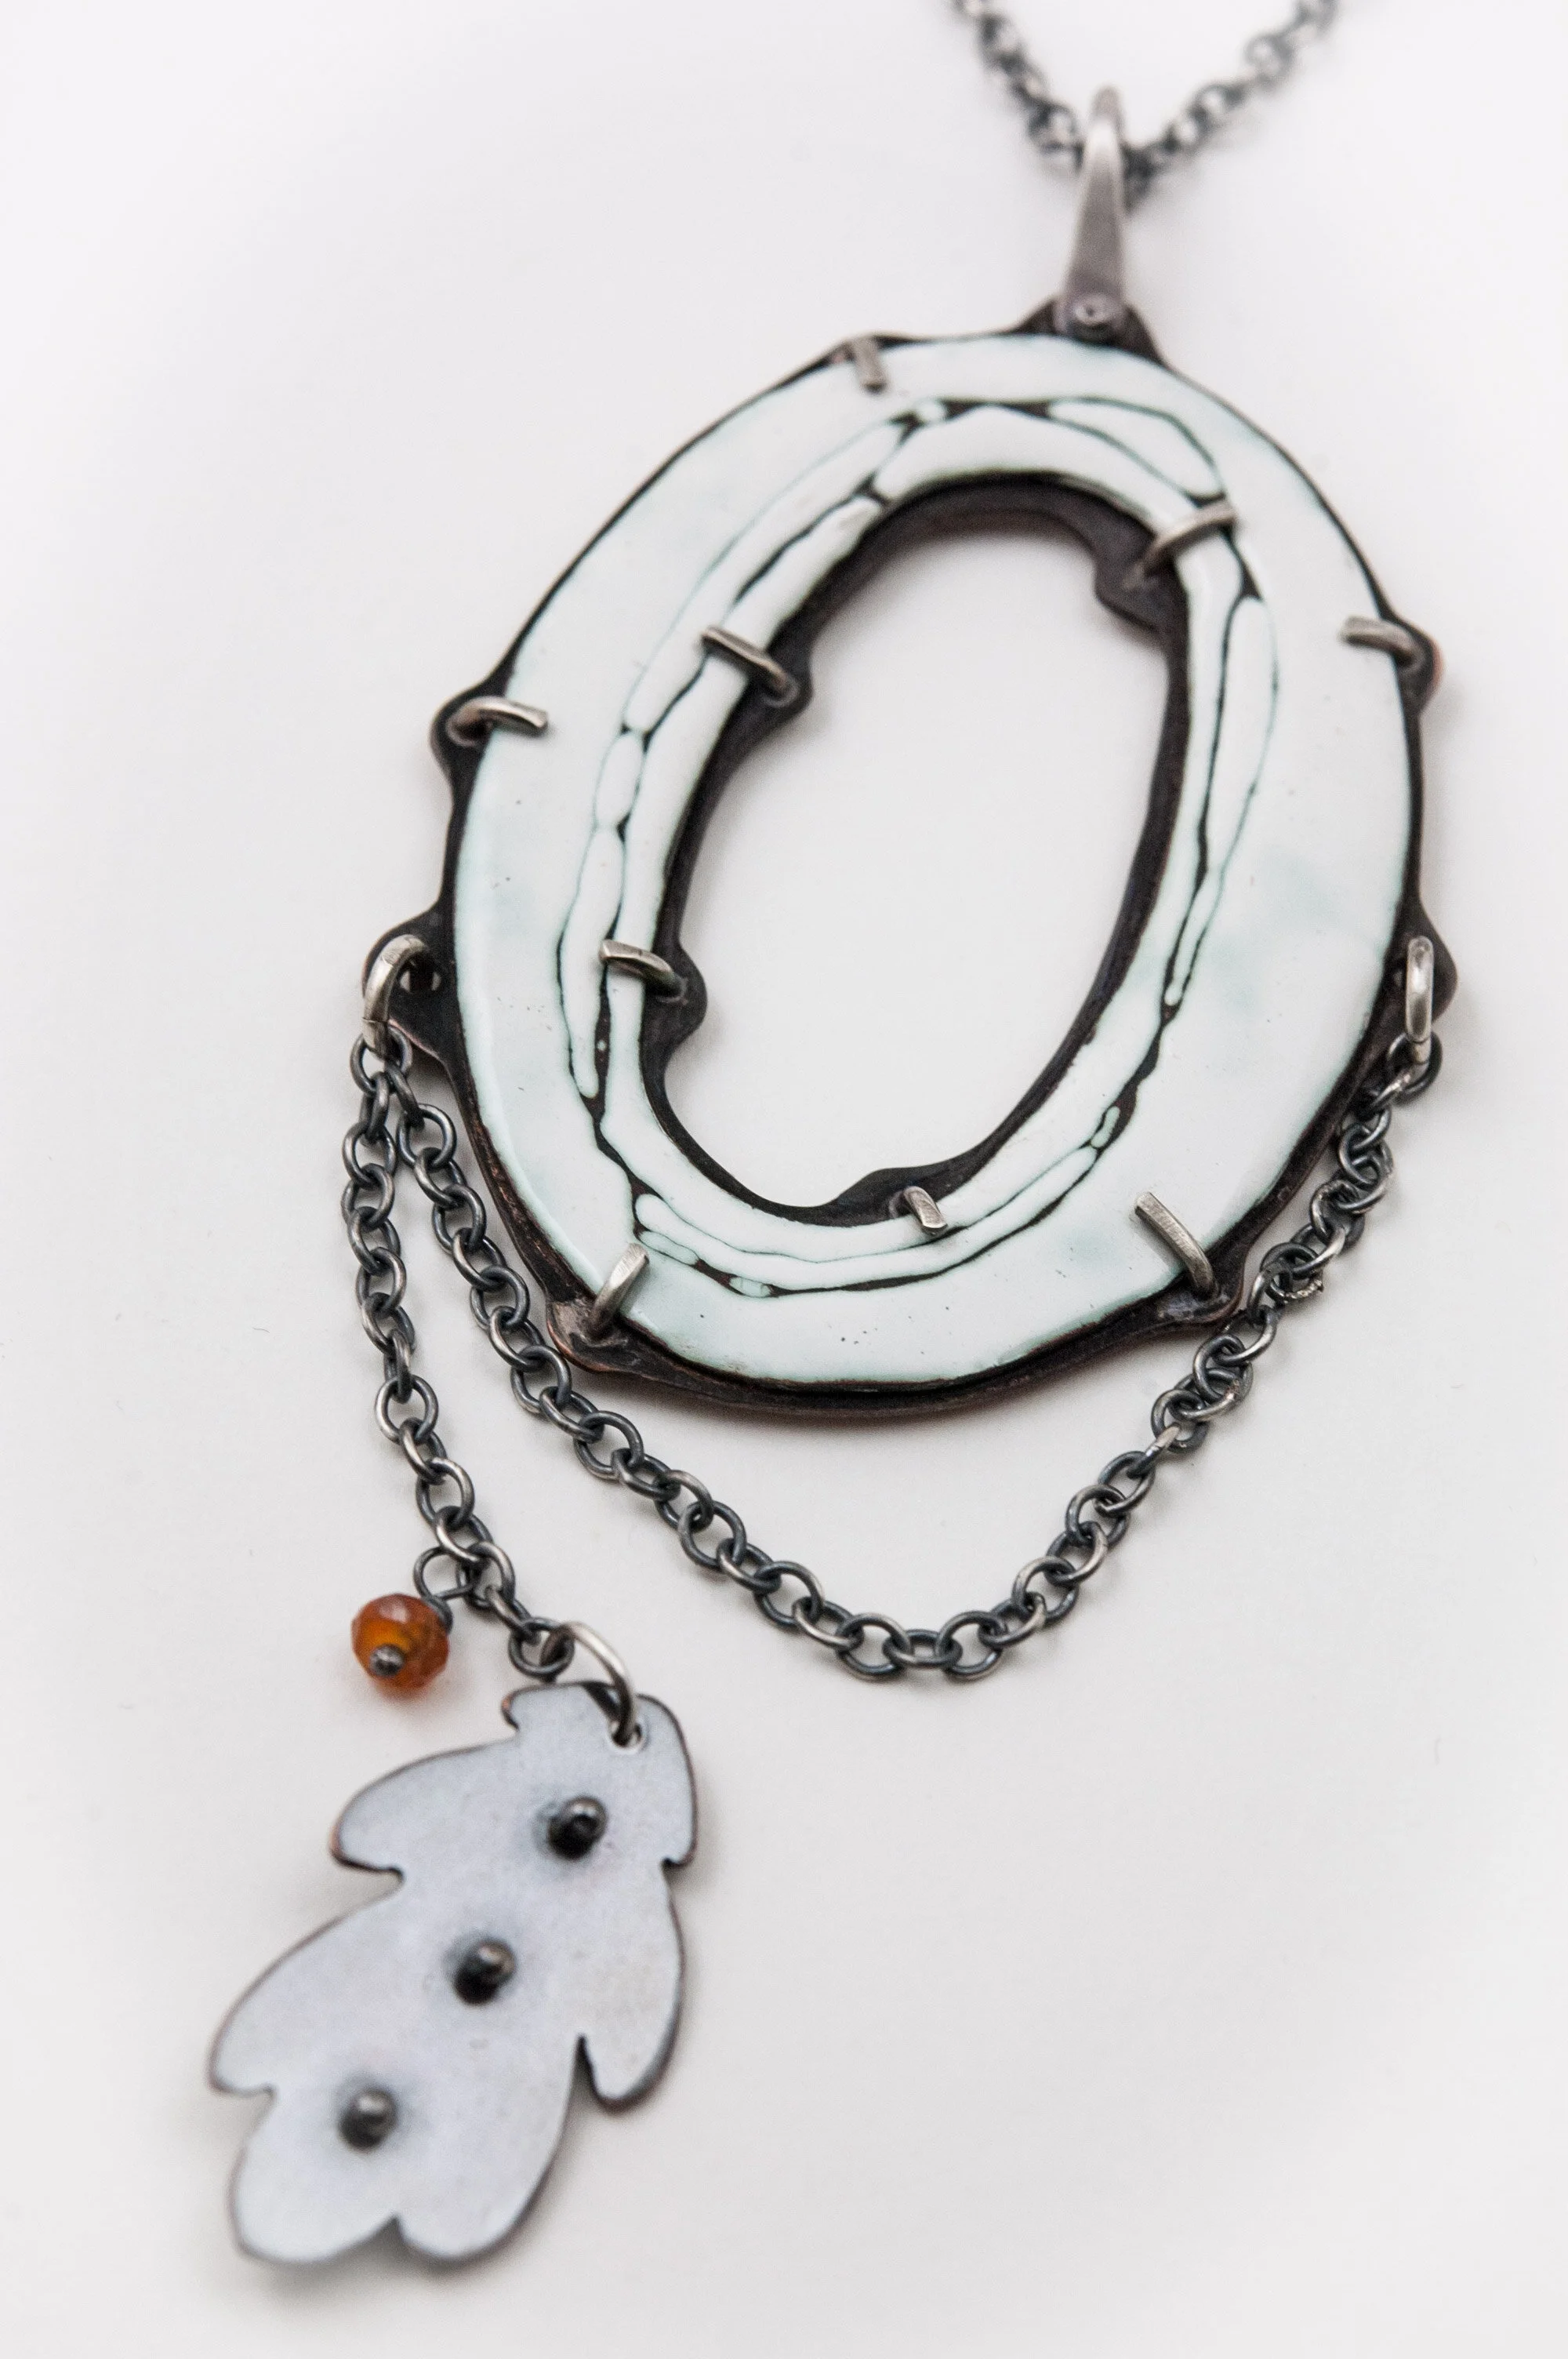
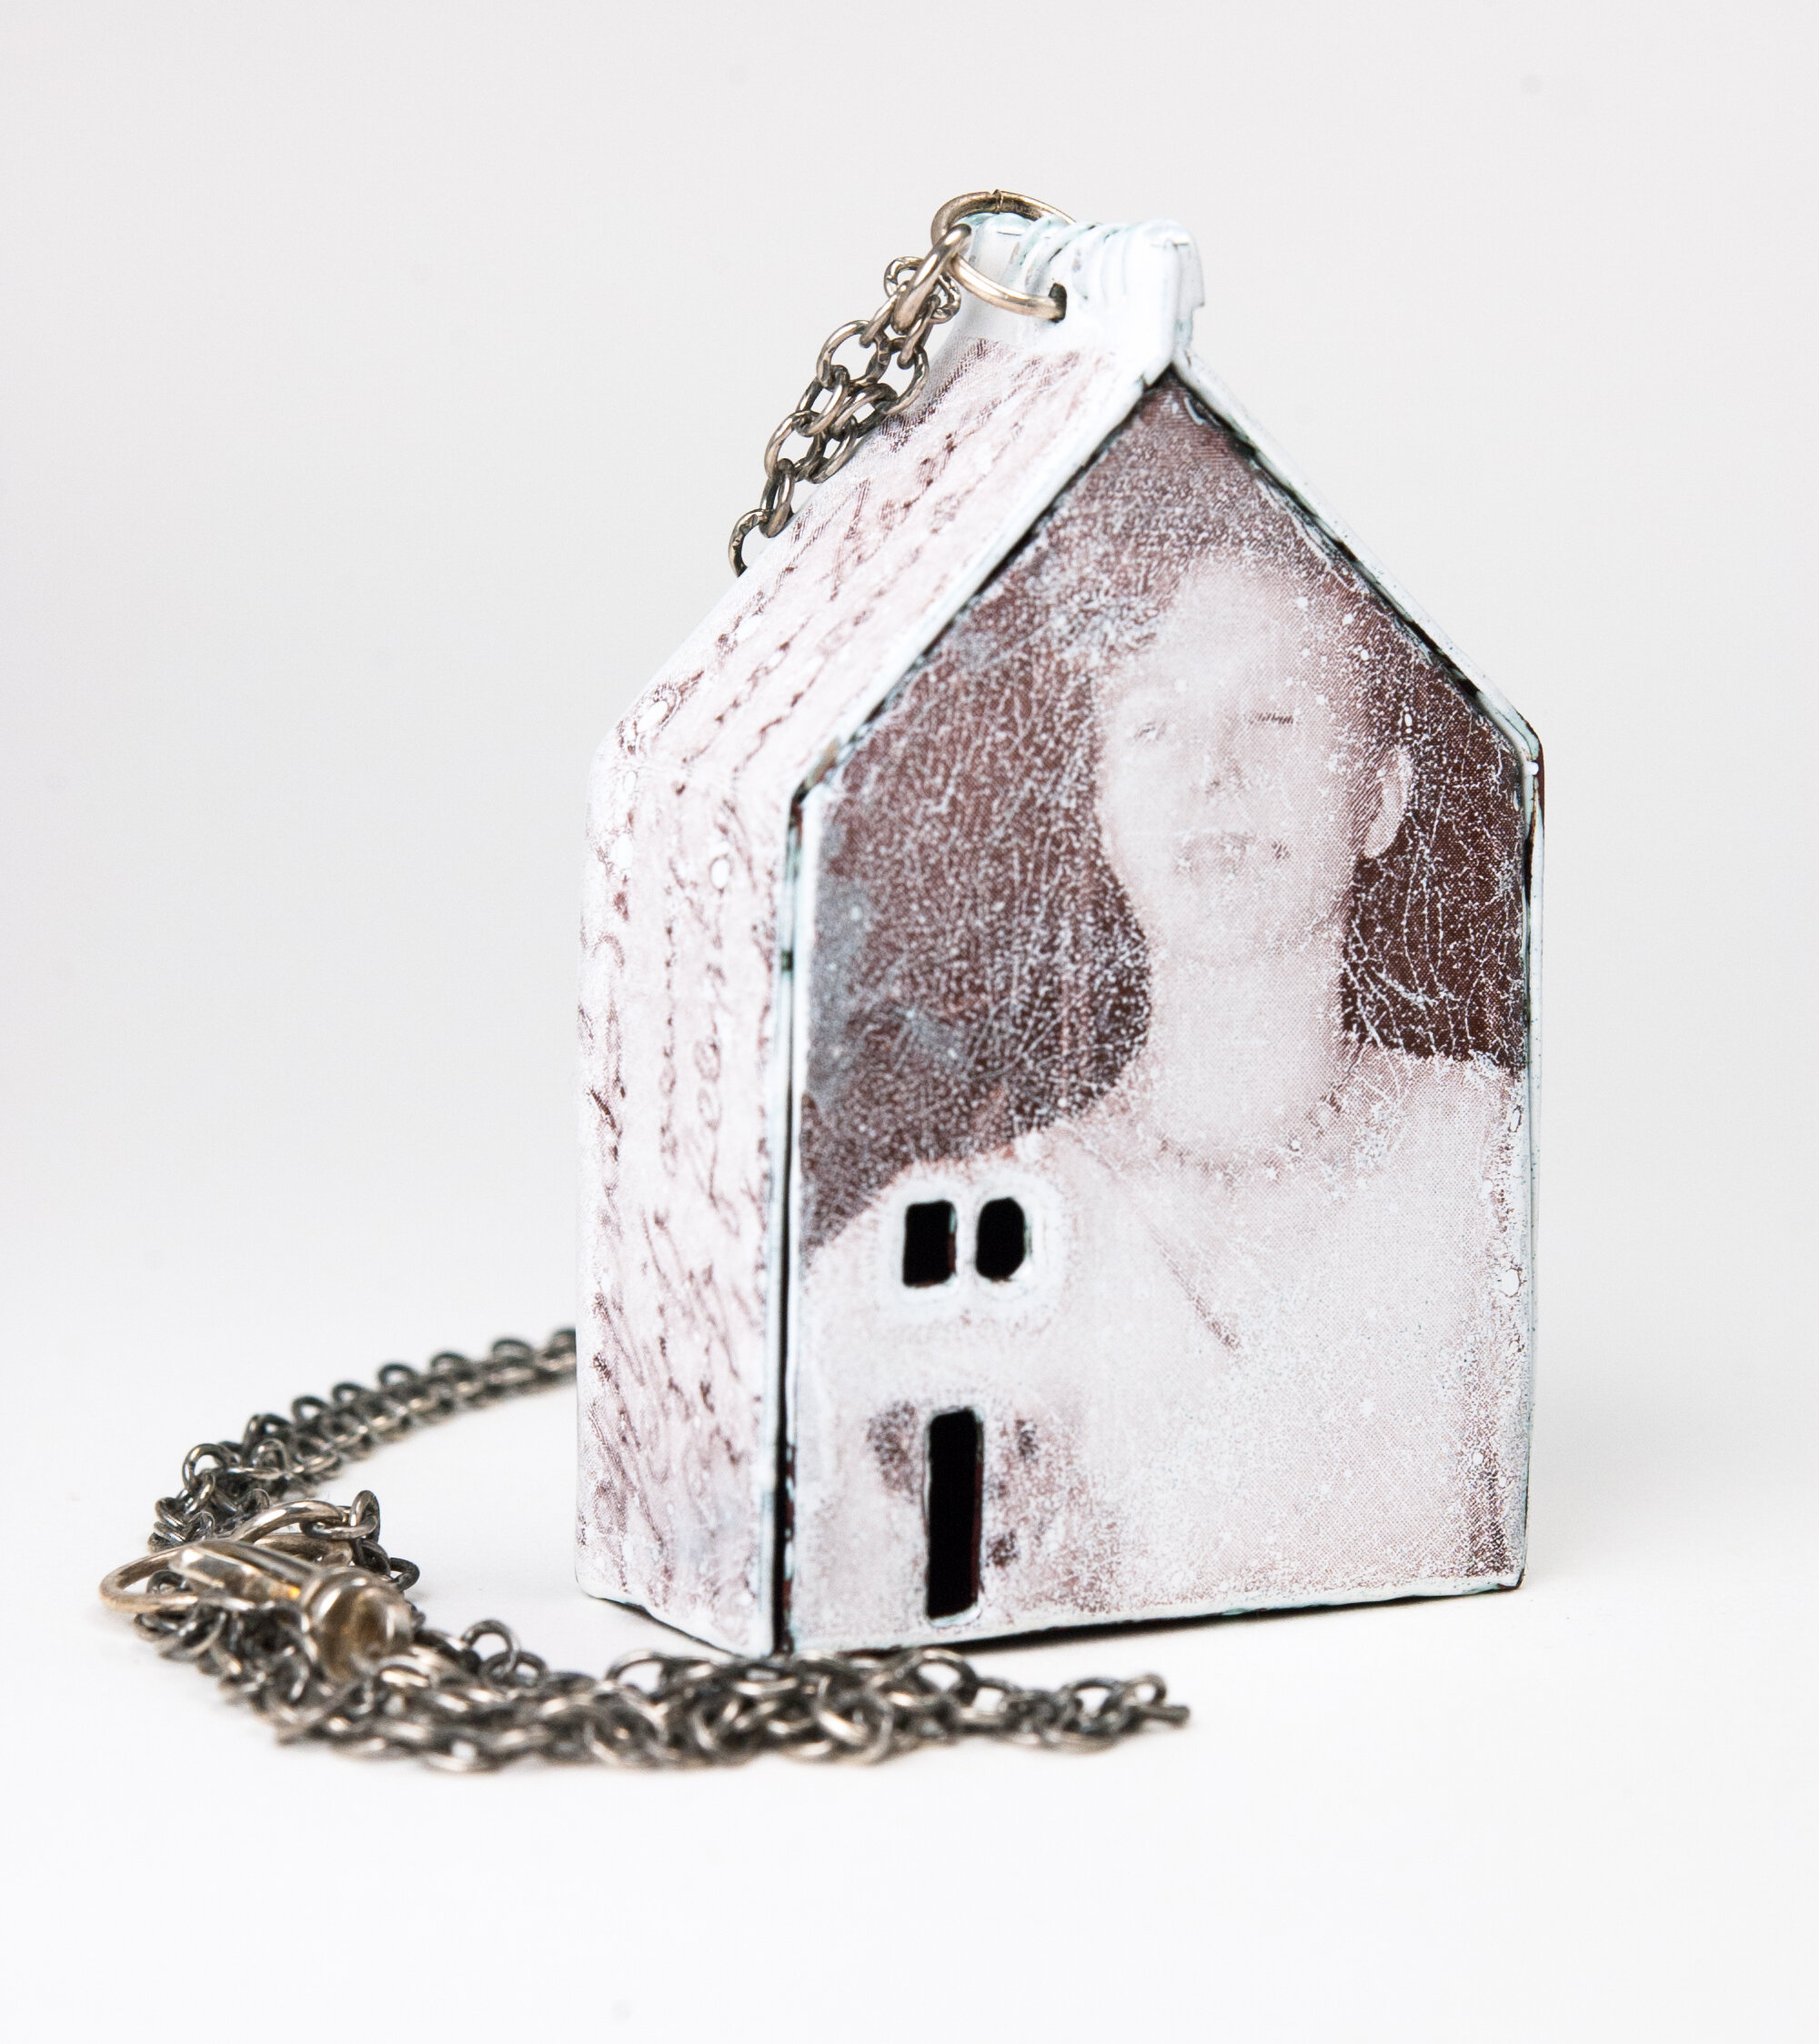
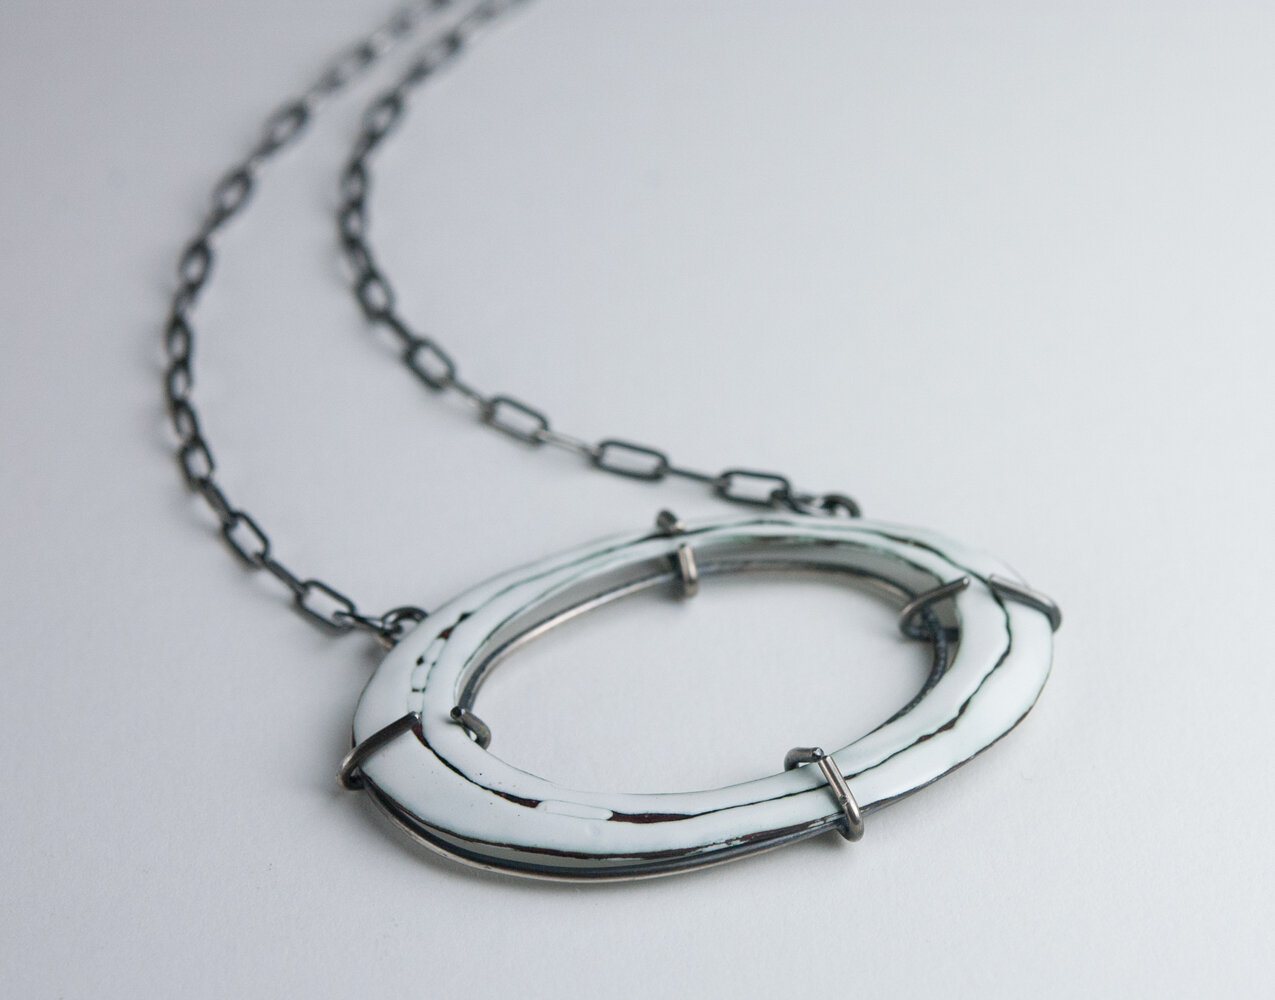
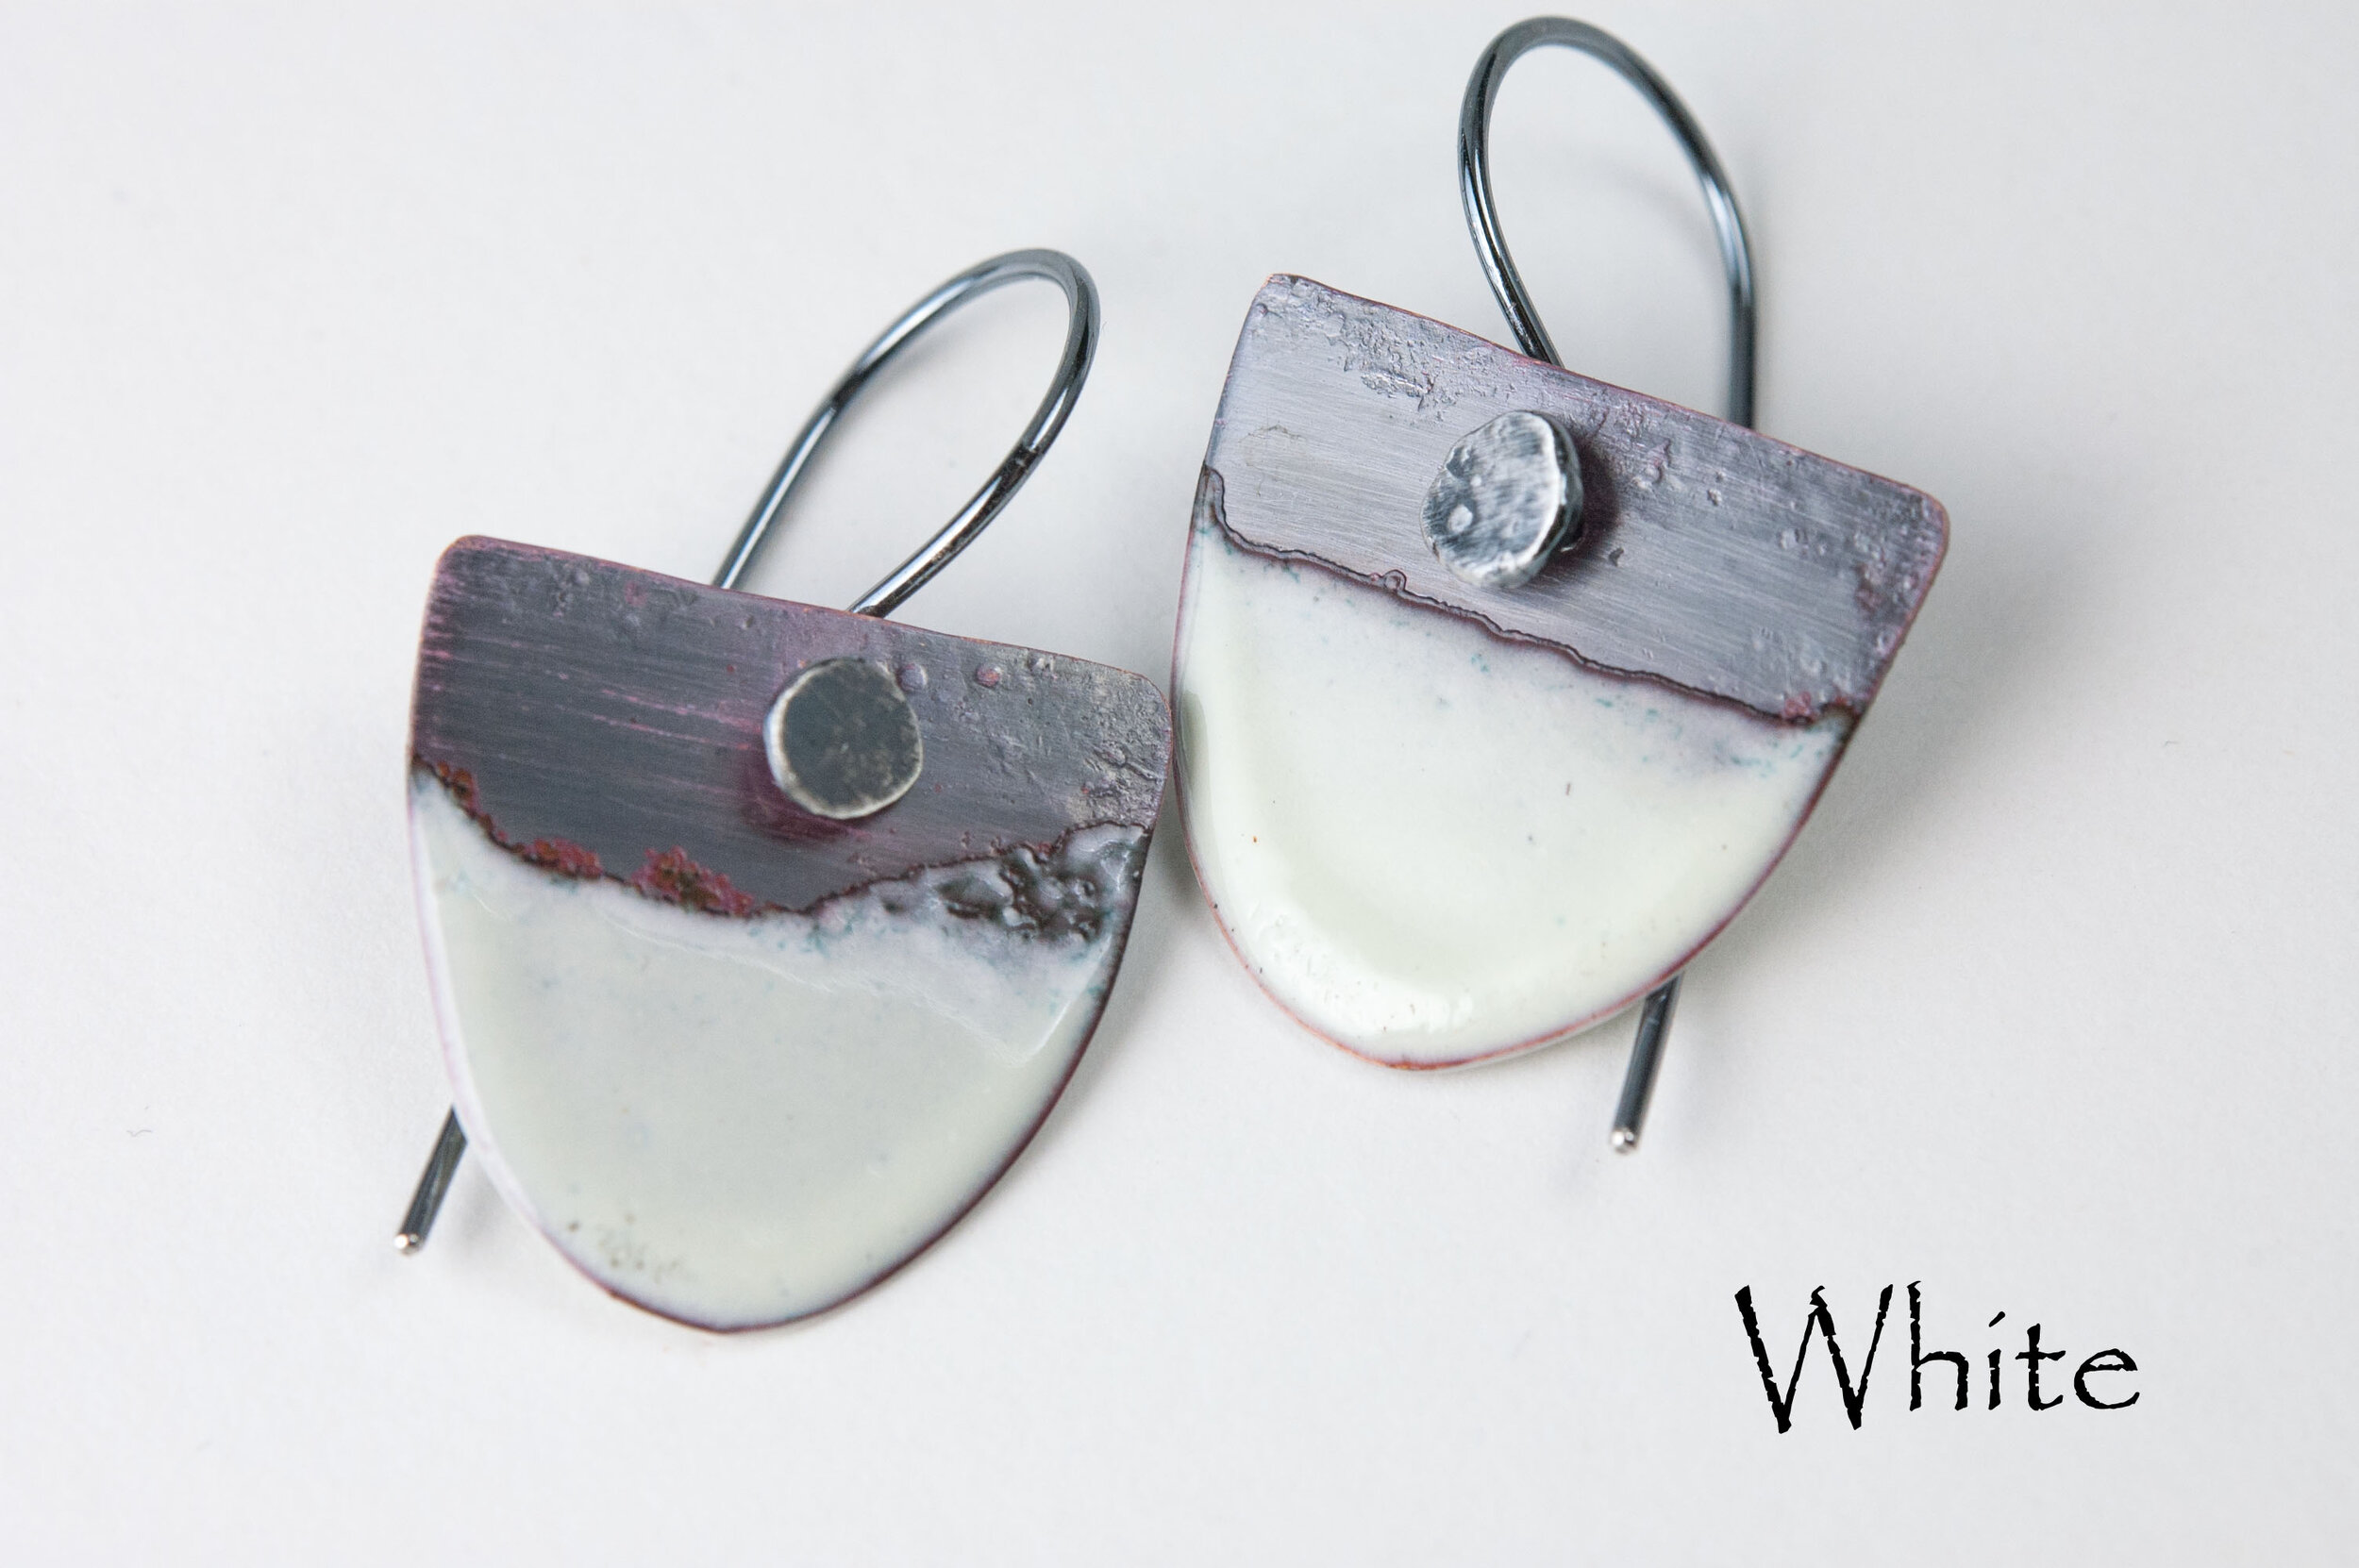
I love old things, textiles, antiques, rusty metal, old photographs, etc. I also love minimalism. This is the story of my life. I go back and forth between the two. Somehow, there must be a place in the middle where the two can meet, a great juxtaposition. I think that is my task for this coming year.
As I was doing dishes yesterday, daydreaming, I was reminded of my love of porcelain enamel, of fold forming and of copper. My first explorations in enamel were with white porcelain enamel and sgraffito. My daydreaming also lead me to recall a time in life when my mother asked me if I had any other color in my closet but white. I have strayed from white in all manner, but I sense it is a time to come back to it. White is the perfect canvas for self expression. I think it has something to say to me. I love its simplicity, but it can also tell a story, like a well worn doily or piece of clothing, yellowed over time, tattered and torn.
The year 2020 will be my year of white, in its many forms. It will also be a year to share with you what I can learn by diving deep, focusing on creating that juxtaposition between telling a story and keeping it simple. I want to bring life to my work this year. That is my biggest goal!
I wish you all an amazing New Year. May it bring you clarity and peace!
With a few days off and a semi-clean house, I have had time to reflect on this past year and what I hope for in the coming year…
Every year I tell myself that I am going to take some time to find myself, and by that I mean, to find who I am as an artist.
Never having been classically trained as an artist, I have learned through exploration, through classes and reading and searching the internet. I have tried so many different mediums throughout my lifetime and it has brought me to this point in my life where I have to ask, what is my focus? Who am I as an artist? Do I have a story to tell? What is my style? What is my medium?
Inspired by Artists at The Enamelist Society Conference...
This past weekend, I attended my first Enamelist Society conference. There were a record number of attendees (165). It was held at The University of Oregon in Eugene, a mere 7 hour drive, lol! The number of talented artists there who have been enameling for 30 plus years would blow your mind. The speakers captured our attention and the break out demos and talks were awe inspiring. I can’t wait to go back again!!!
There were many opportunities to network and to learn from some of the great teachers in our field. I attended several great break out sessions and learned some wonderful tips and tricks from my favorite enamelists.
Sarah Perkins spoke about enameling on vessel forms. She had a particularly simple and time saving way to apply Klyr Fire to her vessels that I want to try. She used an airbrush to apply a 50/50 mix of Klyr Fire and water at an approximate distance of 3 feet. It creates a fine mist that adheres much better than the usual brush application. Another refreshing piece of info I learned from Sarah is that she doesn’t clean off her firescale, except to brush off the loose flakes, unless she wants to use a transparent over the copper and wants a pristine surface.
Judy Stone spoke about enamel layering techniques. She was a wealth of information! One of her dear friends, June Schwarz, was my enameling idol. She passed away a couple of years ago, but her legacy of knowledge was shared and passed down to people like Judy. What I learned from Judy is that you can layer leaded over non-leaded enamels if you use Blythe C10 Diamond Flux. I’m not really sure where she gets it from, and I don’t work with leaded enamels, but it’s delightful to know that most of the enamelists I spoke with break the rules. Our generation of enamelists feel more free to experiment and try things with varying degrees of success. It’s so exciting that we are no longer boxed in by the RULES!

Bowl in process - by Sarah Perkins
I also had the opportunity to attend Anne Havel’s breakout session titled Graphic Graphite. I have worked with graphite in enameling before, but I wanted to see what Anne did differently. You should know one thing about Anne… She works with a torch. She’s never kiln fired her work. Torch firing is fun, and can be somewhat unpredictable, but for the techniques she was showing us, it was perfect!
Anne is able to capture dark, crisp pencil marks through multiple firings. Her secret? She covers her drawings with an extremely thin coating of flux before she fires her graphite into the enamel. I tried it, along with successively thin applications of acrylic enamel (made for enameling - it’s not paint). She waters it down to a watercolor consistency. It can be as opaque or as transparent as you desire. If you make marks you don’t like, you can always cover them over in the next firing. She will use the pencil and acrylic enamel at the same time, cover coat and fire to a sugar fire stage. That give the piece tooth, so you don’t have to etch or stone it back before adding the next layer of detail.
This is a piece that I worked on yesterday. It was just green, with a melon yellow dapped circle pinned into the hole. I hated it, and now I’m in love! The color and texture that the graphite and acrylic enamels give it create a wonderful richness. I’m going to go back to my box of older work and see what I can do about reworking several pieces with this method.
Drawing with graphite and acrylic enamels is a tool to create a rich tapestry that can enliven your work.
I am extremely happy that I attended the conference. It was a long drive and the heat was oppressive, but it was so worth it. You learn so much if you can stretch yourself and network with people who do what you do. It’s not something that’s particularly in my comfort zone, but I made it work!
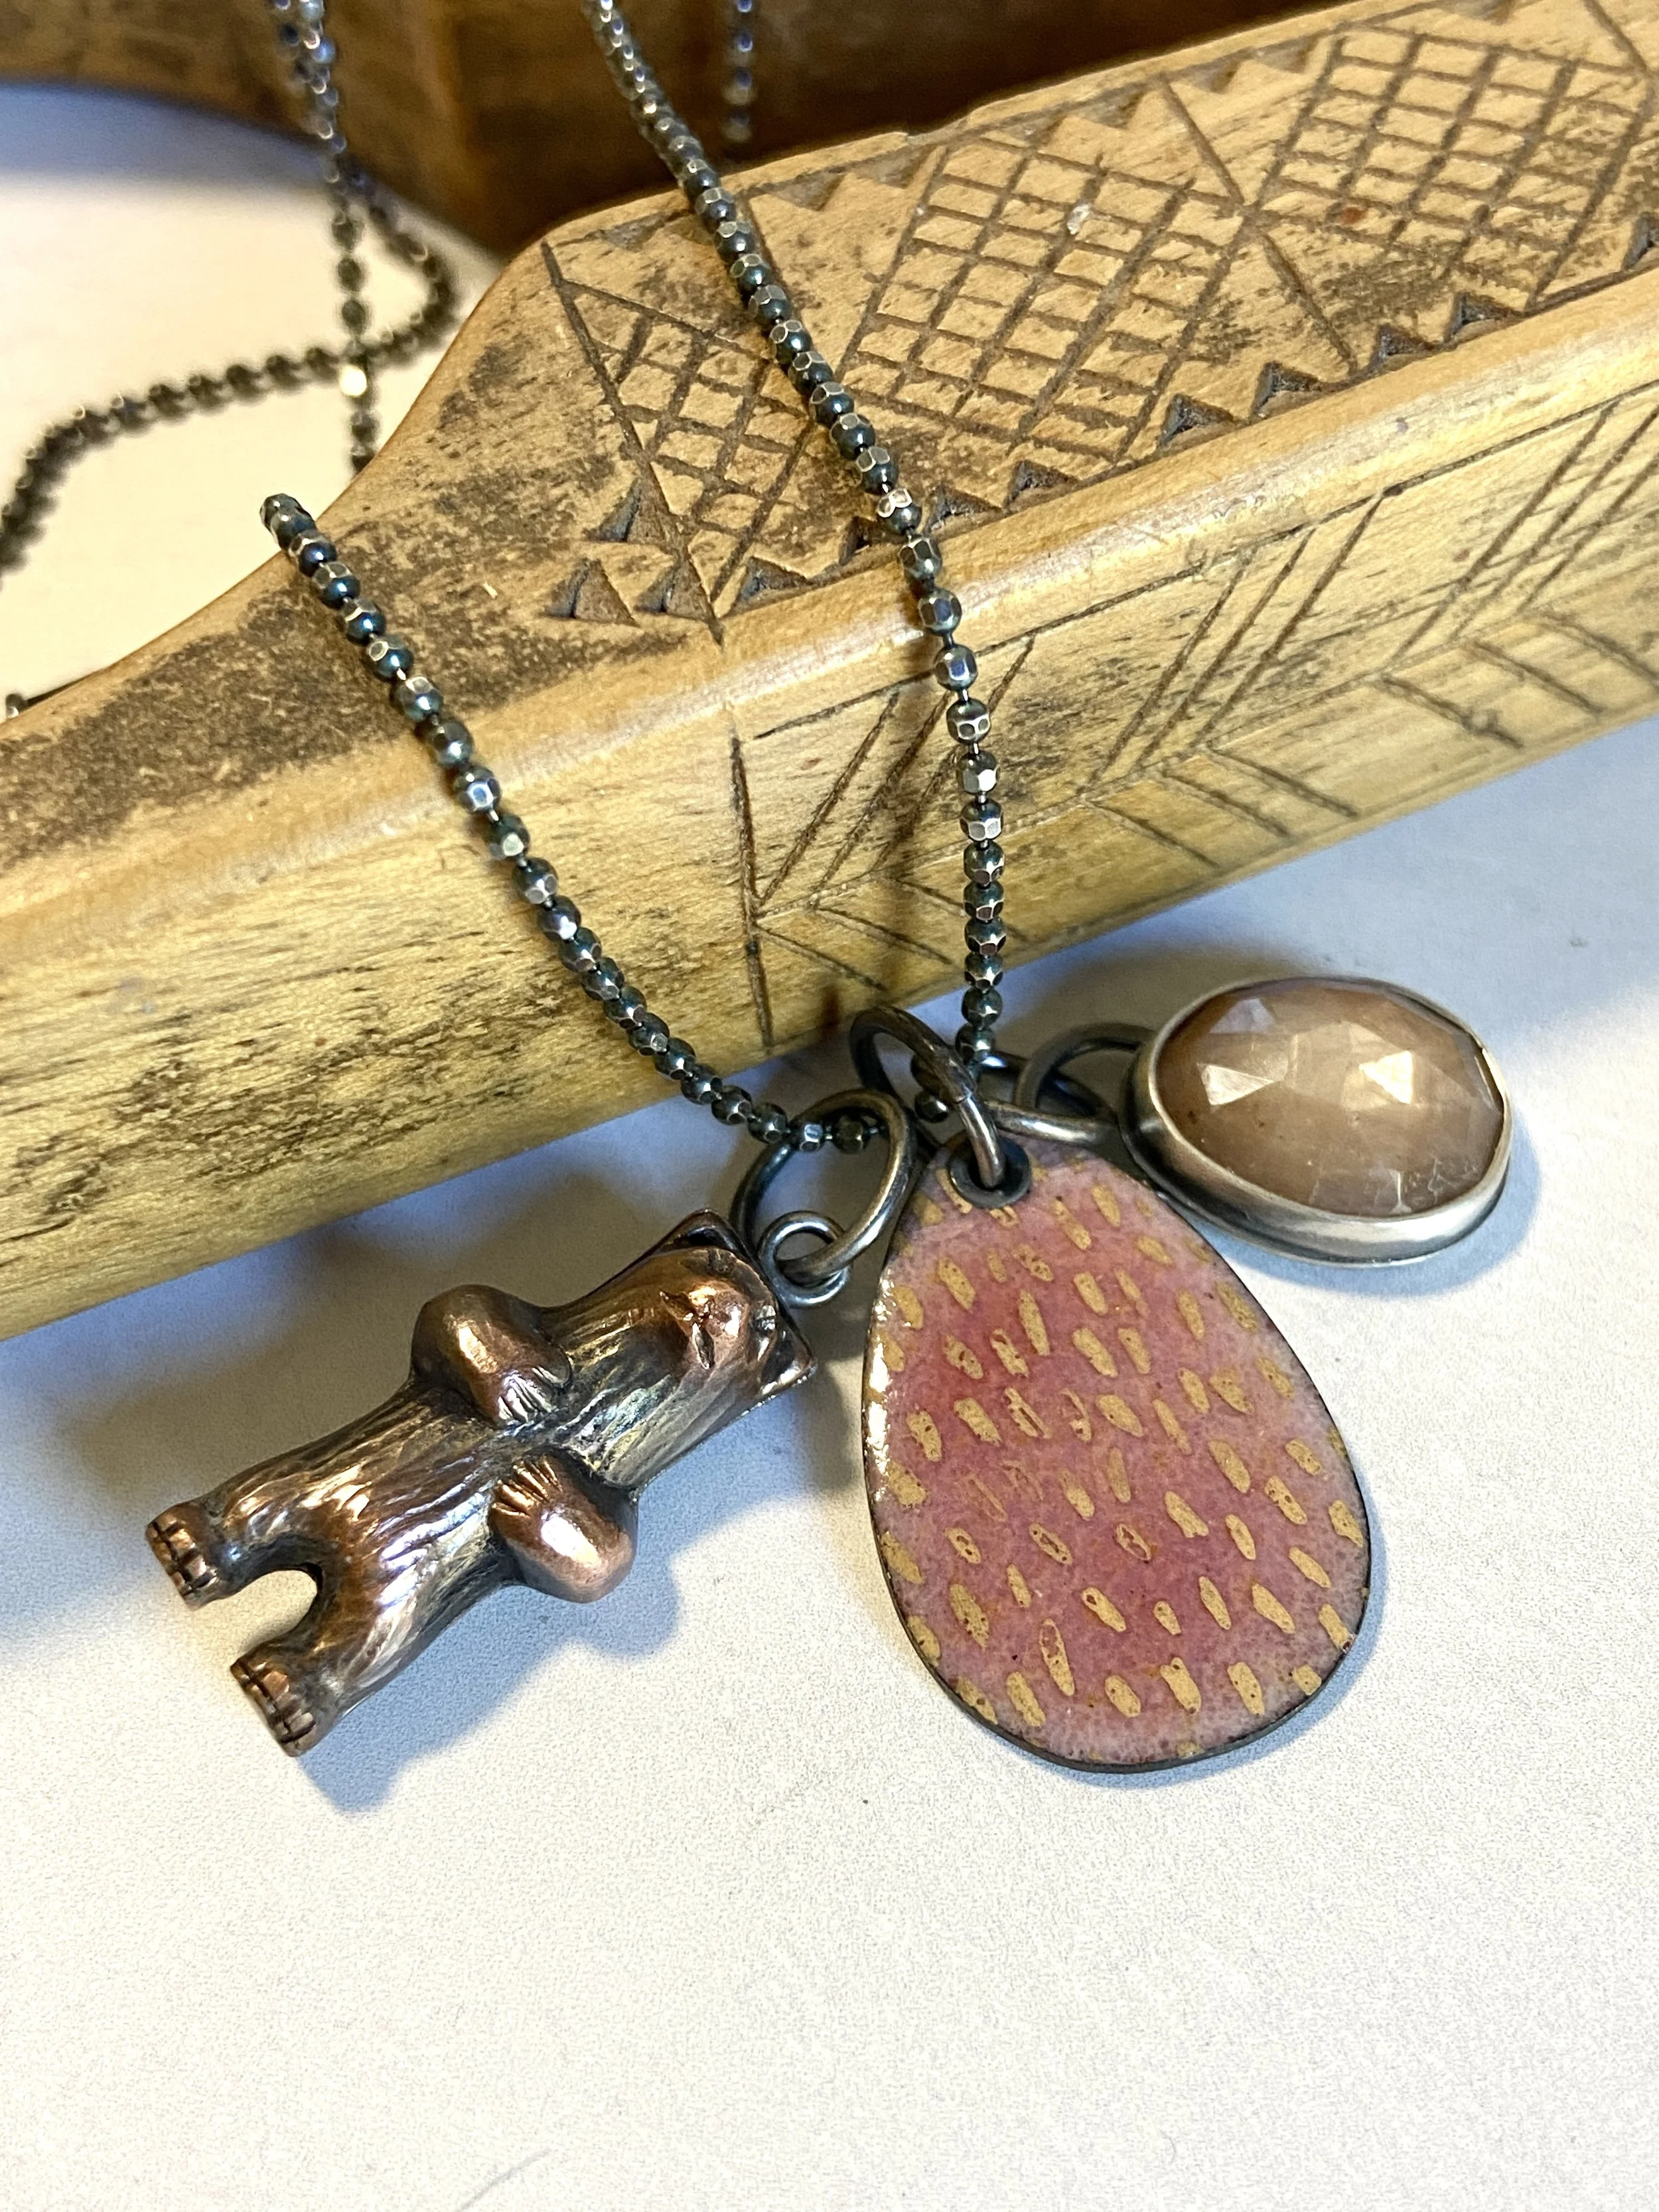
Make Your Own Charm Necklace