My Brown Wren Jewelry and Jewelry Making Tutorials

Earth Conscious Jewelry & Jewelry Making Tutorials

Inspired by Artists at The Enamelist Society Conference...

enamelingTammi Sloan1 Comment

This past weekend, I attended my first Enamelist Society conference. There were a record number of attendees (165). It was held at The University of Oregon in Eugene, a mere 7 hour drive, lol! The number of talented artists there who have been enameling for 30 plus years would blow your mind. The speakers captured our attention and the break out demos and talks were awe inspiring. I can’t wait to go back again!!!

There were many opportunities to network and to learn from some of the great teachers in our field. I attended several great break out sessions and learned some wonderful tips and tricks from my favorite enamelists.

Sarah Perkins spoke about enameling on vessel forms. She had a particularly simple and time saving way to apply Klyr Fire to her vessels that I want to try. She used an airbrush to apply a 50/50 mix of Klyr Fire and water at an approximate distance of 3 feet. It creates a fine mist that adheres much better than the usual brush application. Another refreshing piece of info I learned from Sarah is that she doesn’t clean off her firescale, except to brush off the loose flakes, unless she wants to use a transparent over the copper and wants a pristine surface.

Judy Stone spoke about enamel layering techniques. She was a wealth of information! One of her dear friends, June Schwarz, was my enameling idol. She passed away a couple of years ago, but her legacy of knowledge was shared and passed down to people like Judy. What I learned from Judy is that you can layer leaded over non-leaded enamels if you use Blythe C10 Diamond Flux. I’m not really sure where she gets it from, and I don’t work with leaded enamels, but it’s delightful to know that most of the enamelists I spoke with break the rules. Our generation of enamelists feel more free to experiment and try things with varying degrees of success. It’s so exciting that we are no longer boxed in by the RULES!

Bowl in process - by Sarah Perkins

Bowl in process - by Sarah Perkins

I also had the opportunity to attend Anne Havel’s breakout session titled Graphic Graphite. I have worked with graphite in enameling before, but I wanted to see what Anne did differently. You should know one thing about Anne… She works with a torch. She’s never kiln fired her work. Torch firing is fun, and can be somewhat unpredictable, but for the techniques she was showing us, it was perfect!

Anne is able to capture dark, crisp pencil marks through multiple firings. Her secret? She covers her drawings with an extremely thin coating of flux before she fires her graphite into the enamel. I tried it, along with successively thin applications of acrylic enamel (made for enameling - it’s not paint). She waters it down to a watercolor consistency. It can be as opaque or as transparent as you desire. If you make marks you don’t like, you can always cover them over in the next firing. She will use the pencil and acrylic enamel at the same time, cover coat and fire to a sugar fire stage. That give the piece tooth, so you don’t have to etch or stone it back before adding the next layer of detail.

This is a piece that I worked on yesterday. It was just green, with a melon yellow dapped circle pinned into the hole. I hated it, and now I’m in love! The color and texture that the graphite and acrylic enamels give it create a wonderful richness. I’m going to go back to my box of older work and see what I can do about reworking several pieces with this method.

Drawing with graphite and acrylic enamels is a tool to create a rich tapestry that can enliven your work.

I am extremely happy that I attended the conference. It was a long drive and the heat was oppressive, but it was so worth it. You learn so much if you can stretch yourself and network with people who do what you do. It’s not something that’s particularly in my comfort zone, but I made it work!

The Art of Anne Bagby

Tammi Sloan2 Comments

You should know that I’m a Pinterest fiend. When I’m in need of inspiration, I start searching my boards and other people’s pins. That’s how I happened on the art of Anne Bagby. She is a mixed media artist who utilizes her own handmade stamps in a unique form of collage to create complex imagery. People are the majority of her subject matter.

anne bagby 2.jpg

Anne Bagby

Her handmade stamps and use of glazes creates beautiful, complex imagery that is hauntingly beautiful.

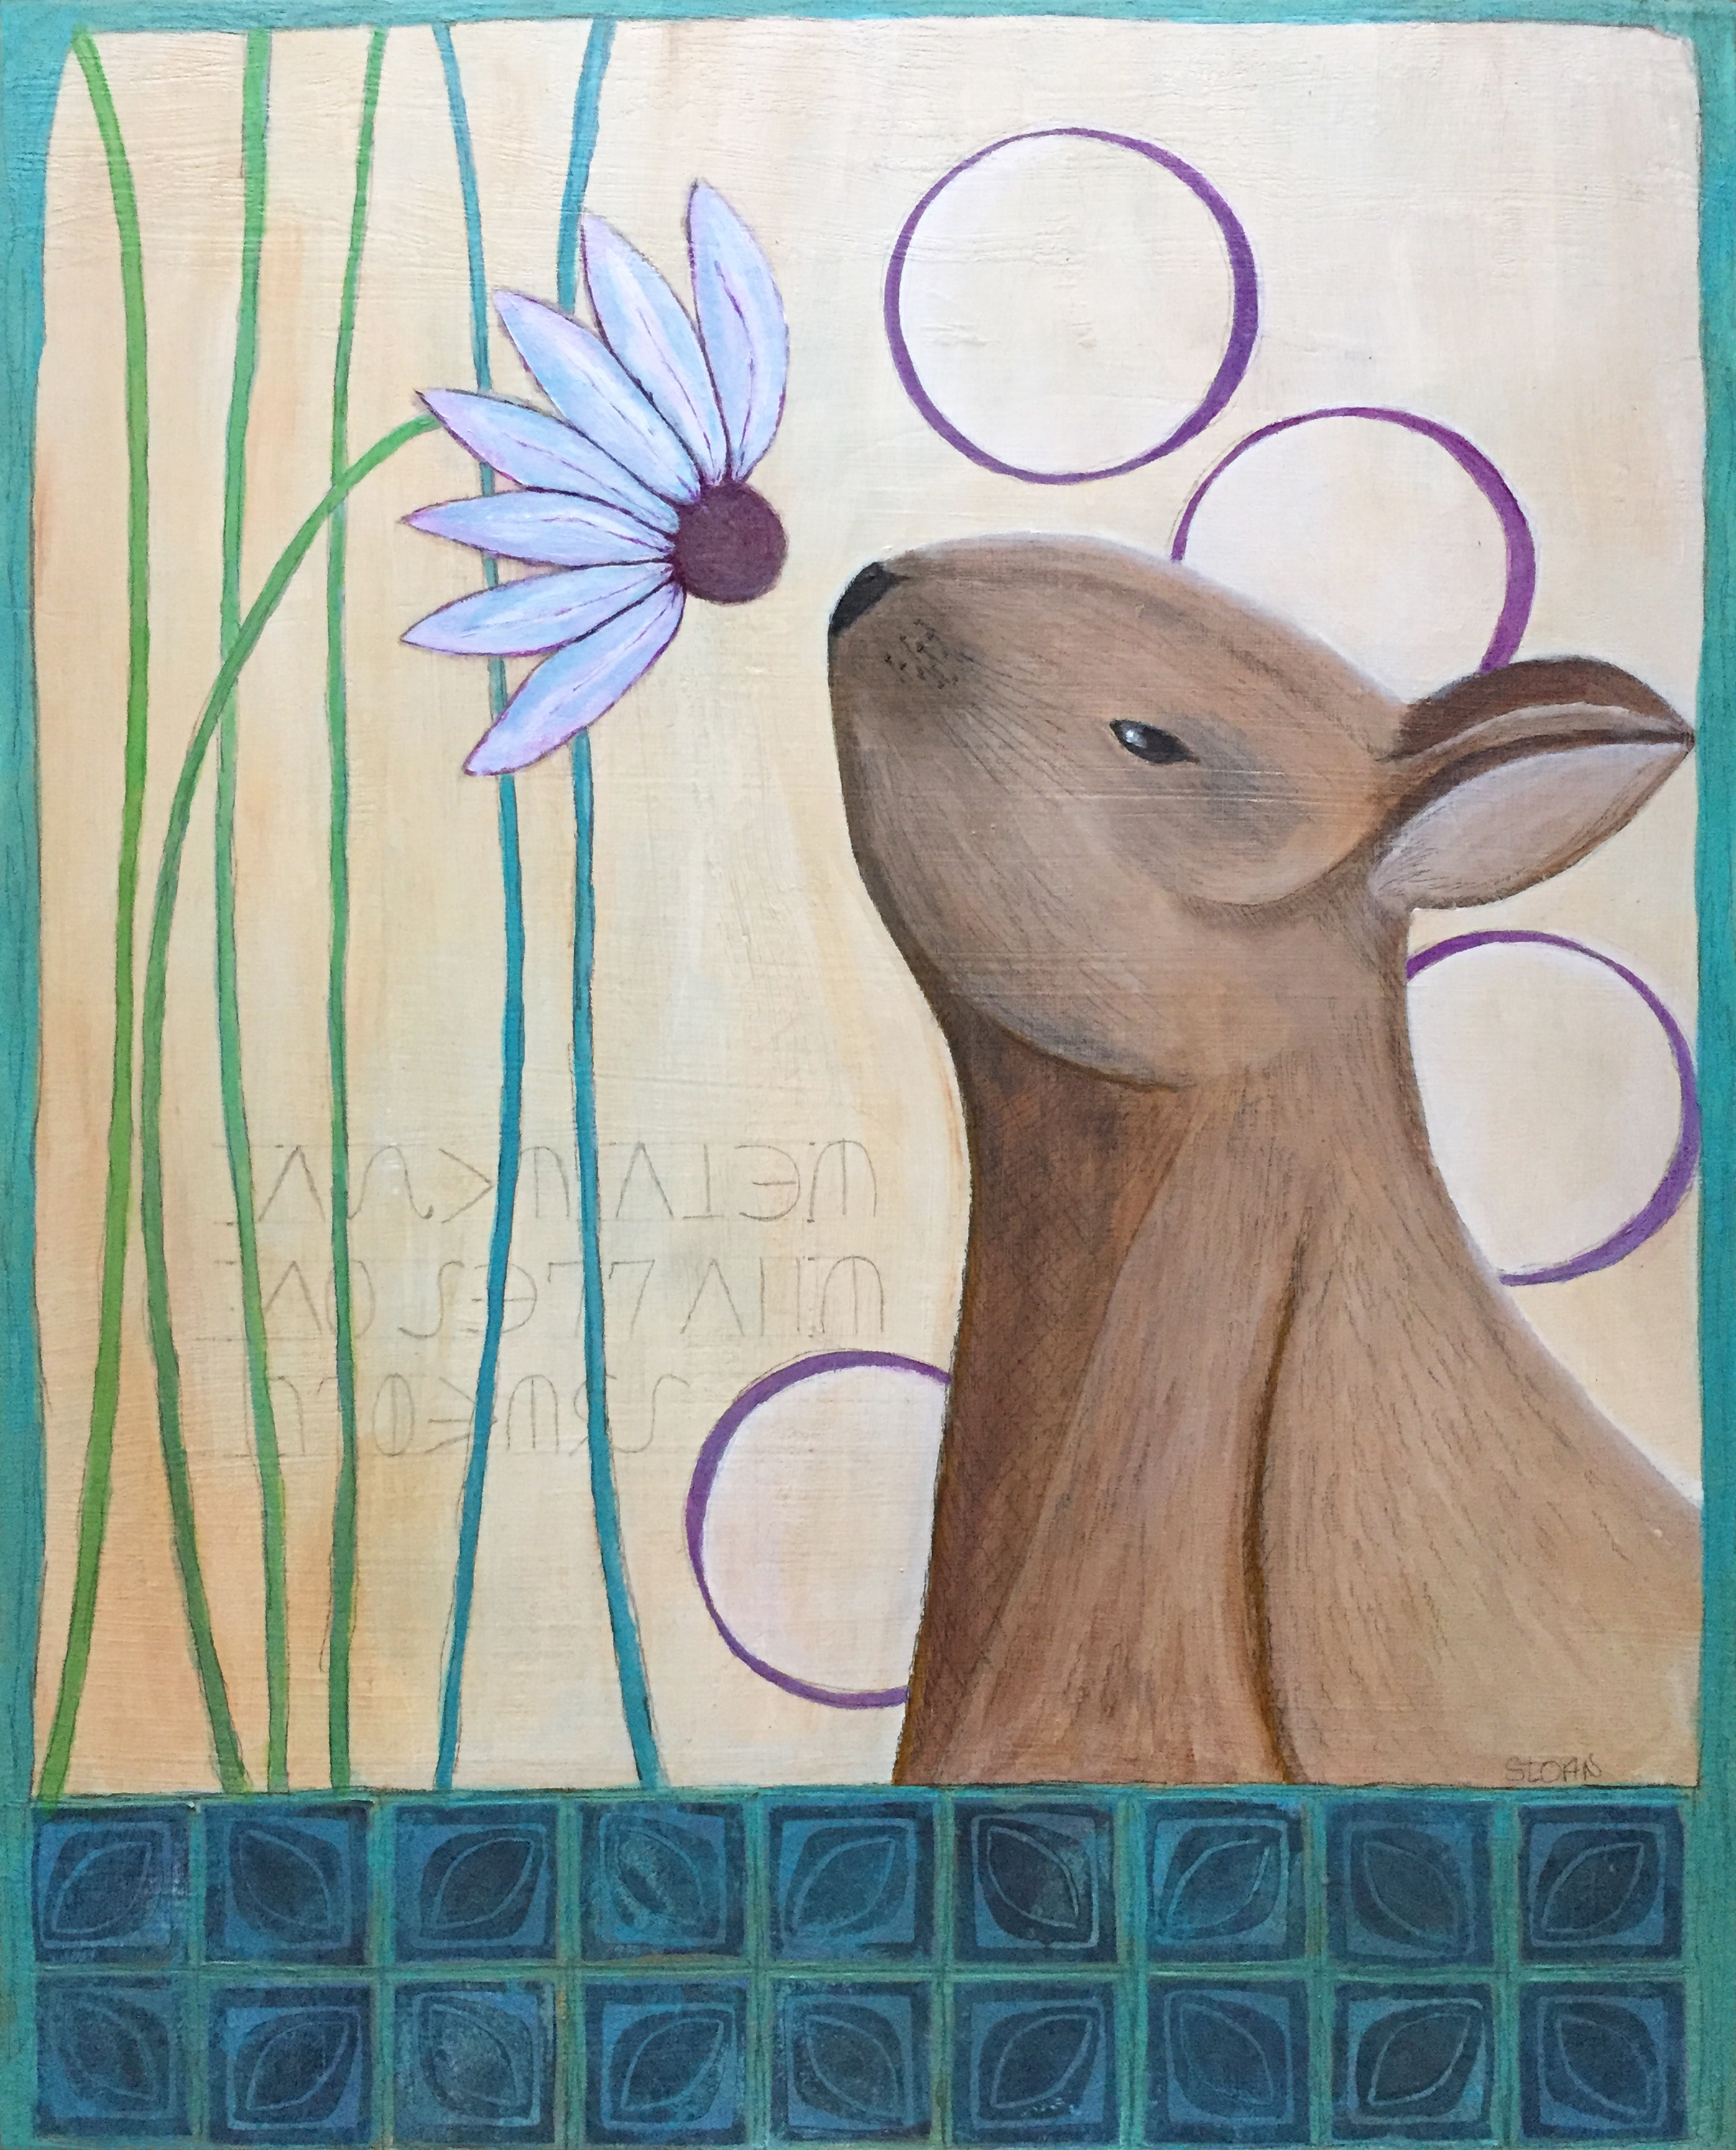
I took one of her online courses to learn more about her techniques and used them to make two paintings for the May Bunny show at Whidbey Art Gallery. Both of the paintings below are on display there all month. Anne uses layer upon layer of stampings and glazes. I found myself wanting to go there, but my style is much more minimal. These are the bunnies that I created using what I learned from Anne’s class…

Bunny in Repose

Bunny in Repose

Take Time To Smell The Flowers

Take Time To Smell The Flowers

IMG_7443.JPG

Process

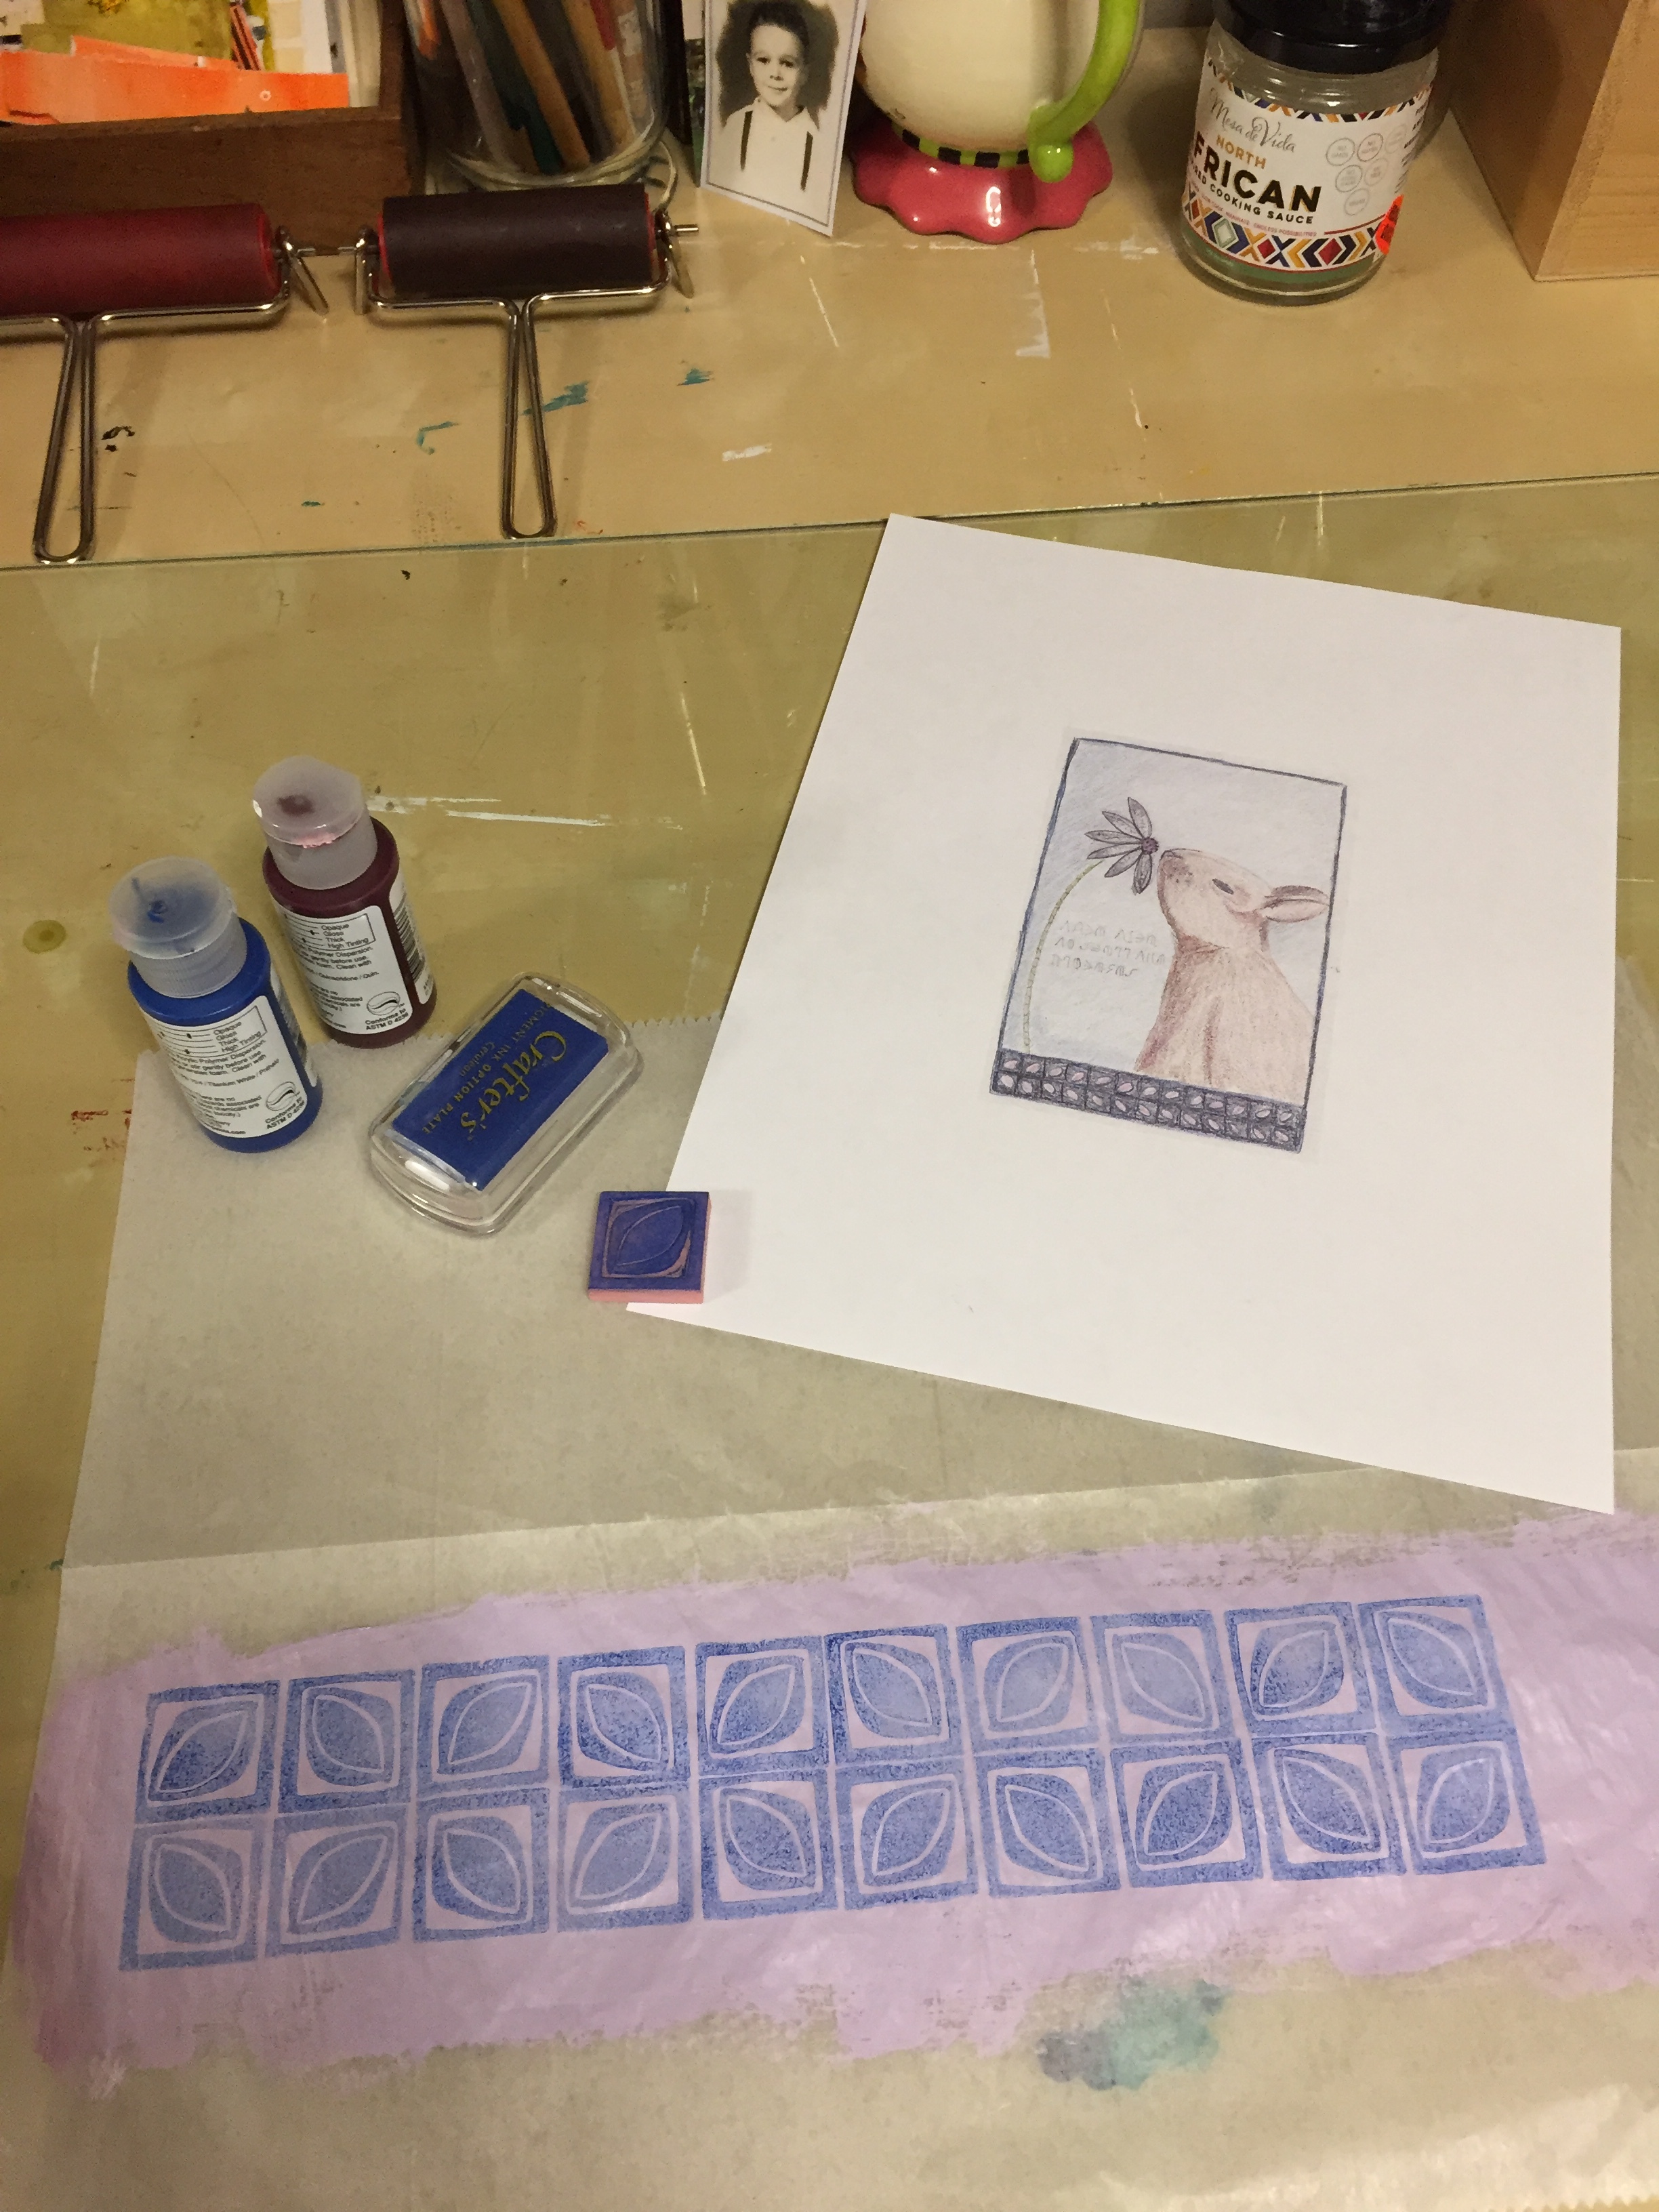
Here, you can see the stamp that I carved. I painted a background on deli paper and then stamped the design for the border of my painting on the painted background. This is part of the process that Anne uses.

Anne often uses layers of these stampings to create the backgrounds and clothing of her subjects. While I love that about her work, it’s not really my style. I love carving stamps, and her technique inspired me to combine my love of printmaking with painting.

Enamel and Etching (Basse Taille) - What a Fun Combo!

enamel jewelryTammi SloanComment

I’ve spent a lot of time these days just doodling, trying to get inspired. Like many artists, I have times when the ideas just aren’t flowing, but my doodles keep me creative. Lately, I’ve been thinking about ways to incorporate them into 2D art and my jewelry.

This week, I experimented with etching my drawings in copper. I was hoping to enamel over the etchings with opaque colors, but the etchings weren’t quite deep enough to accomplish what I had in mind. So, I pulled out the transparents and started playing.

Transparent enamels can be very tricky. I haven’t done much with them for that reason. It’s a whole other ball of wax. Firing temps and times are so different than opaques. I had some successes and some half successes. I wouldn’t call them total failures. I stuck with one color to see what I could come up with and adjusted time and temp with each attempt. I even pulled out the enamling Bible - The Art of Enameling by Linda Darty. With the info there, I now know that I need to fire lower and longer to prevent the edges from burning (though I like the look of it on the larger oval).

I want to set the large oval with a straight sided bezel with six tabs. I’m not sure yet what the bail will look like, but I want to incorporate a small green stone in it. It will likely hang on a snake chain for substance. Here are a few examples of my attempts at Basse Taille Enameling.

Basse Taille Enamel - experiments by My Brown Wren

Basse Taille Enamel - experiments by My Brown Wren

These pieces were etched using electricity. If you are interested in learning to etch without acid, I have two tutorials available on my classes and tutorials page. The copper etching tutorial is a simple, step-by-step PDF that shows you how to etch copper, brass, bronze and nickel with salt water and electricity. My tutorial on how to etch silver is an hour long video with a backup PDF tutorial that goes through all the steps to etch silver without acid. It’s been a work in progress for a couple of years, but I finally got it done this summer. I’m just a little late in getting the word out…

Being A Women Ain't Easy

enamel jewelry, votes for womenTammi Sloan1 Comment

In the late 1800's women started seeing that the cards were stacked against them.  There wasn't fair representation, fair wages or fair treatment in the workplace or at home.  Women started fighting back by demanding the right to vote.  They lobbied members of Congress, they staged rallies and parades, and they protested in great numbers.  All of this was disruptive to "civilized" male society, and men fought back, and they fought dirty.  They assaulted women protesters in an attempt to humiliate them.  They even jailed them in an attempt to quiet them.  Remember, during that time, women had no rights.  They worked longer hours than men and made 1/3 of the wages of men.  We've come a long way baby, but not far enough!

For the last couple of months I have been creating a series of Women's Suffrage jewelry to honor those women that fought so hard for our right to vote and for fair and humanitarian treatment.  Each piece is one-of-a-kind, enameled copper with sepia tone photographic images.  Each piece is a reminder of where we've been and where we could return if we continue to take our rights for granted.

I have been researching these women, their lives and their legacy.  I am grateful for all they have done to bring awareness to the inequities in society between men and women.  I fear we are heading back to that time with all of the new policy changes in our current administration.  It's important to me that women's equality become a reality, not just a dream.  This project is my way of raising awareness for the cause.