
Why Enamel Steel?
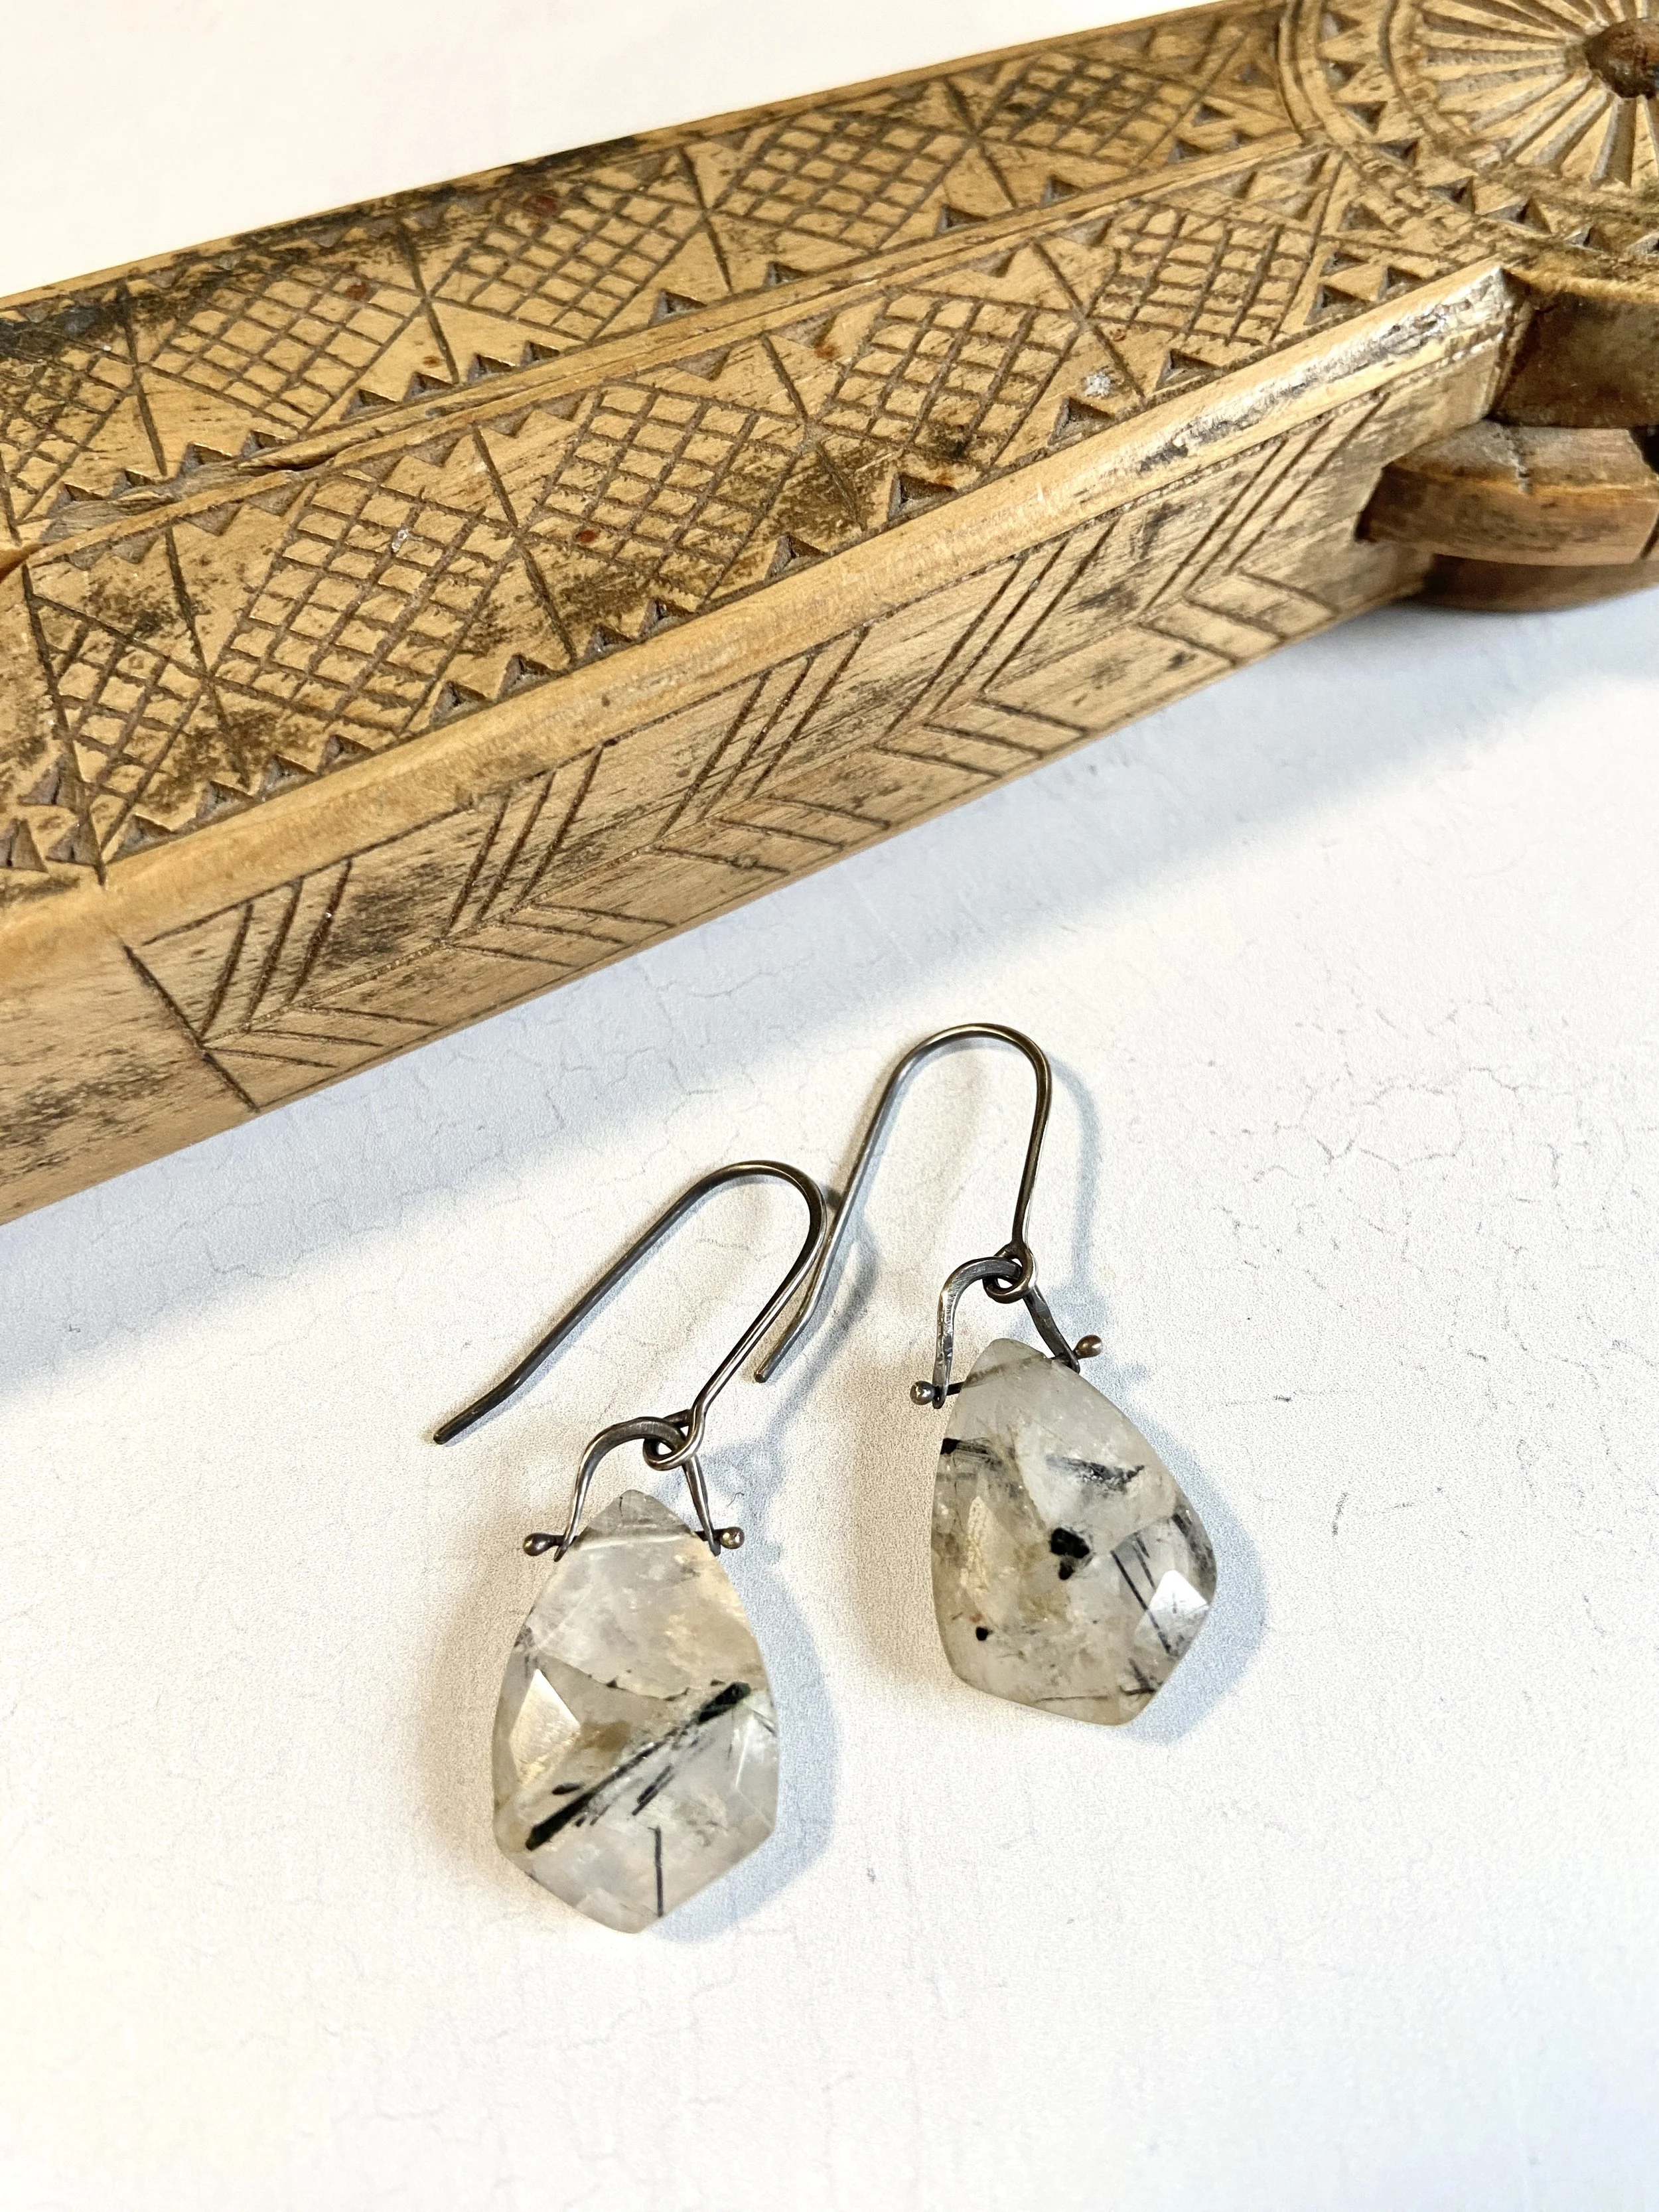
Steel is a very strong and durable material to enamel on in thin gauges. The earrings pictured below were made with 26 gauge enameling iron (a form of low carbon steel). This wouldn’t be possible with copper in that thin of a gauge because it is inherently soft, making it prone to warping and chipping. Making earrings this large and flat in copper would require using 22 gauge at a minimum, and that would make them far too heavy for the average customer.
Only certain types of steel can be successfully enameled. You want to look for low carbon steel, enameling iron or stainless steel. Thompson Enamel sells enameling iron and pre-enameled steel sheets that you can cut with snips or with a jeweler’s saw. If you go this route, please be careful. You are sawing into glass, and it shatters and splinters into the tiniest of pieces. I will typically cover both sides with masking tape, draw the image on the tape and saw. It takes a hot minute and leaves an okay edge. Since you are going to cover it anyway, this shouldn’t be a problem.
Raw steel has to have a ground coat applied to both the front and back before powdered enamels or other colors of liquid enamel can be applied. The ground coat can be found at Thompson Enamel (GC-16), Clay Art Center (RM27 Metal Frit Enamel for Steel by Ferro) or WG Ball (Steel Ground Coat 12559). Kat Cole has been successful in applying colored liquid enamel to raw enameling iron without a ground coat, but she sand blasts it first. This gives the metal a lot of tooth and a varied surface, which makes it much more successful. Since I’m relatively new to this and don’t have a sand blaster, I’m sticking with the ground coat.

If you are interested in learning more about enameling on steel, there are some really great teachers out there, like Kat Cole, Alisa Looney, and Amanda Denison. I have taken classes from all three gals and highly recommend them all. They each offer different techniques for applying enamel and for surface design. Additionally, I found a great article that dives into enameling all different types of steel by Melissa Cameron here. Definitely check it out if you want to pursue enameling steel!
I am very excited to be using steel in my new jewelry. Admittedly, there is a bit of a learning curve, and it’s a bit harder to cut with a jeweler’s saw than copper, but I really love the ability to make things that are thinner and stronger, and consequently more lightweight than their copper counterparts. Please feel free to post your questions or comments. I’m no expert, but I’ll do my best to point you in the right direction.
What is Sgraffito?
I recently learned of a technique that was developed by John Kilmaster. It's called granular spray enamel. It is very exciting to have a new way to create design and texture in enamel in a free an exacting manner.
Sgraffito is the art of scratching through to a layer below. Potters and ceramic artists utilize the technique, as well as enamelists. I learned the technique from Angela Gerhard several years ago, using liquid porcelain enamel.

Scratching through liquid porcelain enamel is delicate business. If it's too wet, you get little squiggles that roll up and are difficult to irradicate. If you let it dry too much, when your lines cross, large chunks can flake off. So, creating fine textures are difficult. I recently learned of a technique that was developed by John Kilmaster. It's called granular spray enamel. It is very exciting to have a new way to create design and texture in a free an exacting manner. In the picture below, you can see me spraying a steel mask that I fabricated in a class I took from Alisa Looney, a student of John's.

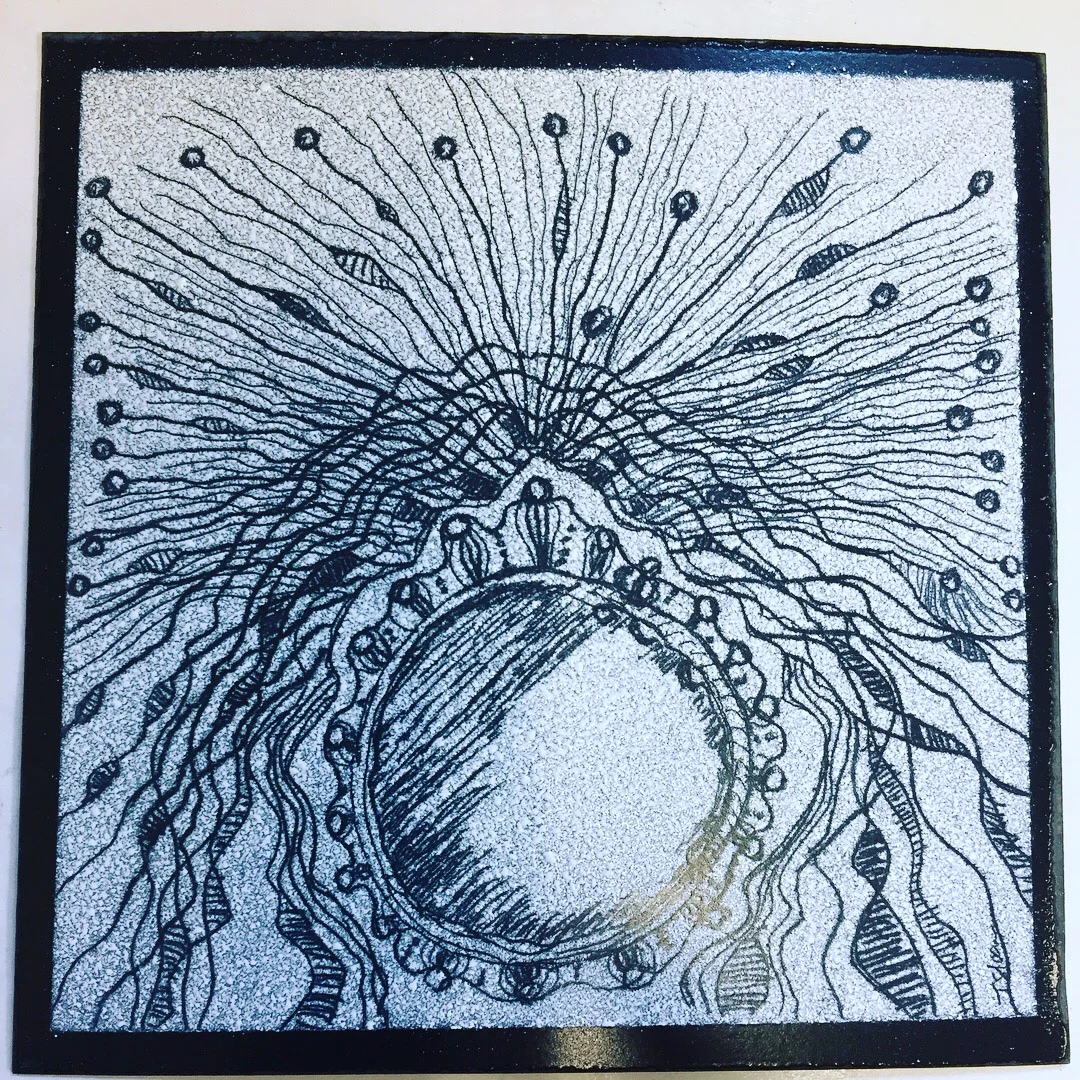
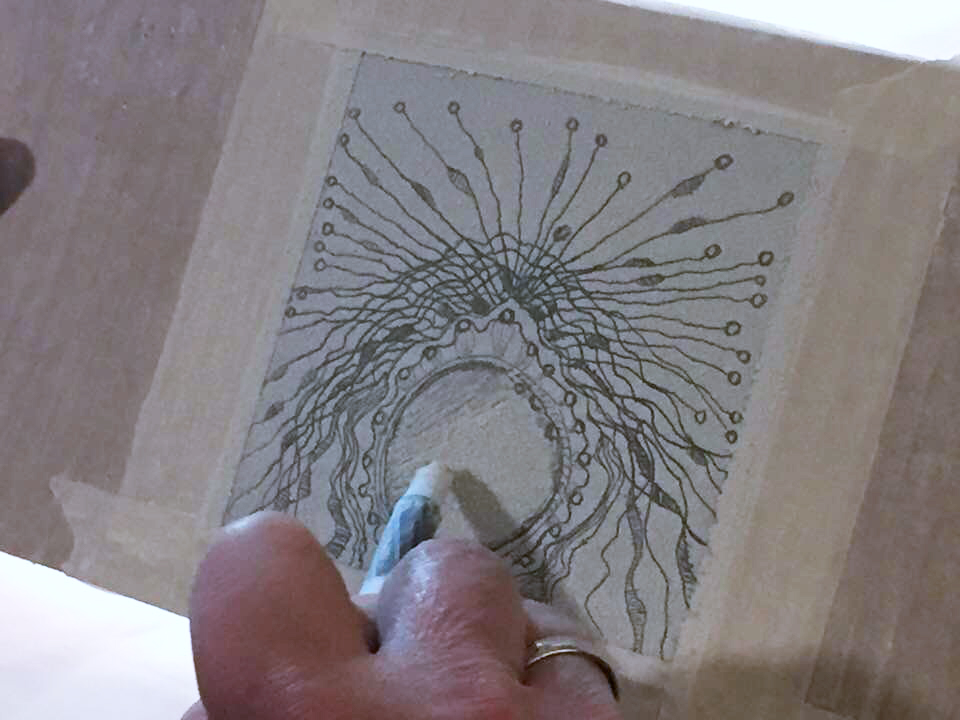
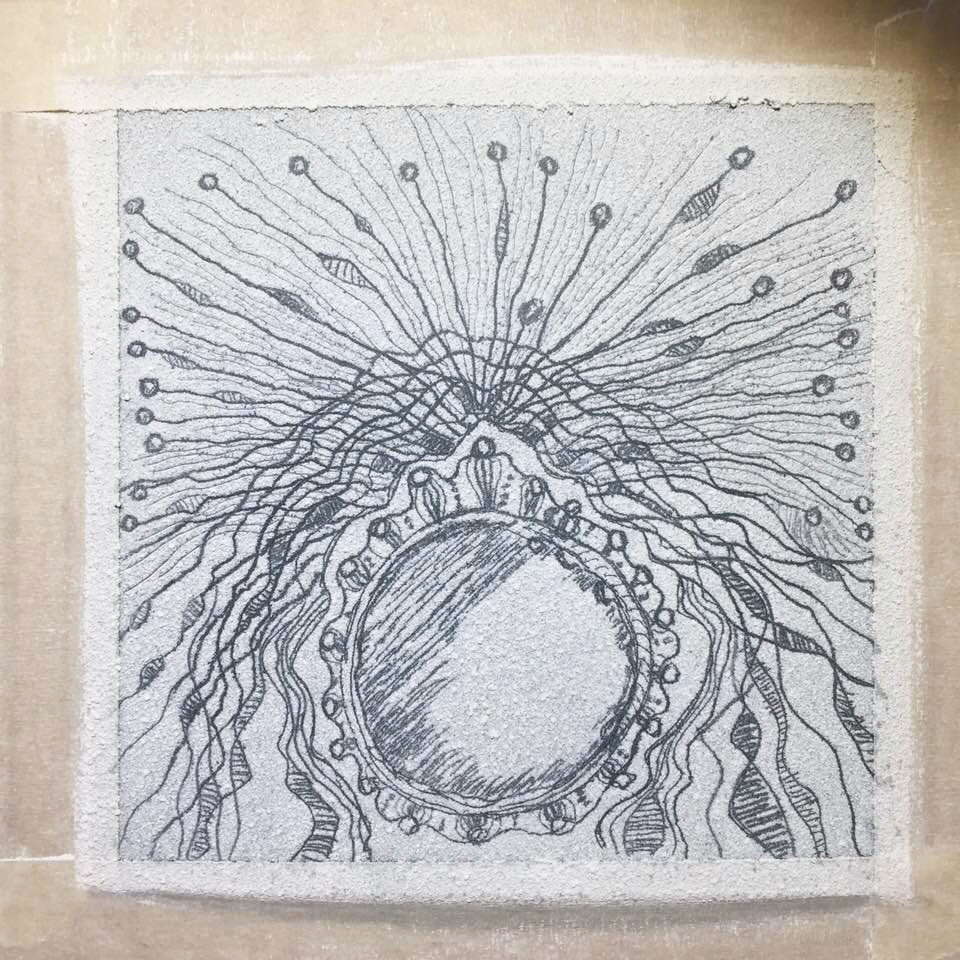
Here are some process pics of one of the test pieces I made in Alisa's class. We taped the steel tiles to cardboard to make it easier to work on. The last photo is of the piece after it was fired. It was slightly underfired, so there is a lovely, bumpy texture to it.

I went to Alisa's class planning to make jewelry. We spent three days making test tiles and fabricated one large piece. We made a few token pairs of earrings. I had to come up with designs on the fly - flying by the seat of my pants - ha, ha. Knowing that I am going to be exhibiting a collection based on The Day of The Dead at Whidbey Art Gallery in October, I decided to create a sugar skull. However, my sugar skull somehow turned into a more life-like skull.
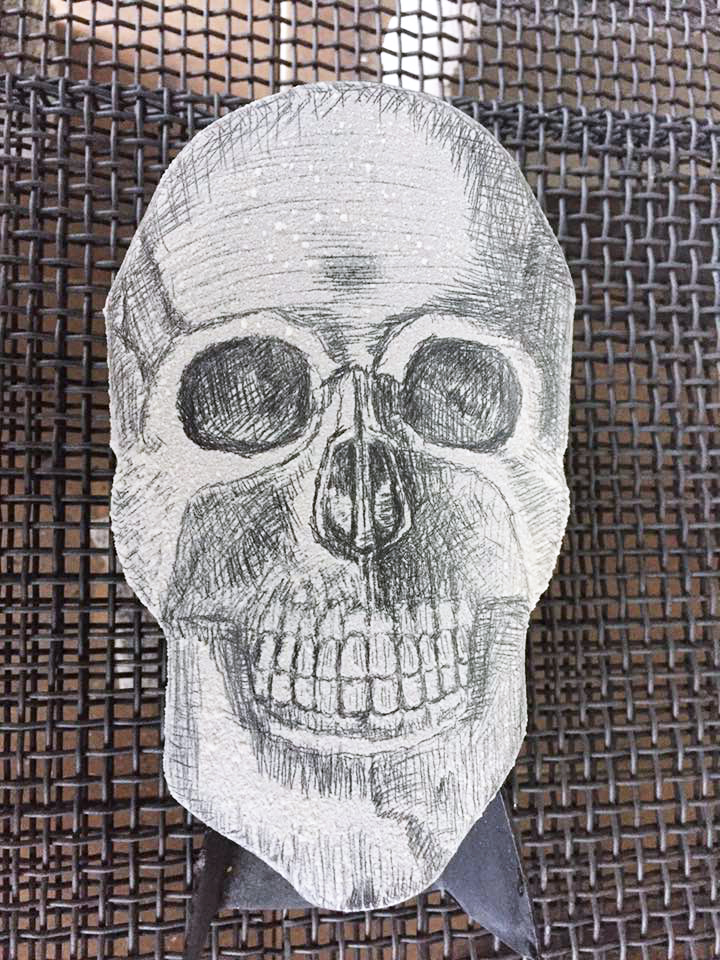
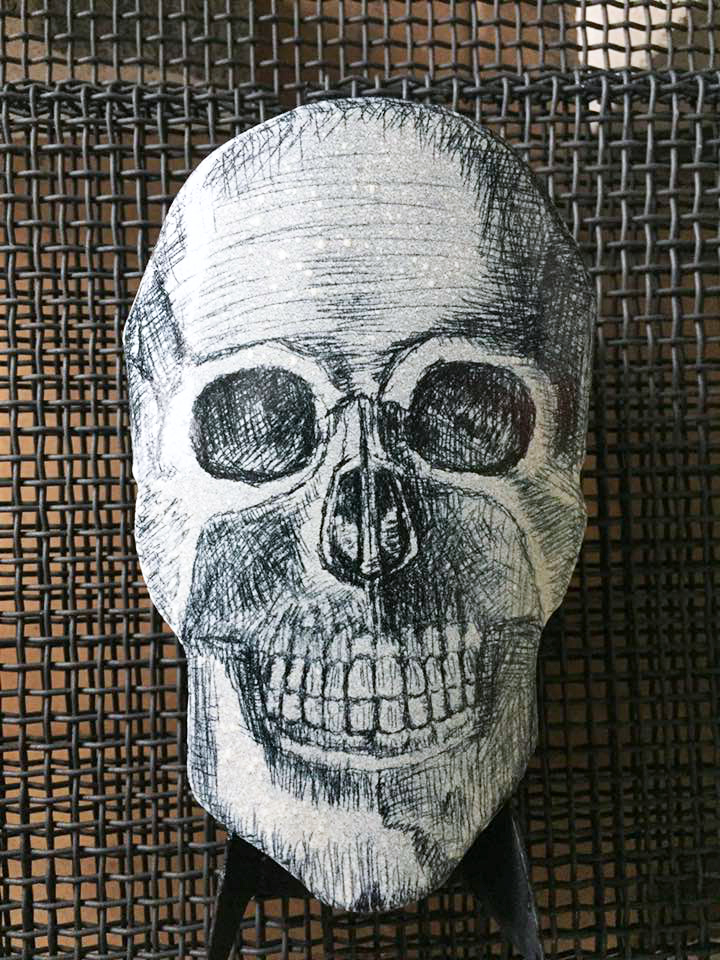
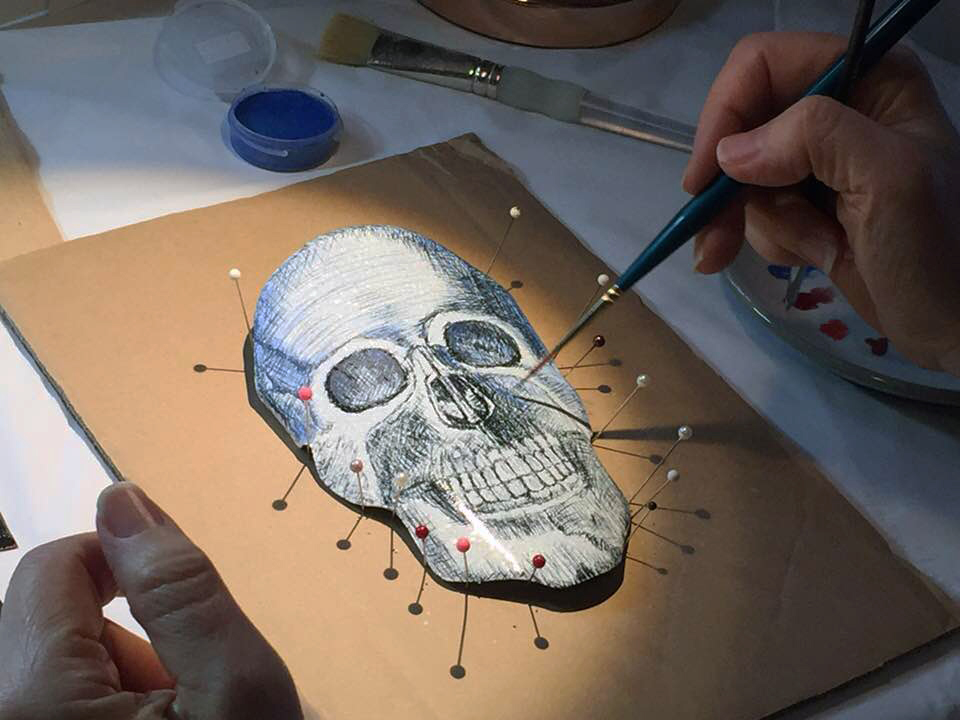
The ease of creating lines with the sprayed on enamel was so freeing! I really enjoyed creating fine detail and shading with cross hatching. The photo above left is pre-firing. The middle photo is just after the skull came out of the kiln. In the third photo, I'm applying watercolor enamel to the skull to add more shading and visual interest.

Here, you can see the little scratching tool we made in the class. I'm using it to remove some of the watercolor enamel before I complete the final firing.

This is the skull after the final firing. I'm pretty excited about how it came out. Now, I have to figure out how to do this process at my studio. It's messy - not something you can do inside. I have the spray gun, but I don't have a compressor yet. So, I'm still doing sgraffito the way I learned from Angela. Here's a little video of how it's done.
If you are interested in learning how to do sgraffito in porcelain enamel, you should check out my Beginning Sgraffito Enamel Technique Tutorial.
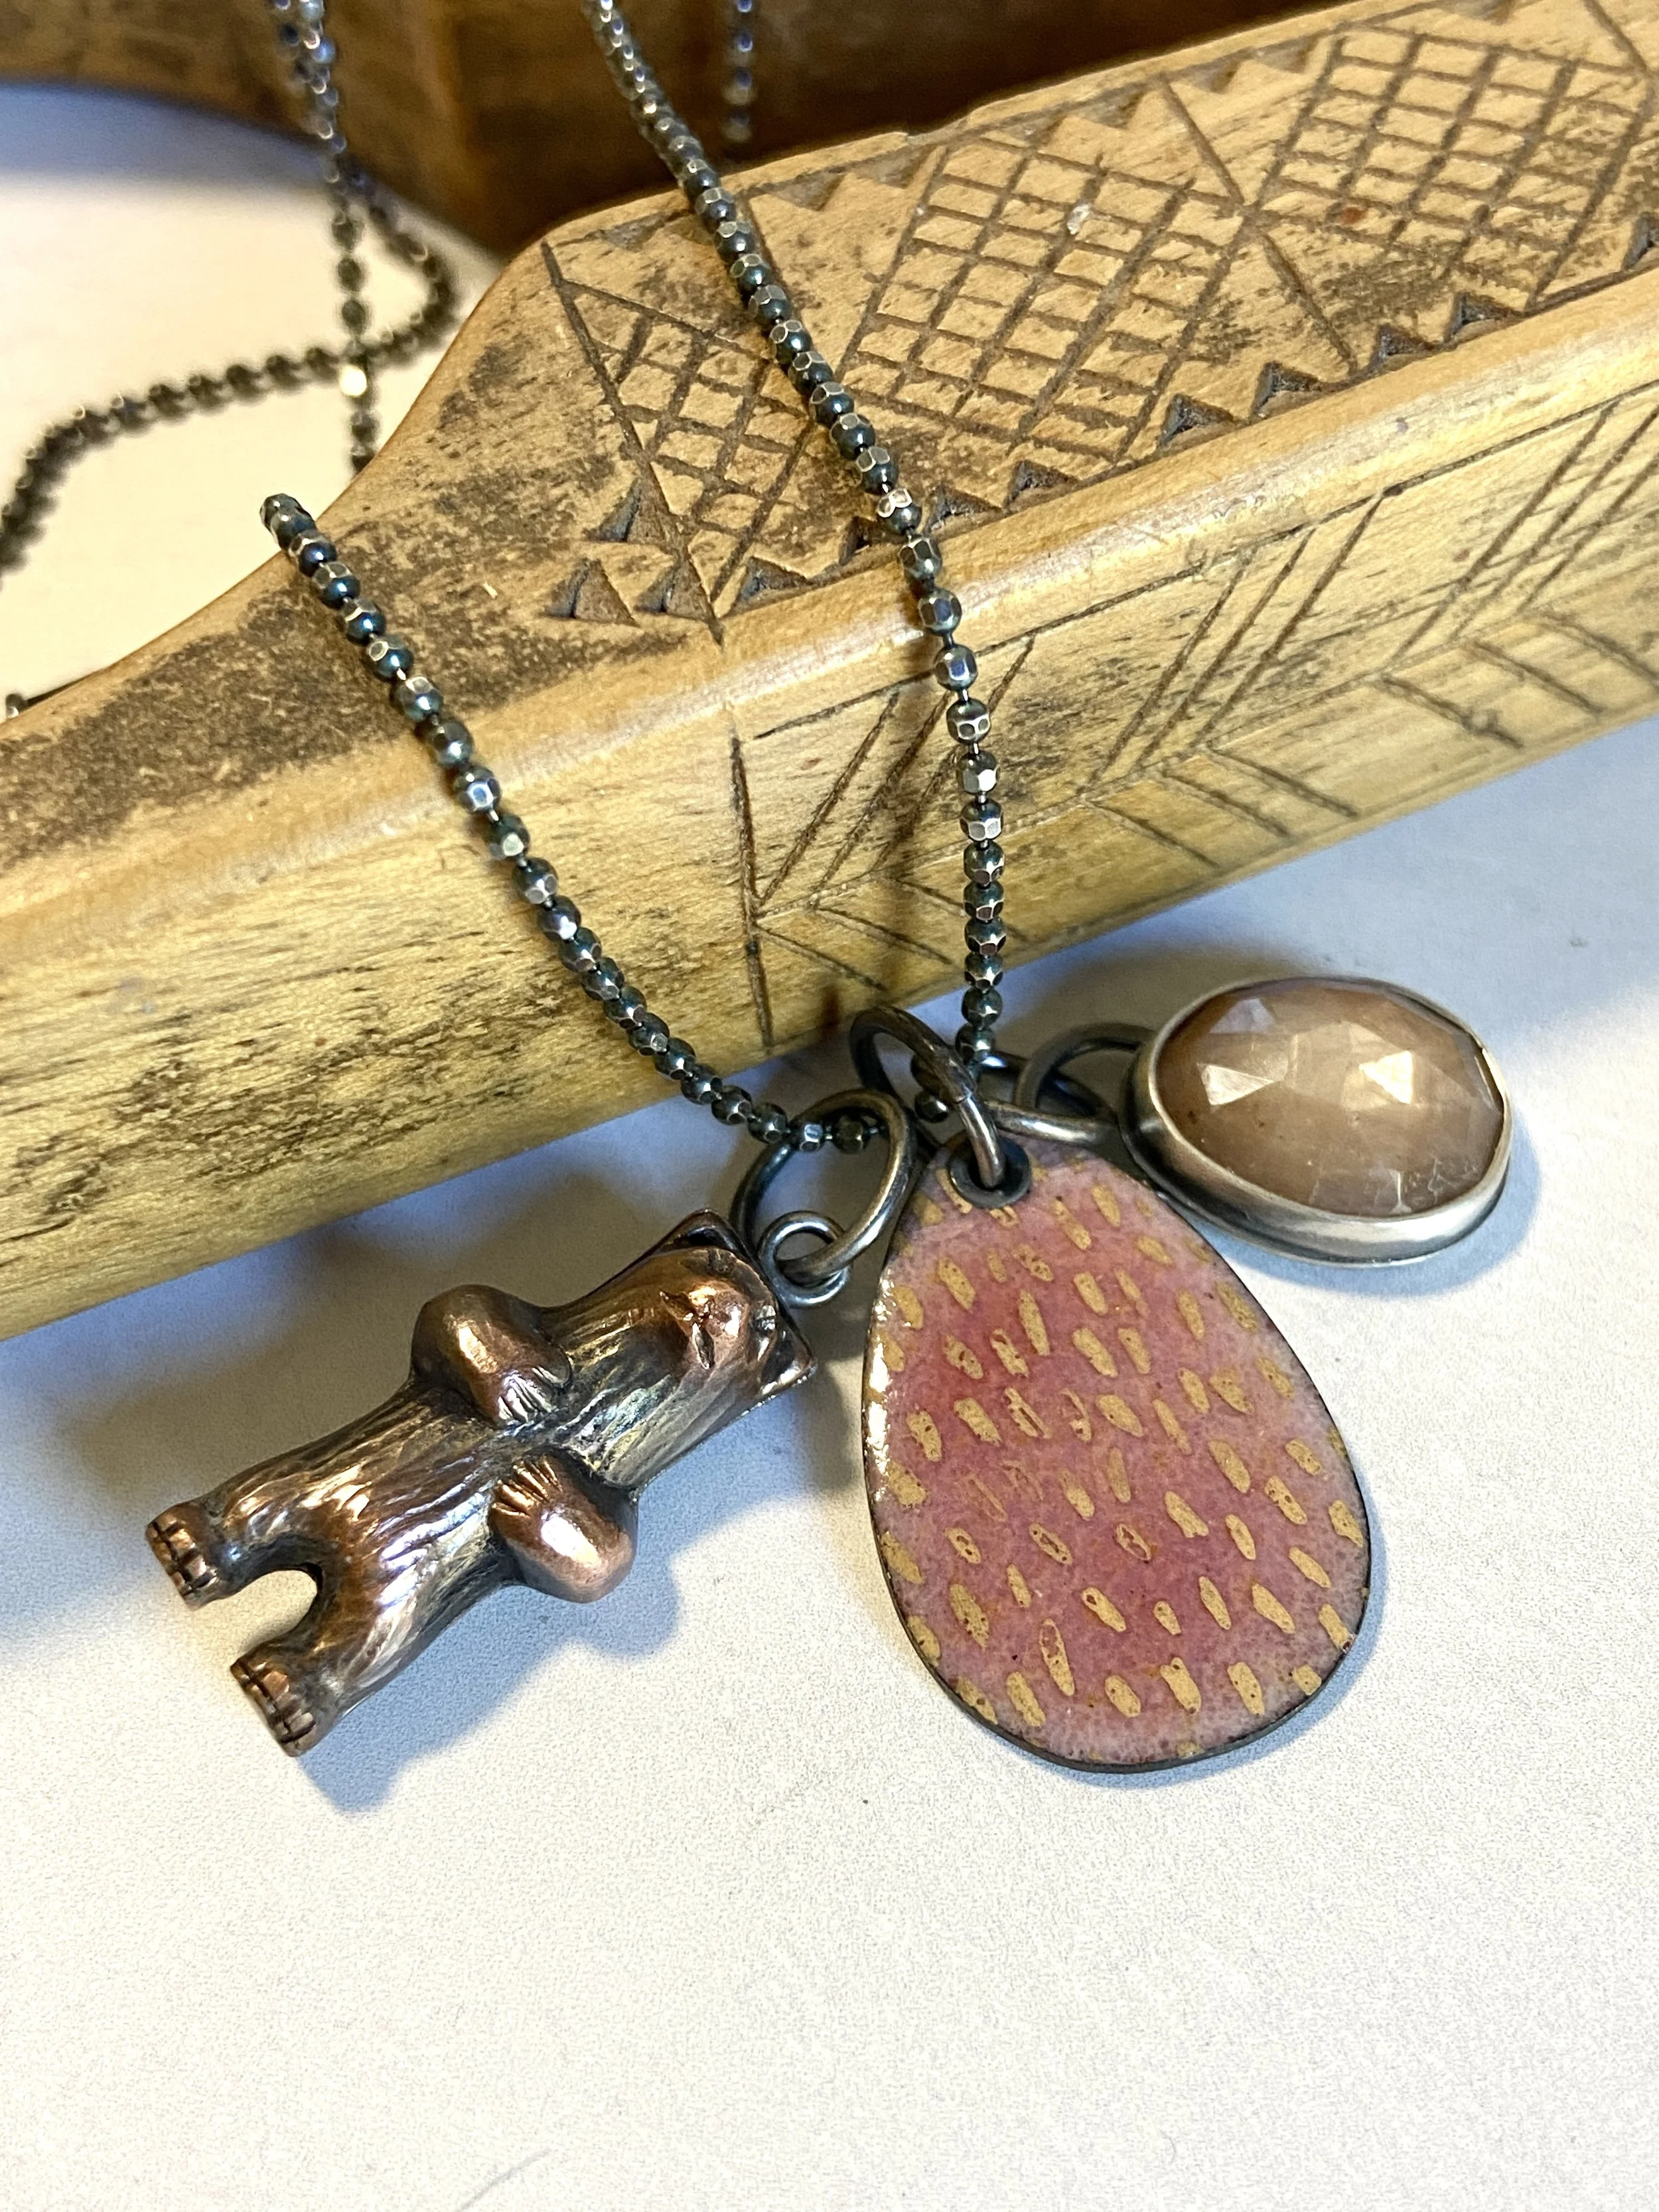
Make Your Own Charm Necklace